Here are some of the modeling activities that our members are working on during our Division activity hiatus. Click on the members name to go to their page to see what they have been working on
Joe Kavanagh
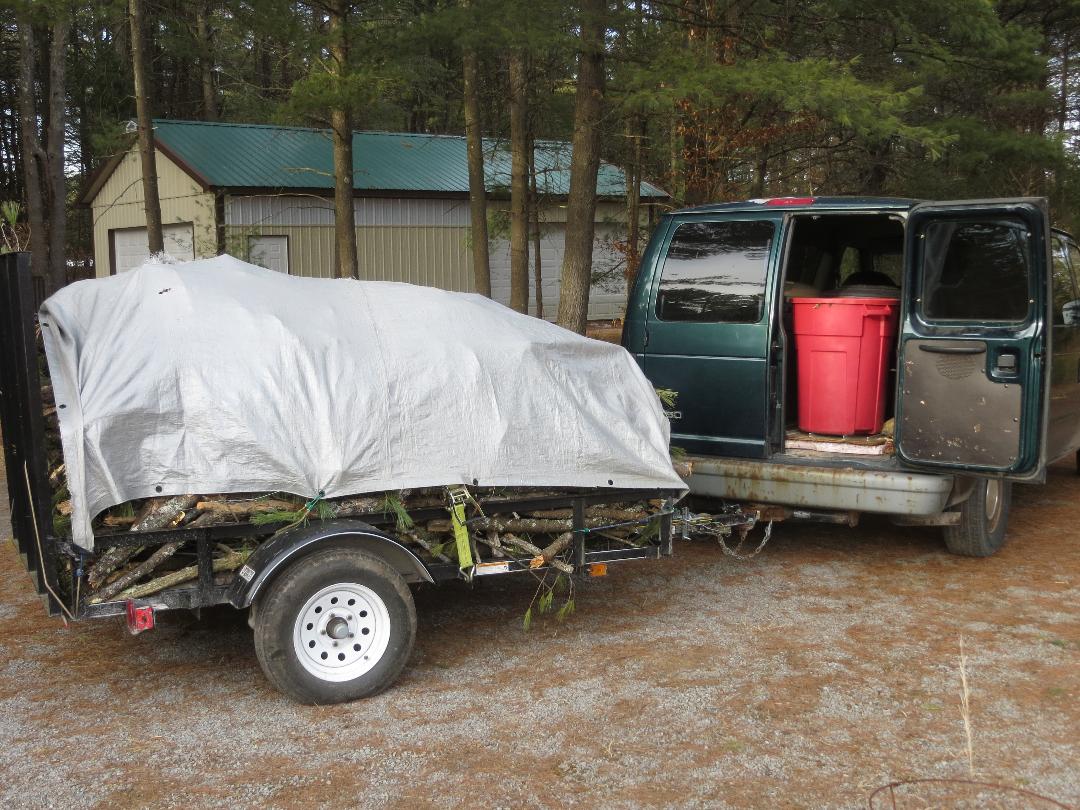
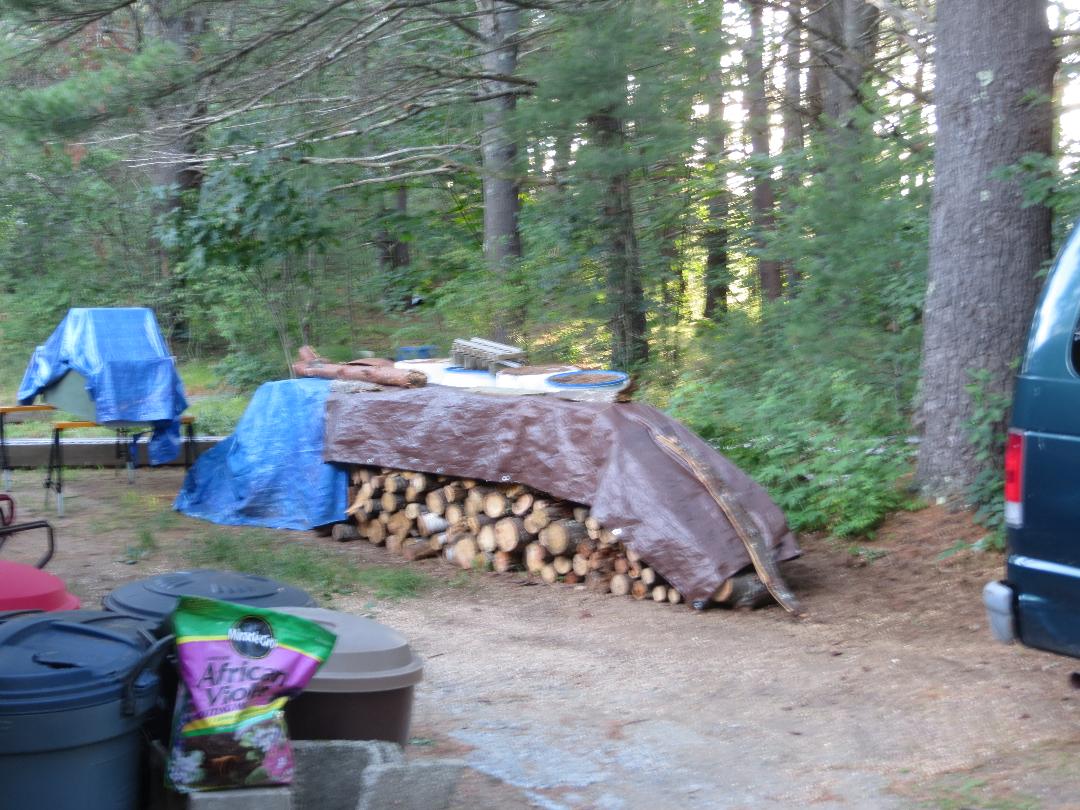
Just typical days here at the railroad. On Saturday, two teenagers, Daisy and myself had gathered wood and other debris. We made four trips to the dump with the trailer full of limbs. Sunday I chainsawed the logs to length for splitting. Monday one of my teenage helpers came and we both split and stacked the wood.
Then we loaded the trailer with limbs (less than 3" in diameter)and 4 garbage cans of needles, etc.
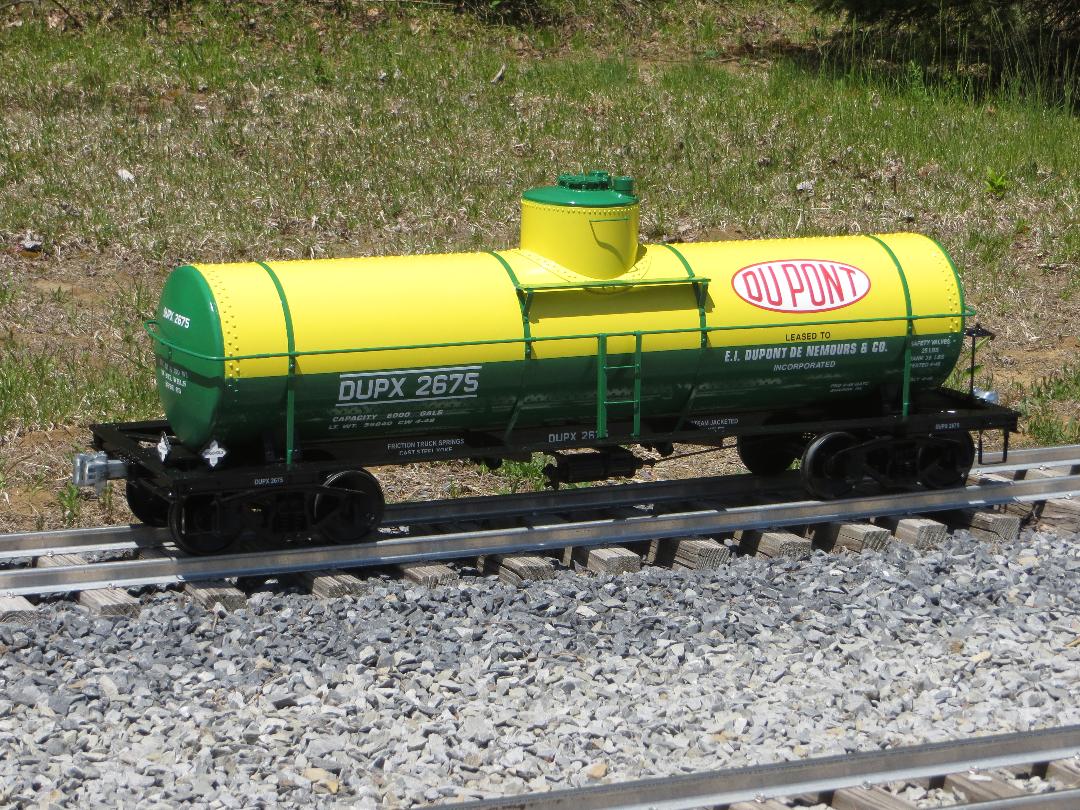
So, what about things for the railroad? This winter I have been working on six tank cars and four structures. Two tank cars and one structure have been completed. The remaining four tank cars and three structures are all under construction. I'm working, I'm working. I can only work so fast.
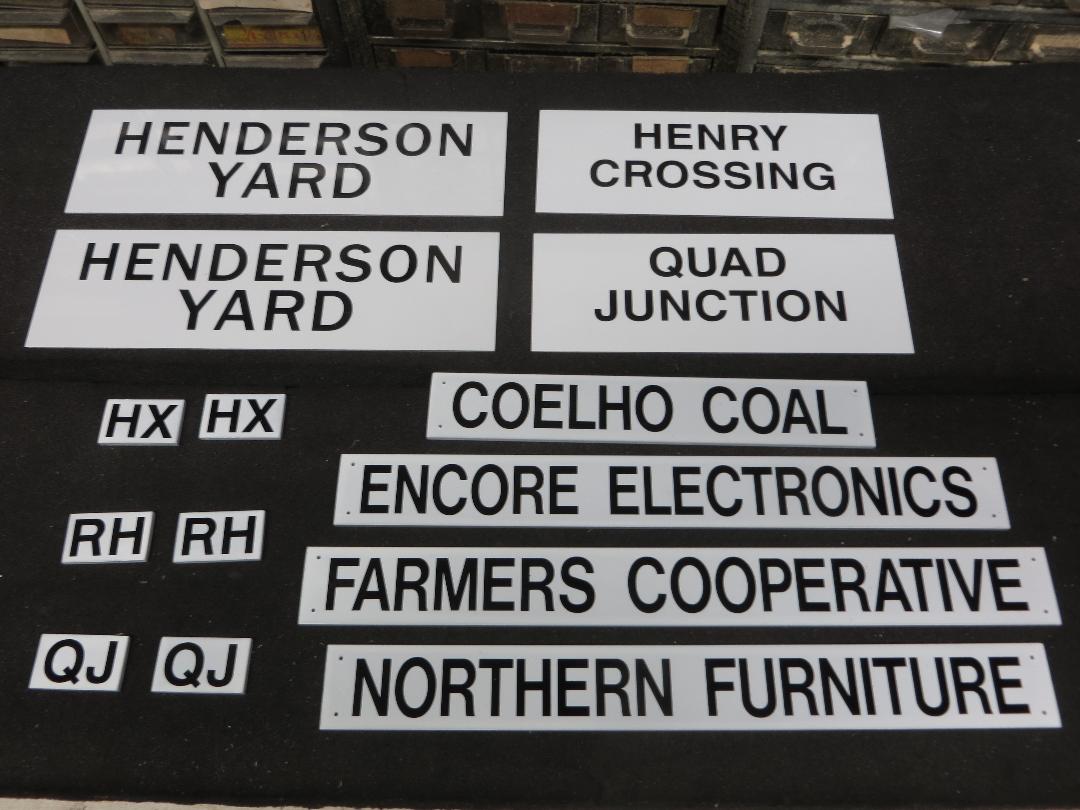
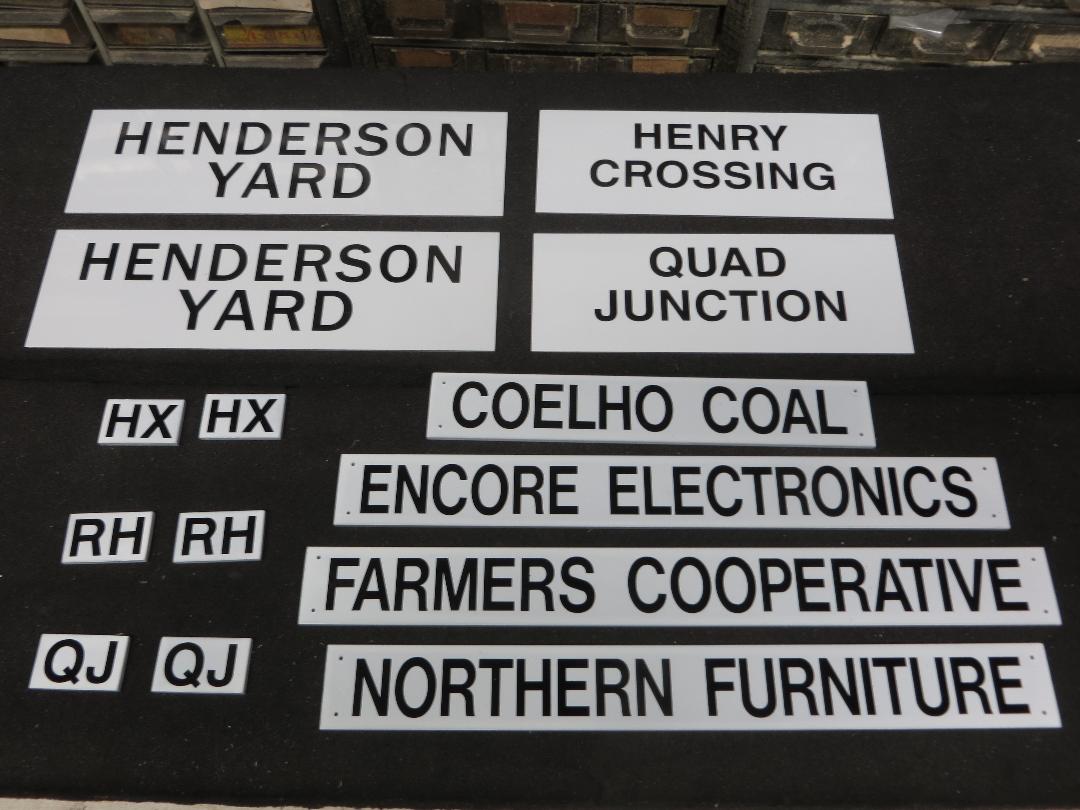
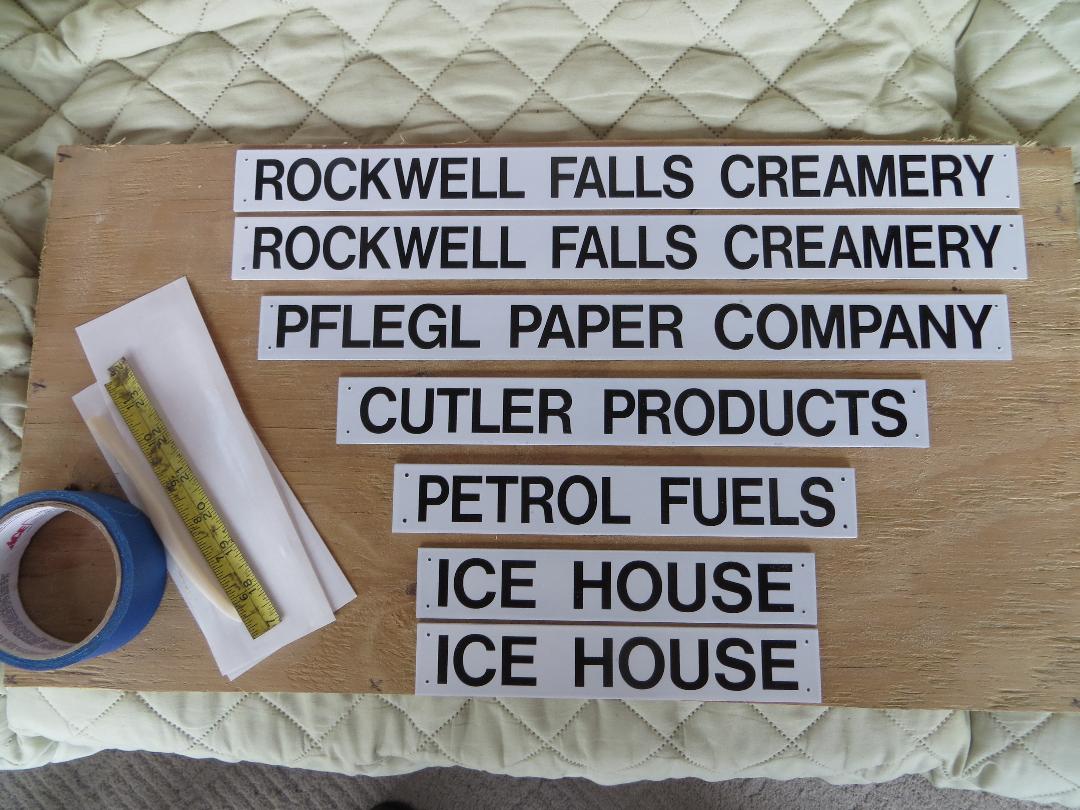
Tonight I finished up signs for various things on the railroad. Some are replacements for worn-out signs, four are for the four structures that were placed on the railroad in 2019.
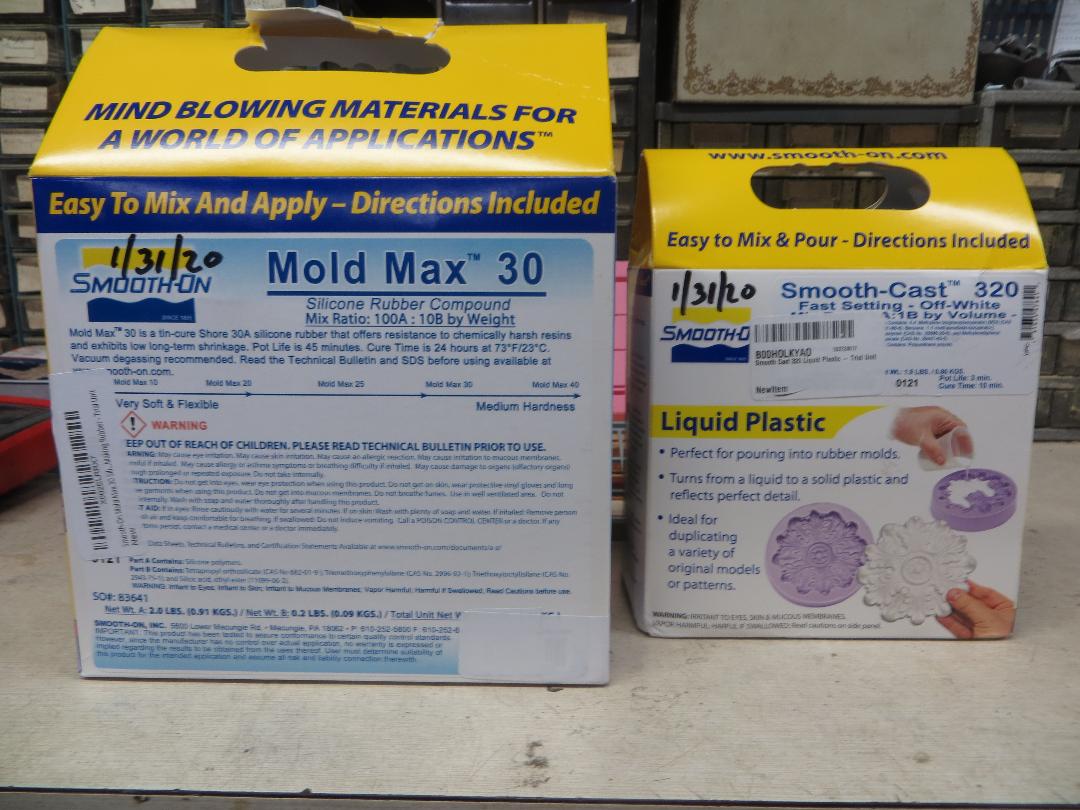
Making stuff. Here is the material I use for casting nowadays.
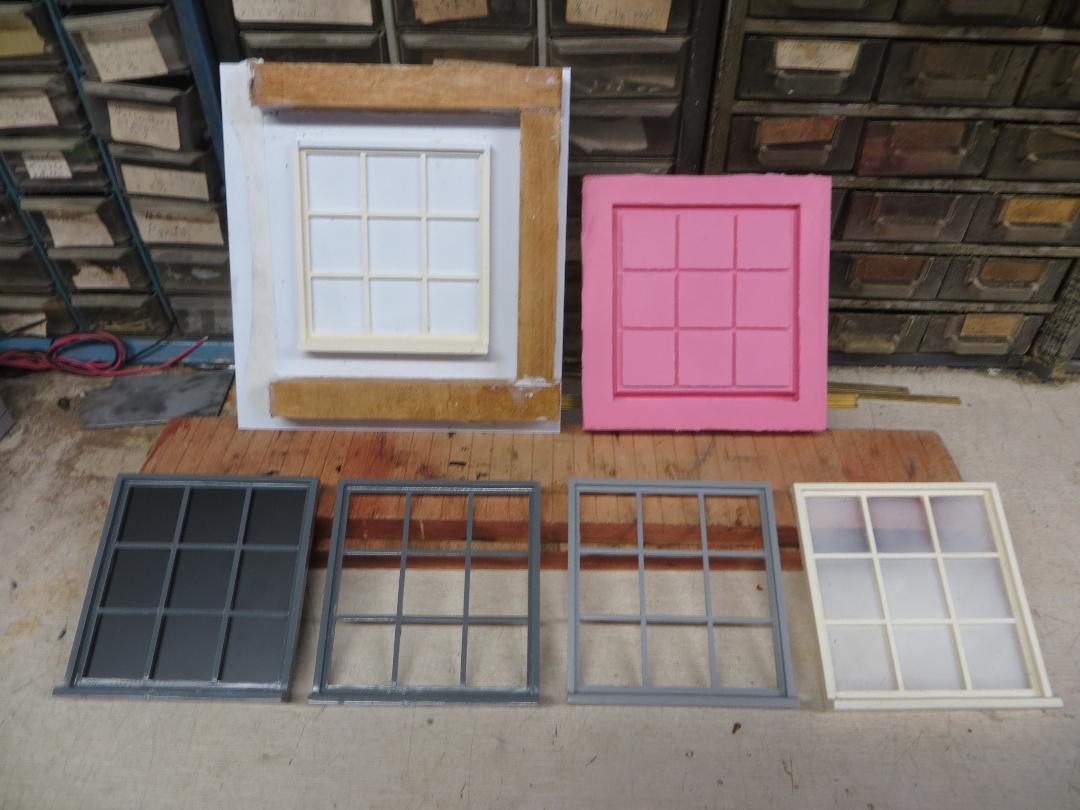
Here is a photo of the sequence of work.
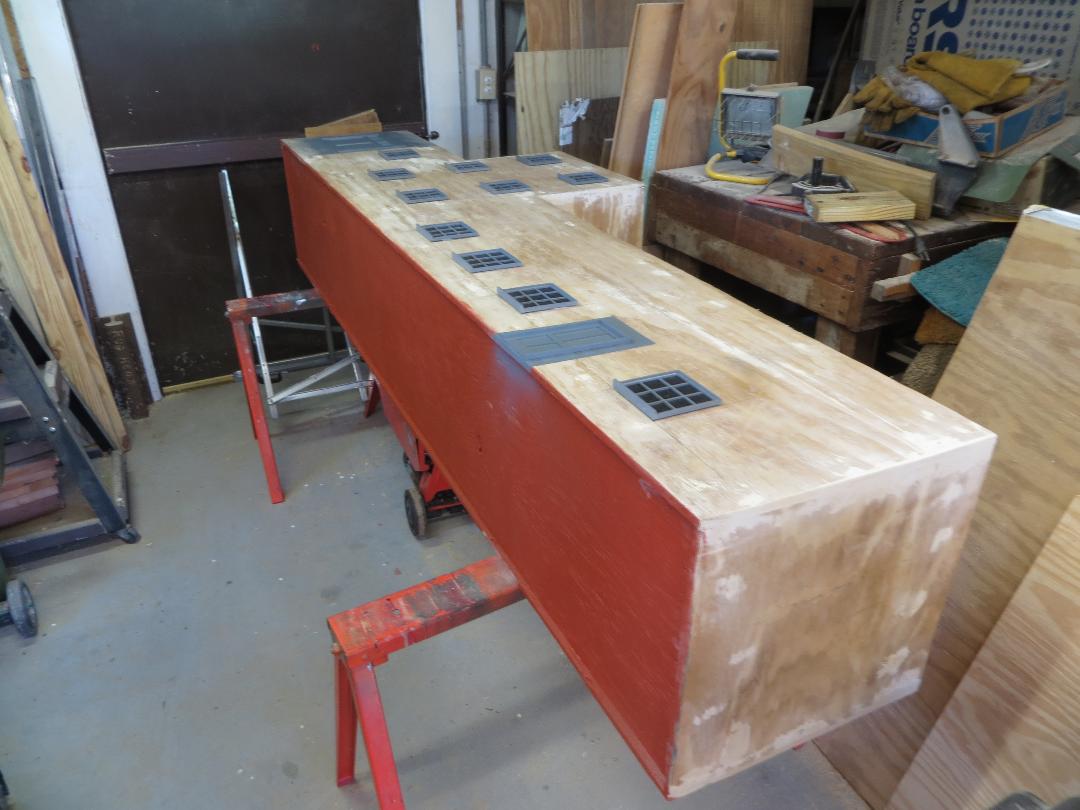
Clockwise from 11 0'clock, first is the master out of styrene and in a casting box. Then the mold, then a rough casting pulled from the mold, then a casting cleaned up and with a primer on it, then a painted casting, then a casting with black styrene ACC'd to the back. That's a finished window ready for a structure. Each window is 4" x 4" The structure it is to go on is not built yet. Designed and the two long sides cut and framed, but not assembled. My shop is too small. The structure will be built, all in good time. Valspar used to make the primer but sold the division. It is called PlastiCoat It is no longer available. It used to be available in four colors. Oh well.
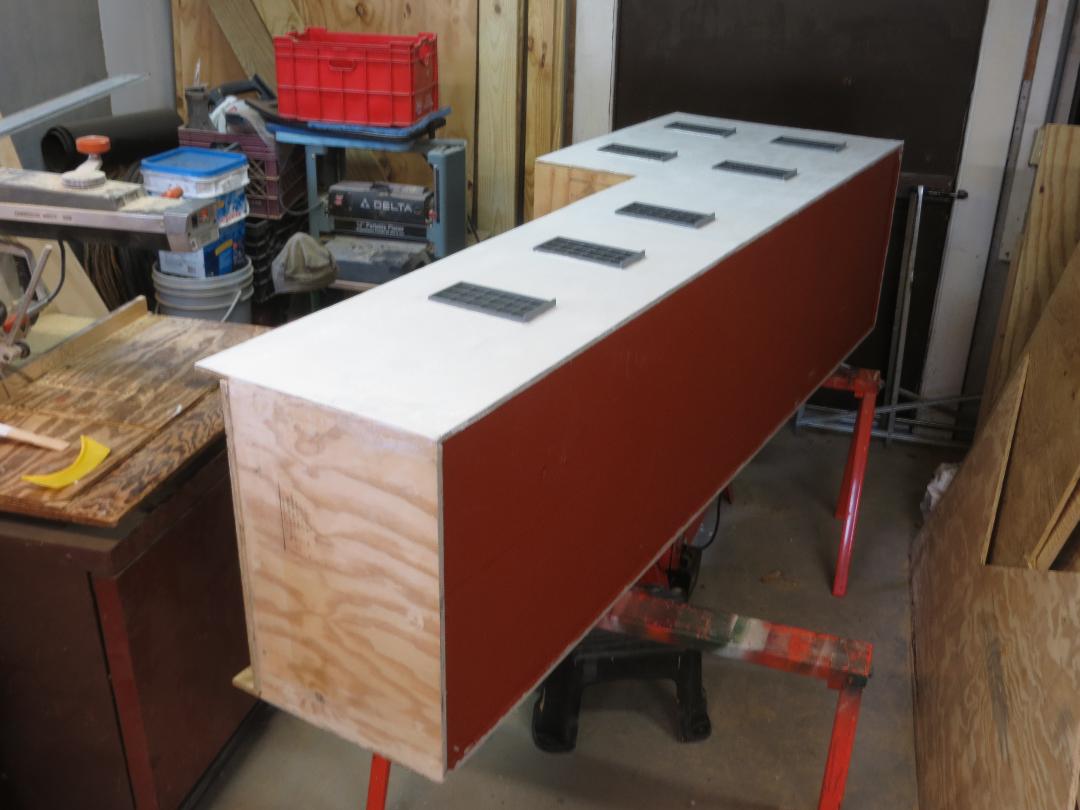
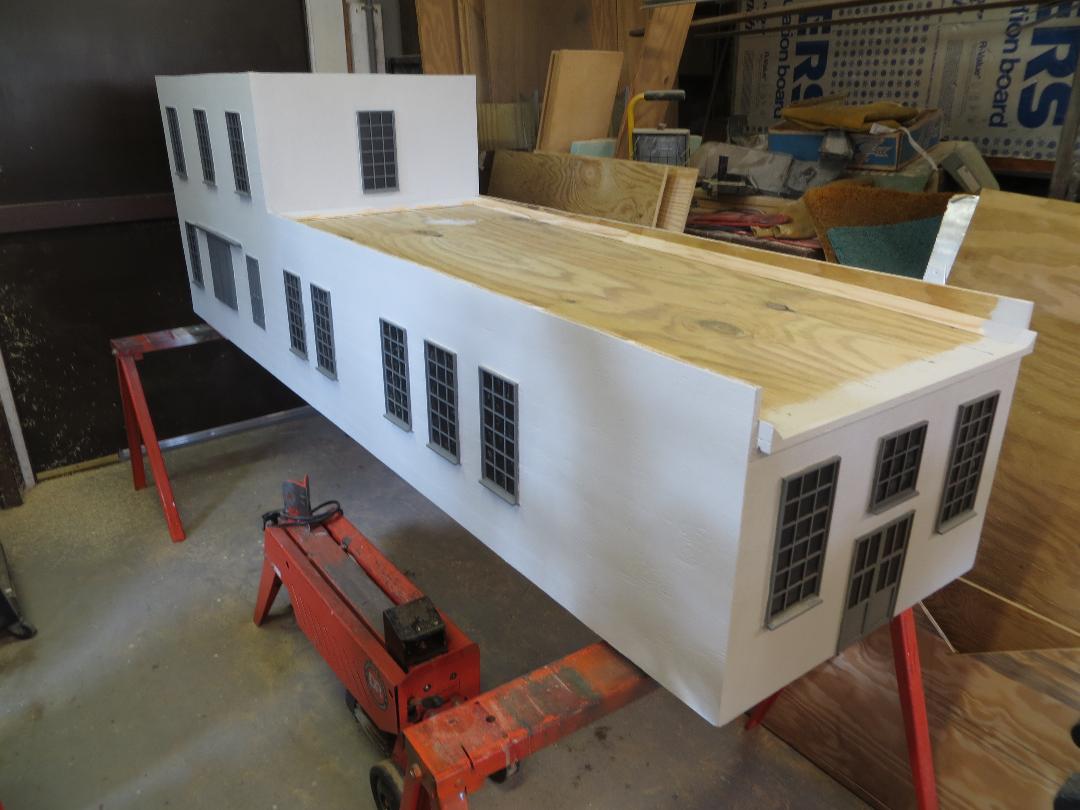
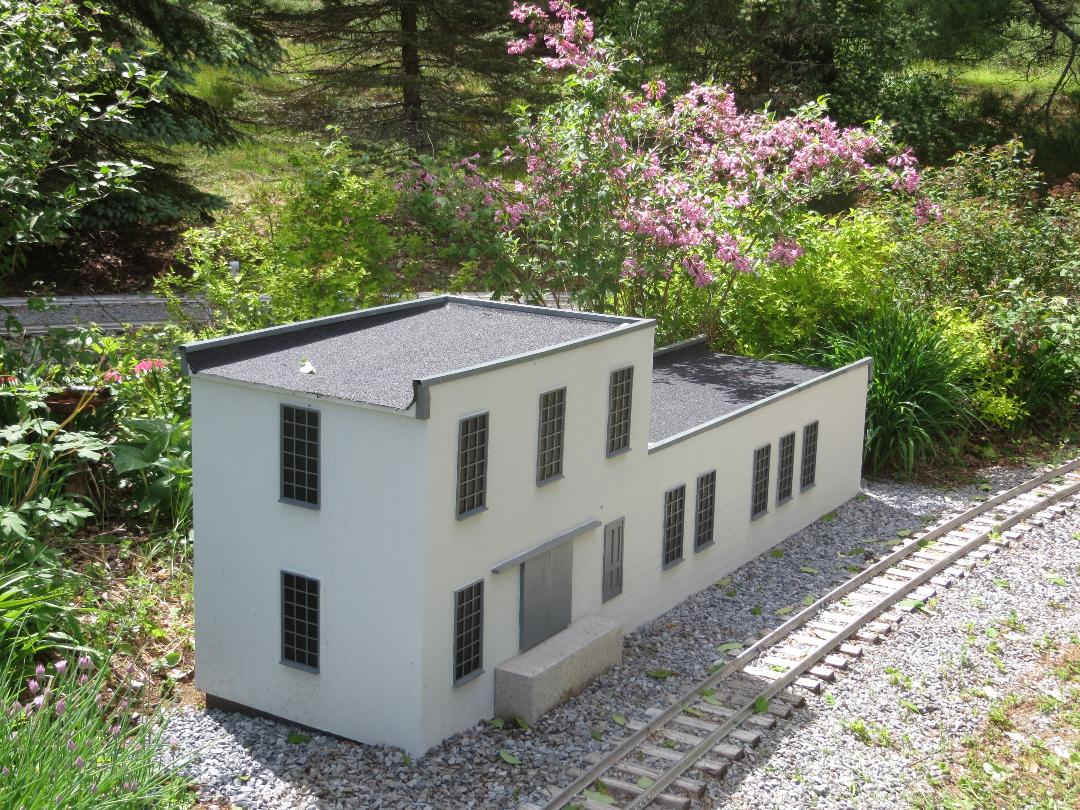
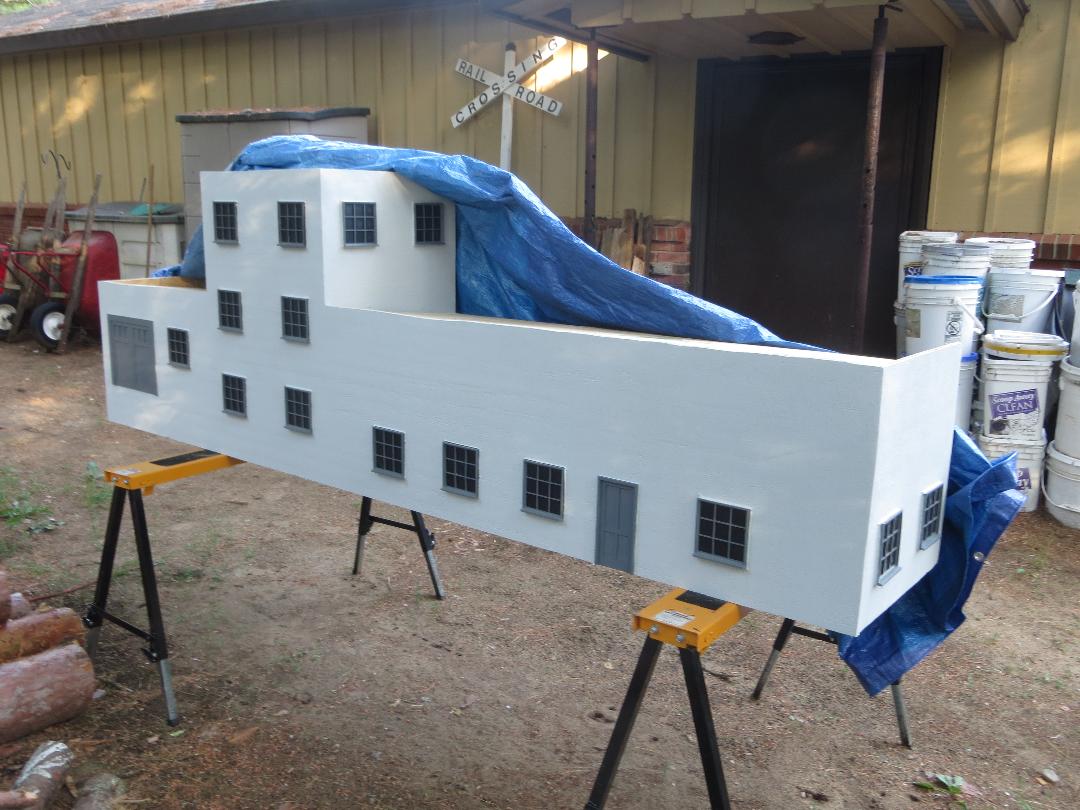
Here is a building I'm making now. The windows it is receiving are 4" x 8". The building is 2' x 8' x 30").
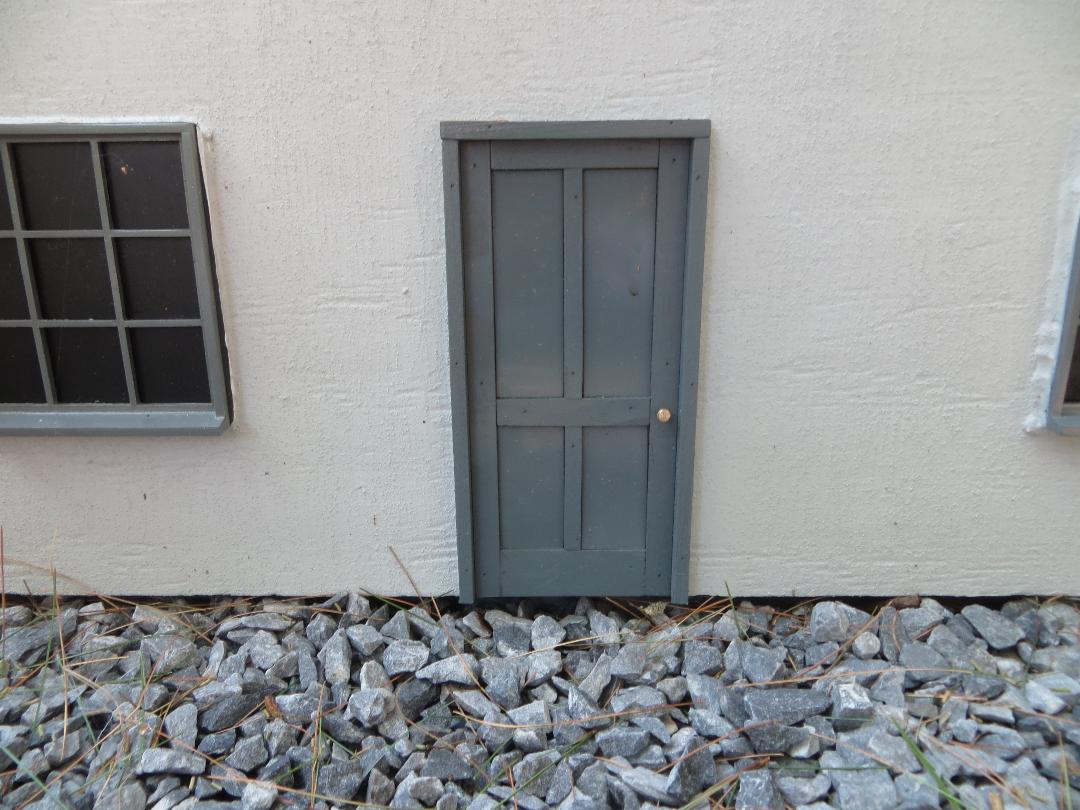
First I put construction adhesive from a caulk gun onto the building where the window would go and pushed the window into it. Then a couple of days later I laid a bead of gray caulking around the perimeter of each window to seal them and hopefully to help keep them secure to the plywood building core. Then few days later (today actually) I prime painted that one side. I have sand paint on hand to finish the sides to look like gray stucco. That will be the one of the last things to be done to the building, but before I add the roll roofing. This building takes 22 windows and three doors. The doors will be made one-off out of styrene, no molds, etc. The building has already been turned upright and I'm working on the other sides. A week here, a week there. Someday it will be done! I expect this structure to be the creamery building in the town of Rockwell Falls.
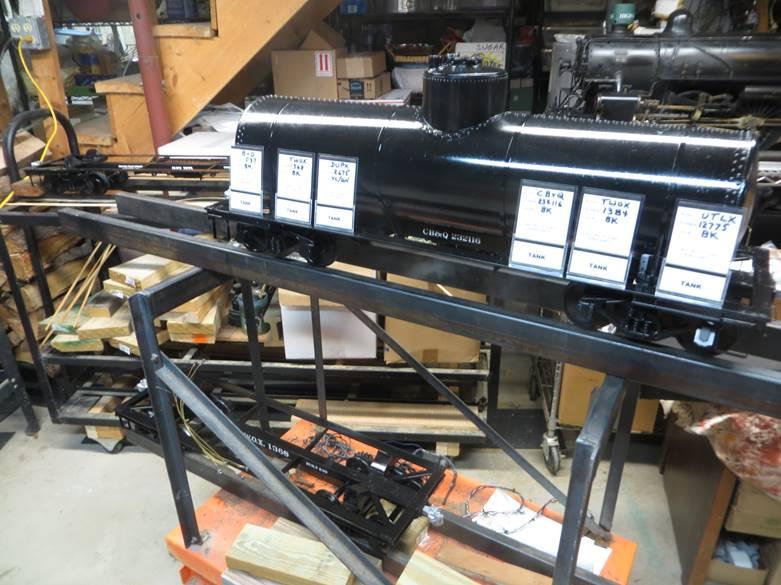
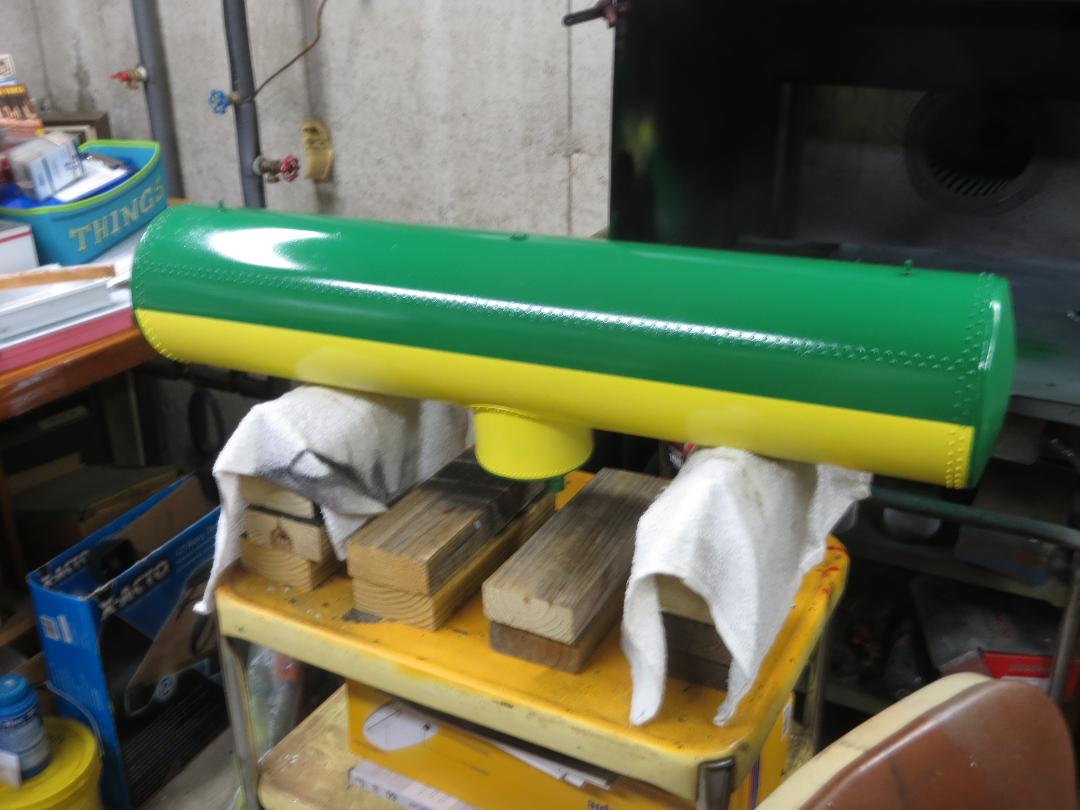
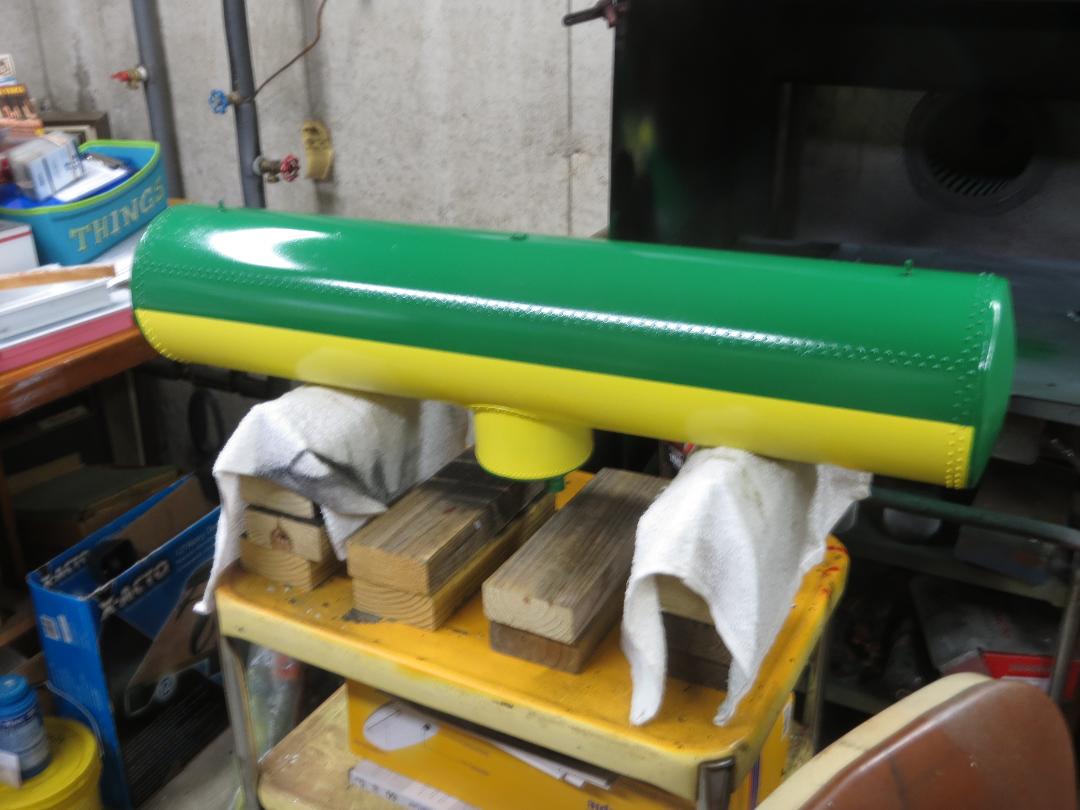
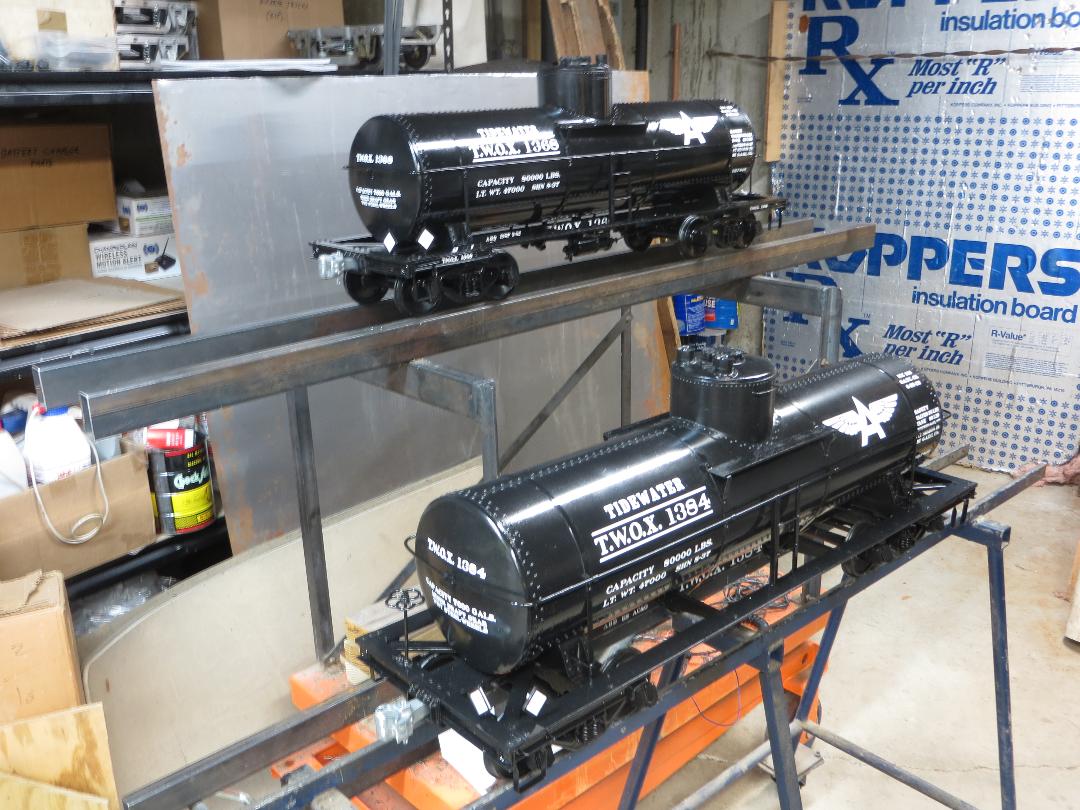
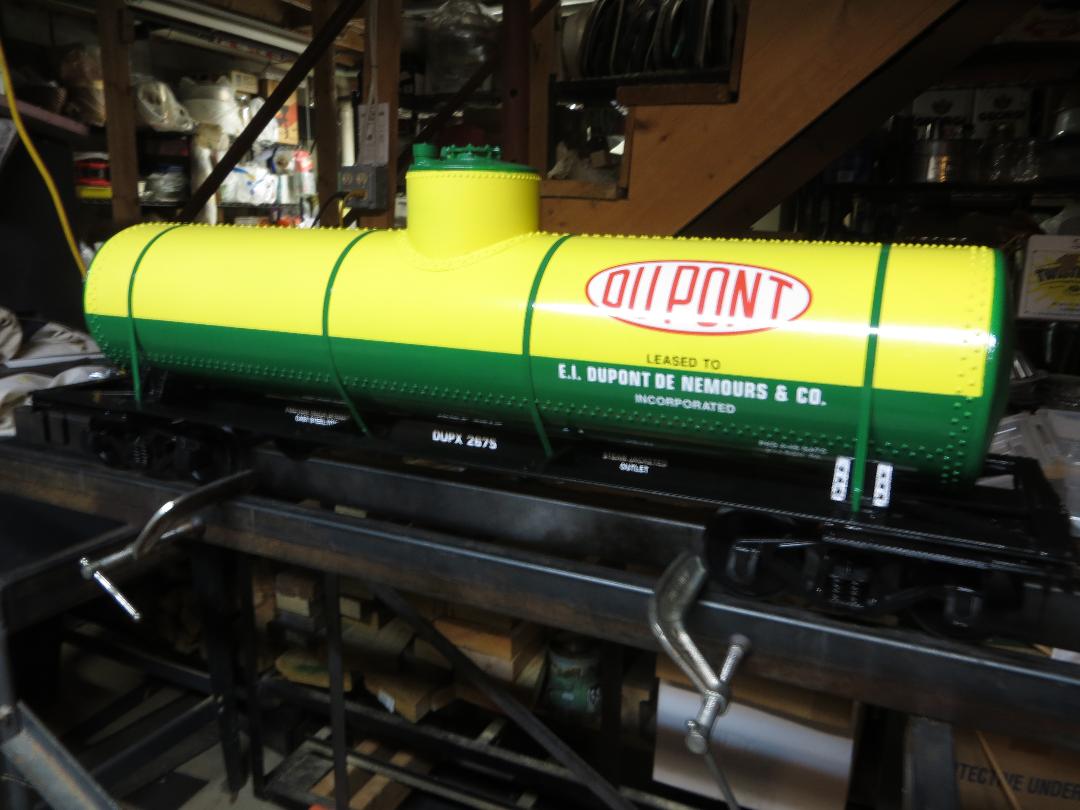
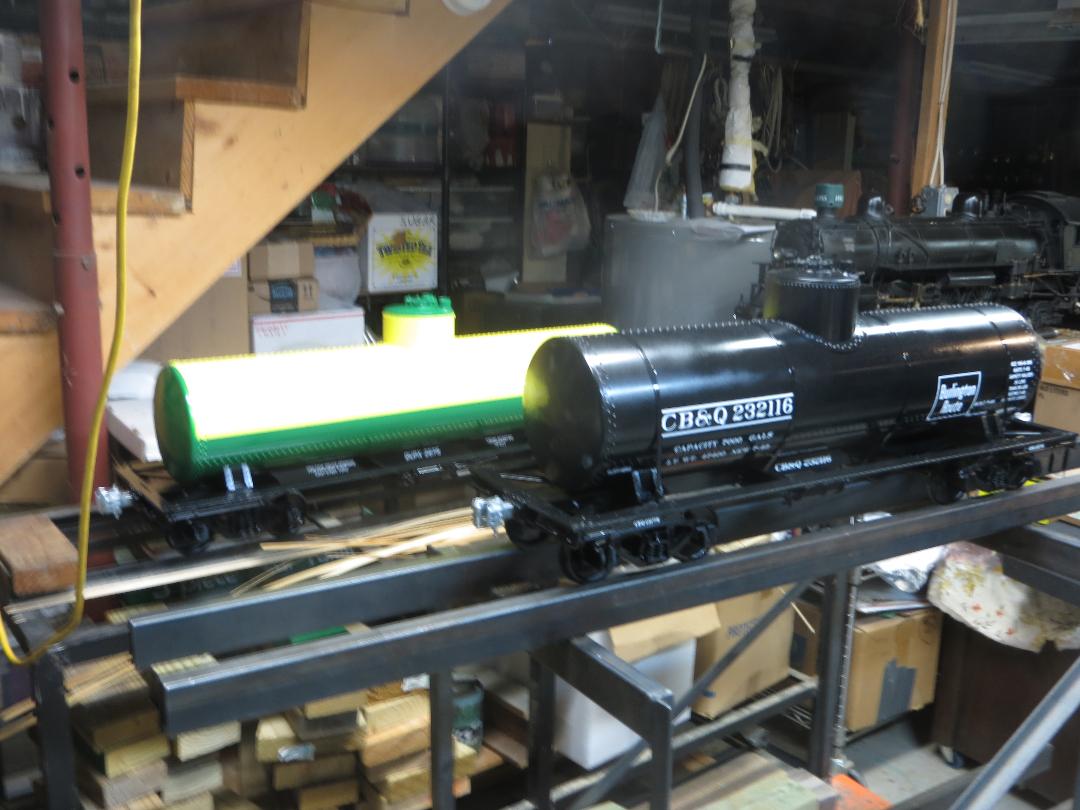
Spending some time working on tank cars. Two were completed recently and already shown to you all. I spent some time and made car cards for all six tank cars. They are shown on the walkway of the car in the photo below. I'm preparing for the 2021 operating season. Two more tank cars are looking like this photo
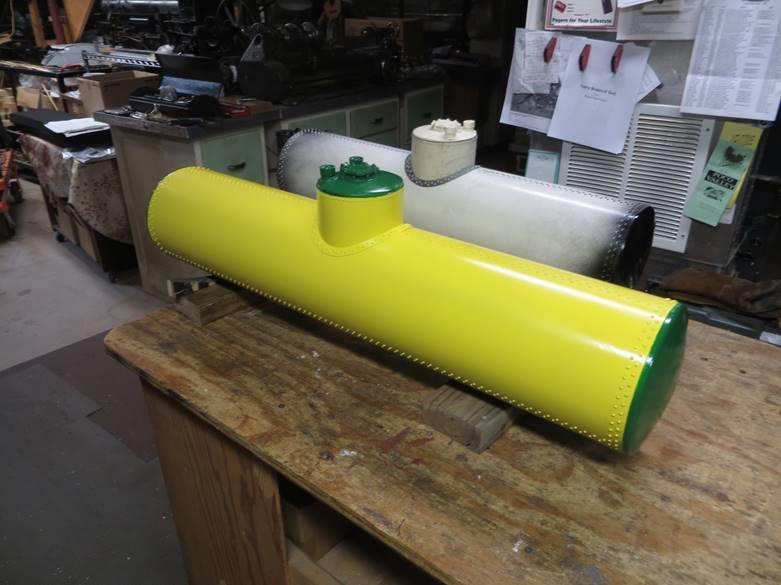
Three frames are visible in photo 1. The top one has the tank fastened to it. One behind the camera is just the same. The next steps are hand rails, ladders, dome platforms and lettering. Photo 2 shows the tanks of the final two cars. They both are only partly painted. When they are, they will be fastened to their frames, etc, etc.
Painted the bottom of one of the two remaining tank cars needing painting - photo 3.
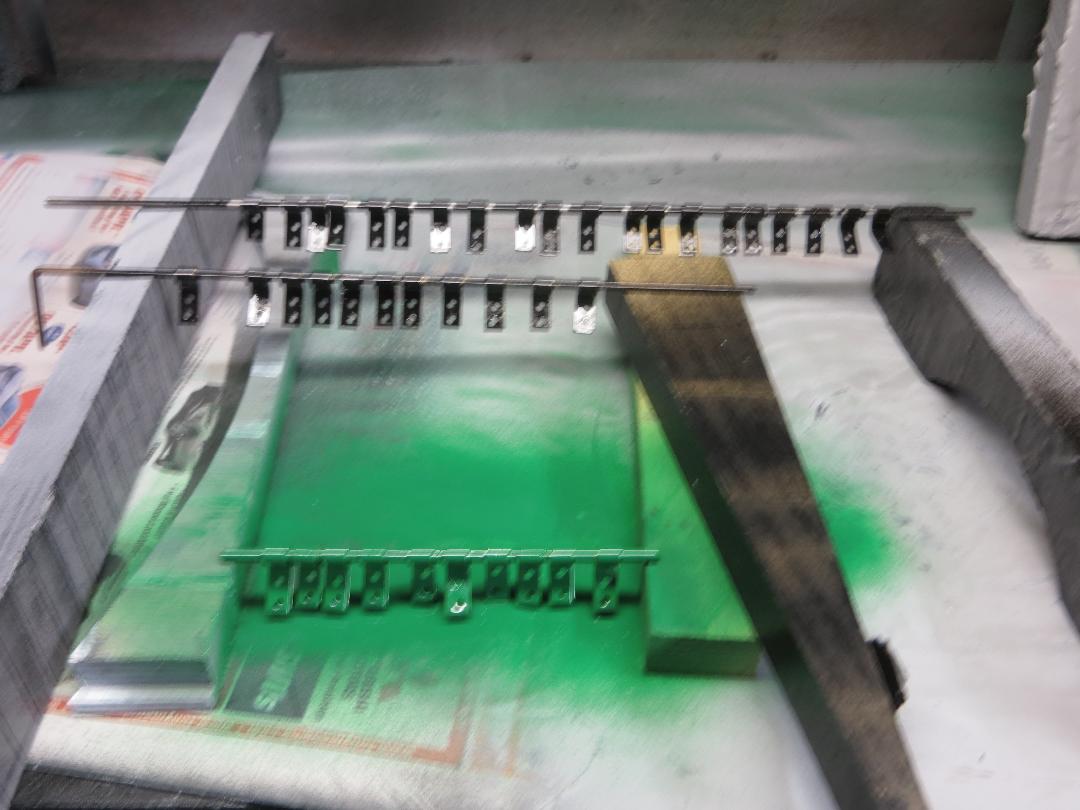
Next on the list of parts to be made are brackets for the dome platforms (and the platforms themselves) for the four cars. Then there's the ladders, the railings themselves, etc. Much more to be done. Have a good week all!
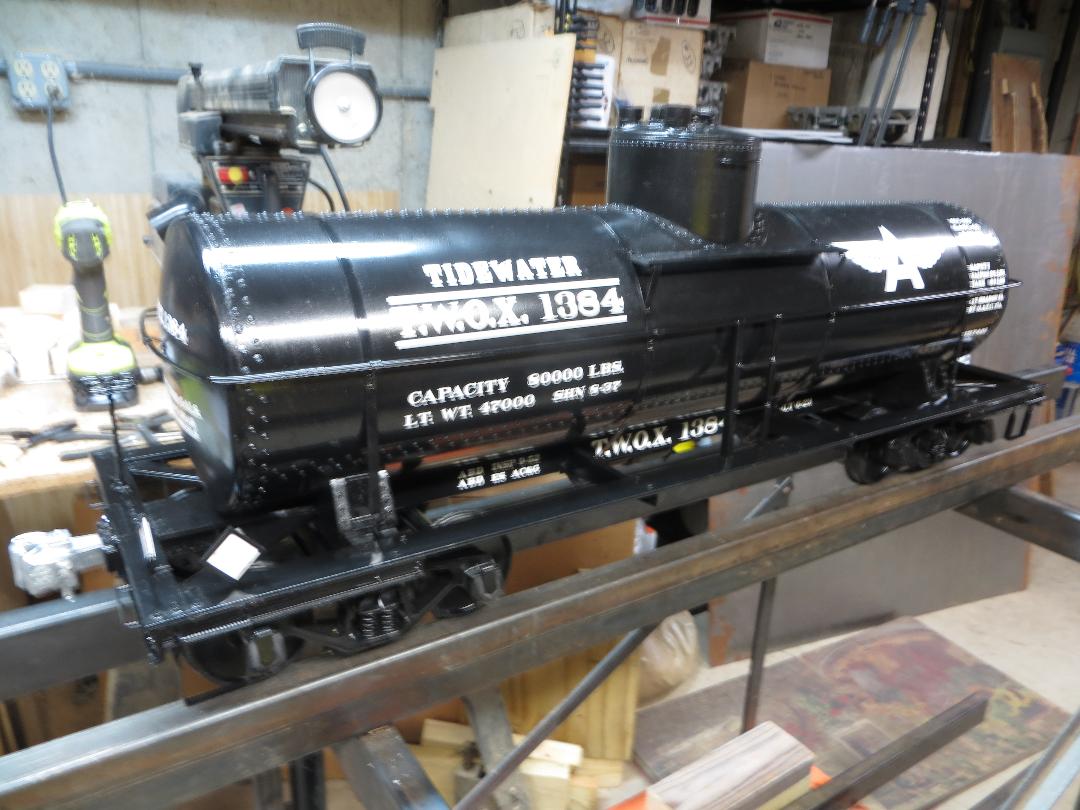
I did it. I wanted to finish this car by tonight and I did it. It did take 8 hours of work today, plus countless hours previously.
I did it. I wanted to finish this car by tonight and I did it. It did take 8 hours of work today, plus countless hours previously.
There are now two Tidewater tank cars completed. One car per week! If I keep up this pace of one car per week, in 5 years I'll have about as many as freight cars as most of you HO and N scalers have already. Alas and alack, I started the tank car project in 2018. Not 2019. Yes 2018. At that rate of 5 cars in almost 2 years, it will take me 100 more years to get those cars. I'd better get back into the basement.
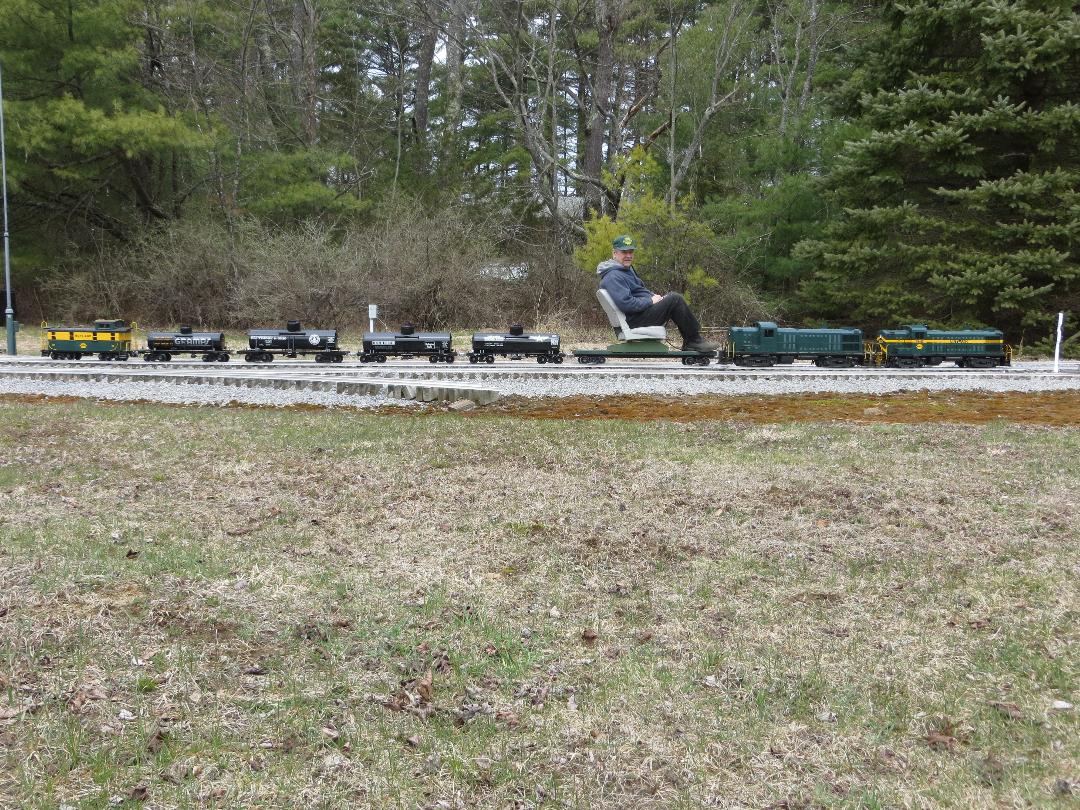
But before I go, here is a photo taken today: Four of the cars are out of the basement. I added engines and a caboose (and a Rutland hat) and took the train twice around the railroad. No derailments or problems encountered. I'm happy. Spent some time this afternoon chainsawing leaning and broken trees in and at the edge of the field. Tonight I rest. Tomorrow I work on the sixth tank car.
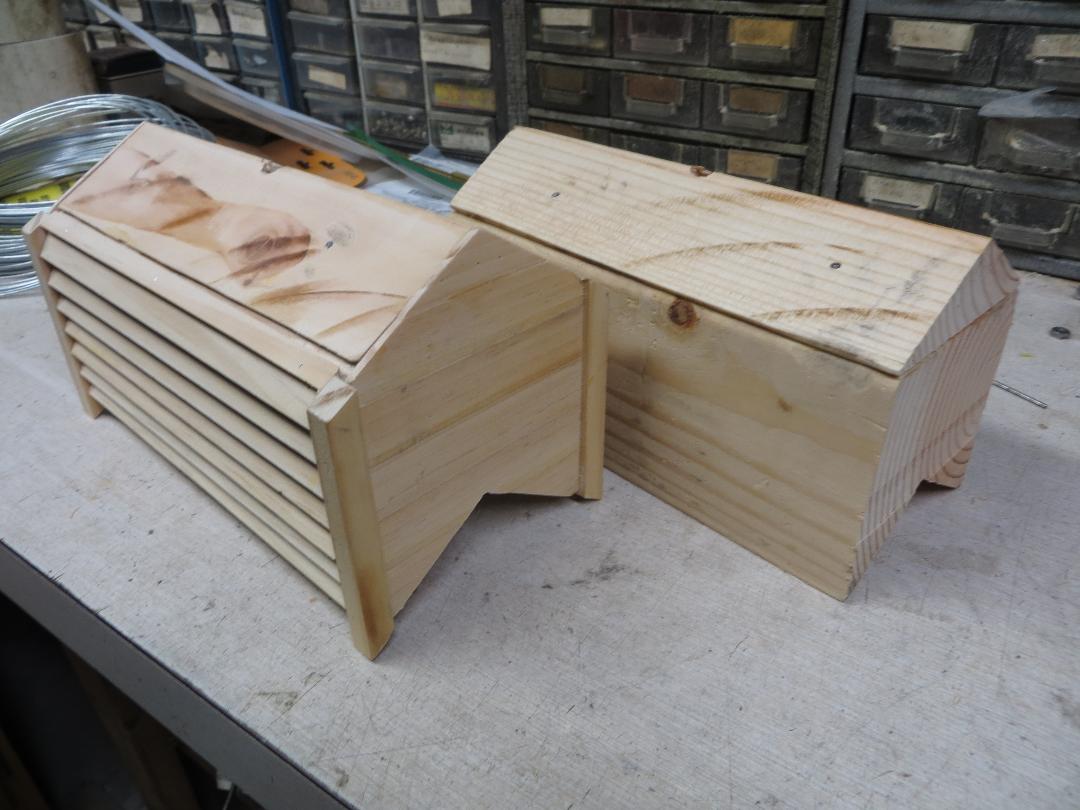
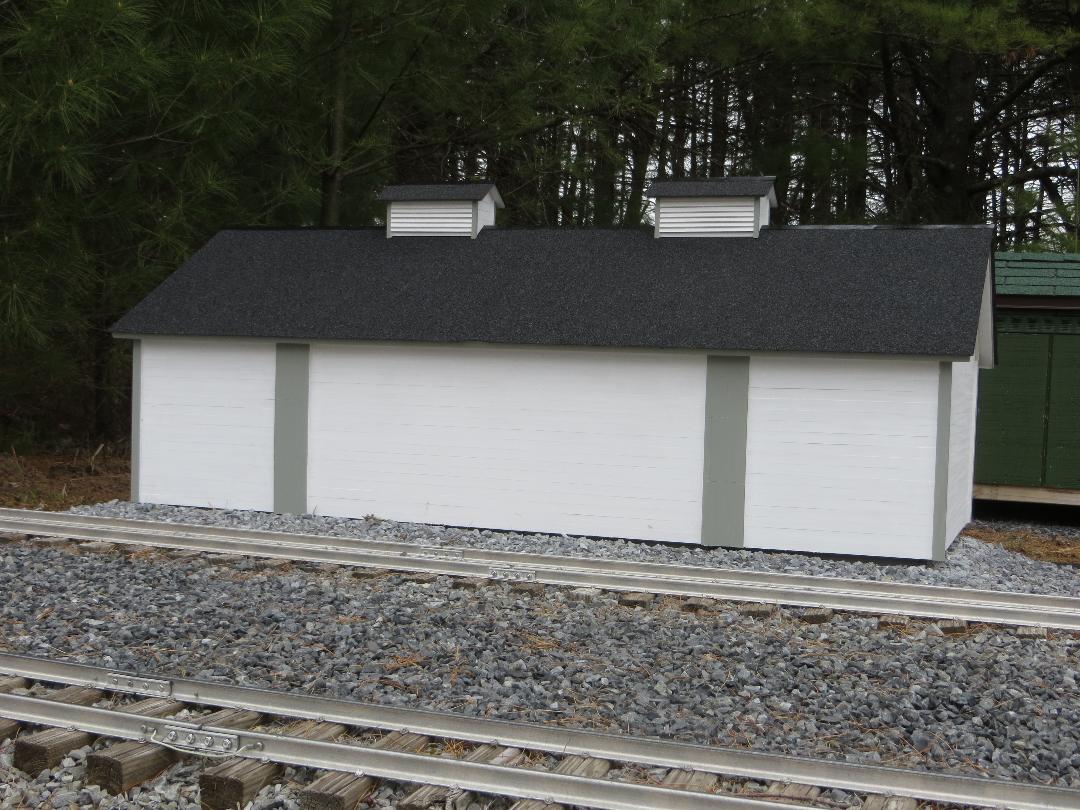
It was a busy week, but I cannot report any project completed. The three projects in process did see work accomplished. Here are the details.The Ice House awaits a final detail:These are the roof ventilators. The ventilator in front has all four sides completed. It only needs basswood roof sheets to be added. 4x4 blocks are the cores as can be seen in the unfinished ventilator in the rear. I cut the bottom of the 4x4s in a "V" to match the ice house roof and then moved the cut out portions to the top of the ventilators so the roof slope for them is the same as the building roof slope. One hole has been drilled through each ventilator at the ridge for a screw to secure them to the roof of the ice house. Roll roofing will cover the screw and will be added when the ventilators are already secured to the ice house.
Next is the Rockwell Falls Creamery building: All the windows and doors have been applied and two coats of sand paint added on top of a primer.The building awaits warmer temperatures so roll roofing can be more easily applied.
And last but not least, the sixth tank car is getting lettered:It's a slow process. After the lettering, dome platforms and tank railing will be applied.So that's it from me for this week. Hope all of you are keeping busy and staying safe. Joe
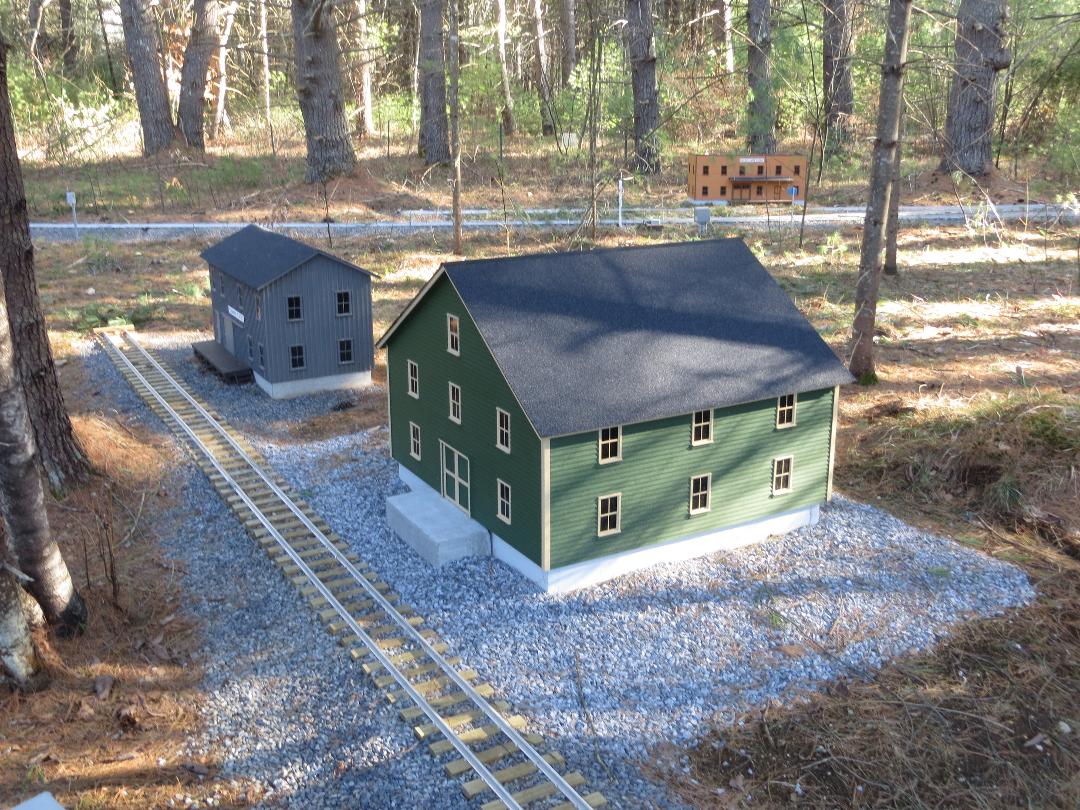
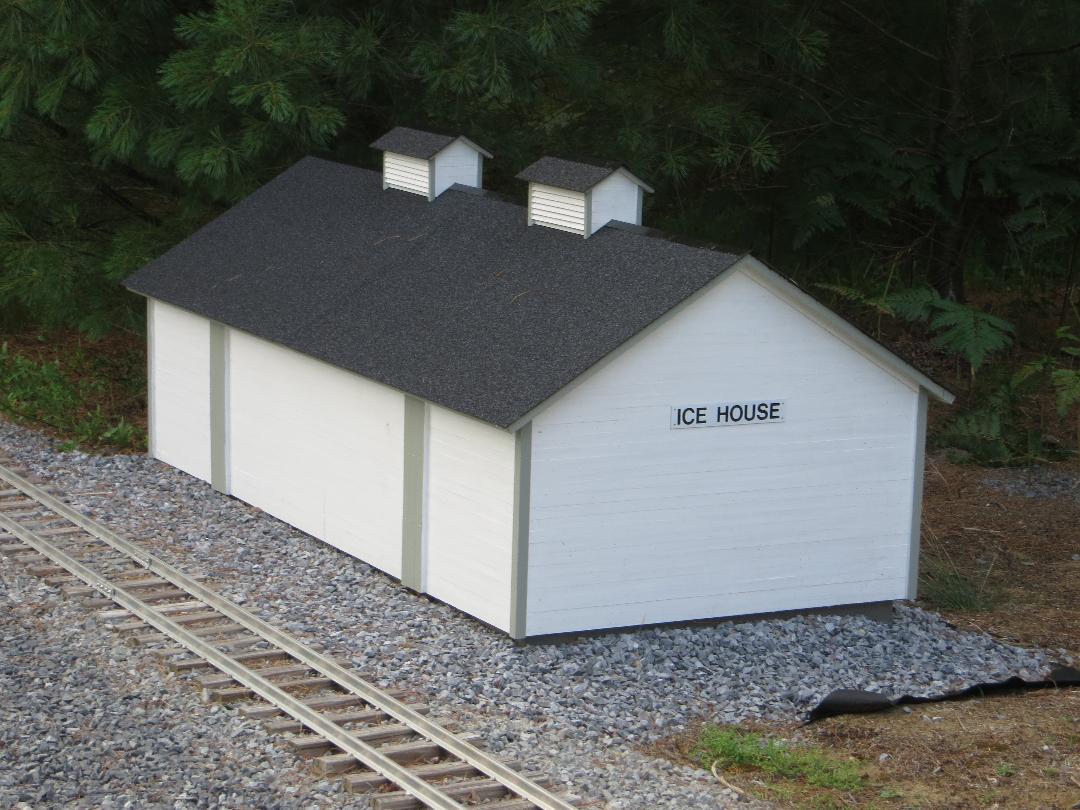
I've always been slow on production and have so far enjoyed the opportunity the isolation the pandemic has provided to get things done. No events are planned for here this year so production can continue right on through the summer. Here is the first of the winter project structures to be put out on the railroad.Got the ice house finished and set in place. It started to rain even as I snapped this photo.
It is located at the west end of Henderson Yard. On the track map it is called West Henderson. Now the refrigerator cars and milk cars can be iced before they are loaded with products.
On to the next project. I still have to finish the sixth tank car. It may only take a couple of days of work to accomplish that, but I've been busy with other things. My helpers have been here and much wood debris has been gathered in the woods and set along the track for later pick up by work train. Have a good week all - Joe
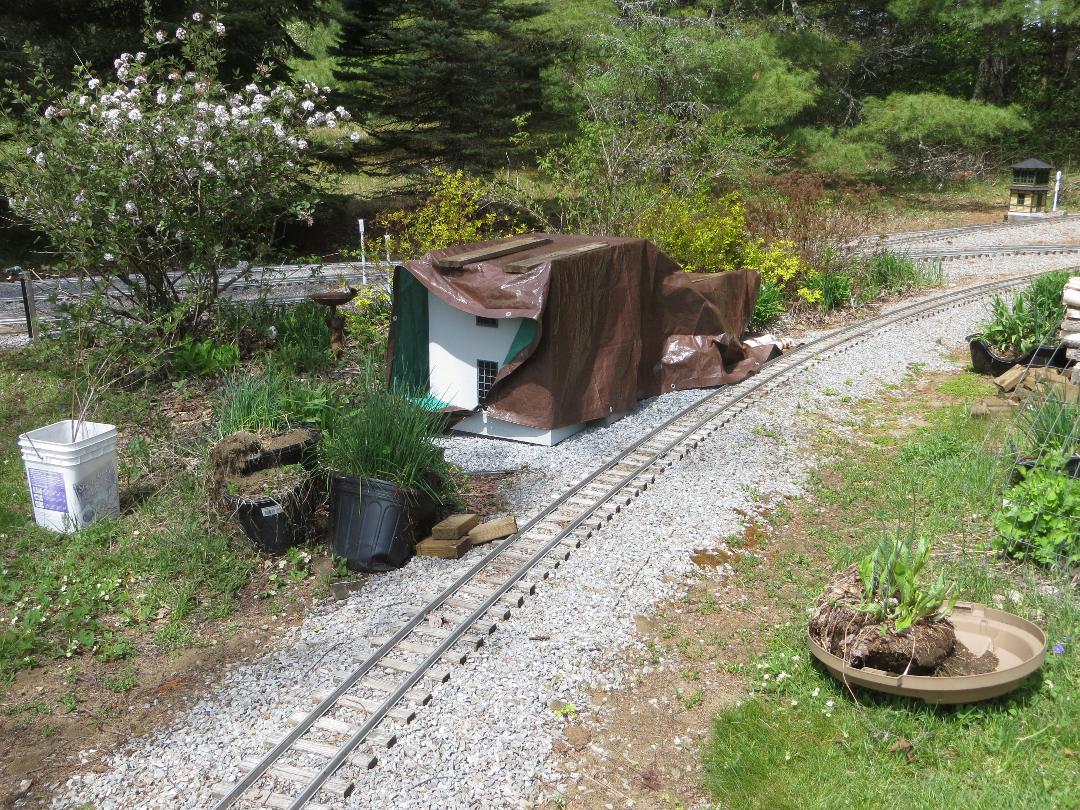
Wednesday May 20th Joe wrote - Hi all. I told you last week I'm slow producing things. That prepared you for this report which tells you I did not meet my goals for the week. I did not get to finish tank car #6. I did make some progress toward that end but did not reach the finish line. Maybe next week? I did have my helpers get the creamery building out of the wood shop and on to the work flat. That then enabled me to roll it over to the site where it is to go. Before finalizing where it was to go, I had consulted the General Superintendent of the railroad. She agreed the location I had chosen did not work well. The second location I proposed also was not approved. The site she chose is entirely within a garden area she had planted when the tracks were first laid there in 2005. My task would be to remove the plants that interfered with that chosen location. I did that. Then I installed the foundation and my helpers put the building on it.
The removed plants are in pots, buckets, a tray and a garbage can lid. The reason the creamery is covered with a tarp is because I have not yet installed the roll roofing to make it weatherproof. Maybe next week? What did see progress was cleaning up the wood debris around the railroad. My helpers gathered much brush and stacked it in piles along the railroad.
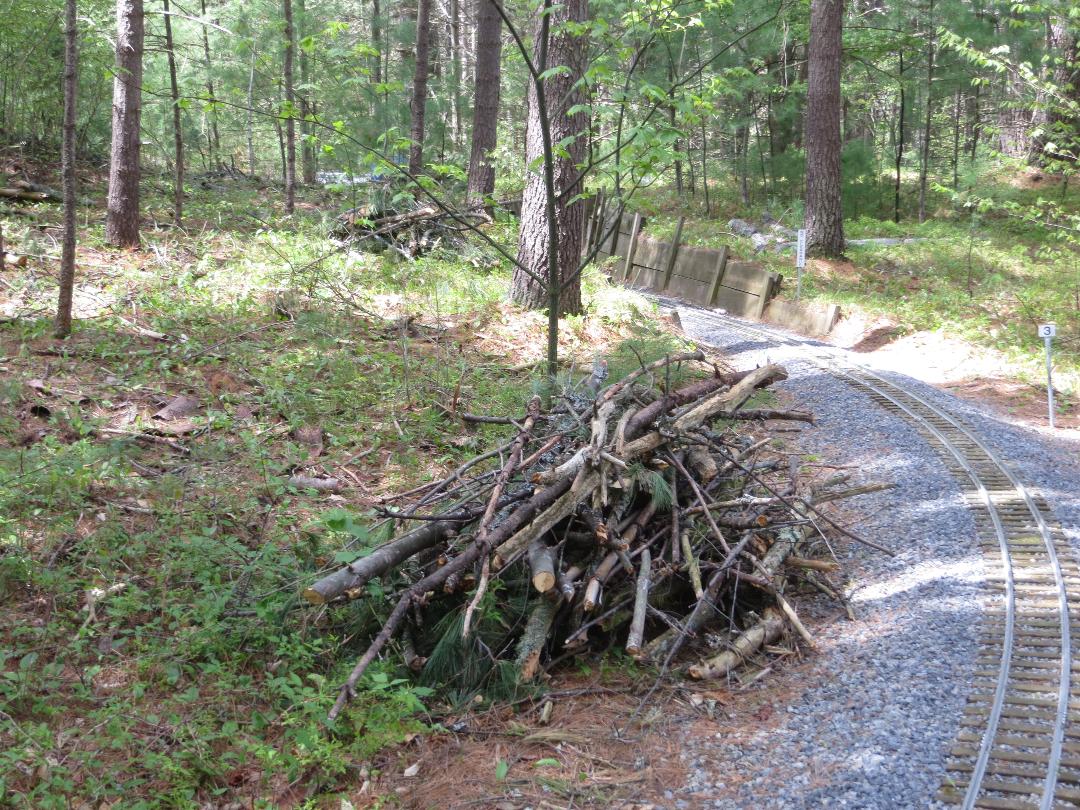
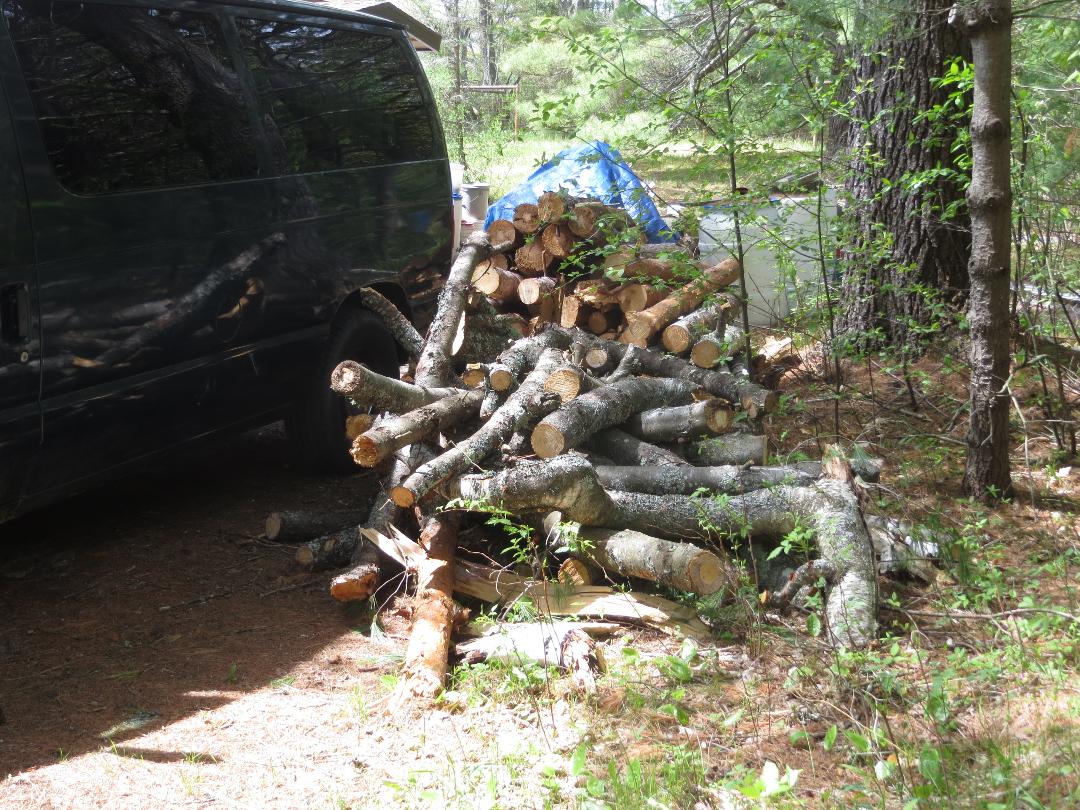
So far this year 19 trailer loads of debris have gone to the dump. Many more piles, including the two seen in this photo, await.I sacrificed and took time to use a work train of four gondola cars to move logs from the woods. The dump will not take logs.
Odd shapes are piled in the foreground, neat logs are piled behind them. There are more logs still in the woods awaiting additional sacrifice on my part. Woe is me, I'll have to run a train. This pile must be cut to length, then split, stacked, dried and burned. Maybe some day? I did hold three burn sessions of 3 to 4 hours each this past week so when this batch of logs is cut and split, there will be some place to stack them to dry before burning.
I did also continue repairing the railroad signal system. I am not sure why but over the winter a fair number of logic boards had failures which did not let them function properly. One by one I identified the failures and repaired the boards. The one board I could not get to work properly is the one board that really got fried in last year's lightning strike near RH Tower. It was repaired last fall and worked then but not now. I replaced it with the one spare board I have.
For the electronically savvy fellows among you, two different transistors are failing this time around the railroad:
I had to replace about 10 of the 2N5306 transistors. Each board may have three or four of them between the track common and the opto-isolators on the board. This is part of the input sensor portion of the circuit. They are easy to replace as they are in sockets. I found that if any of the three leads of the transistor shows a continuity between any of the other two, the transistor is bad. Out it comes. What is odd that of the three or four of them on each board, only one was bad. Only one failed by not turning off, the rest failed by not turning on. If it fails by not turning on, the train is not detected in the block and the signal stays green. If it fails by not turning off, the signal stays red when there is no train in the block.
I had to replace a much smaller number of the TN3019 transistors. Each board may have two or three of them between the input sensor portion of the circuit and the LEDs on the masts. They are the LED drivers which turn on the output LEDs when a train is detected by the input section of the circuit. Again, only one of these transistors on a board went bad and there was not a direct correlation between the failure of these transistors and the 2N5306 transistors. They were not usually on the same board. If all other things are working correctly on a board, I can short out the two outside leads of the TN3019 transistor and the LEDs on the mast will light up. That shows me the transistor is bad. The tricky part is that these transistors are soldered onto the board. I have to disconnect the 19 or more screwed-on input and output wires and take the board into the basement to remove and replace a bad TN3019 transistor. Do that a number of times and it becomes tedious.
I also found a small number of soldered joints had broken in the signal masts themselves. When that happens one or more of the LEDs in a head stay dark. Last year I had bought a butane-powered portable soldering iron at Harbor Freight and it works great to perform these repairs in the field where I do not have a source of 110 volt power.
I do have one accomplishment I can tell you about this week. This afternoon I did finish repairing all the signal locations on the railroad that were afflicted by these problems. Done. Yippee! For now.
I still have three board fried by the August 2019 lightning strike that do not work. They are in Henderson Yard. Two at Bucca and one on the signal bridge. Some day?
There you have it: What I did or did not do this past week.Til' next time, keep busy and have fun.Joe
Wednesday May 27th Okay, at 9 PM it is a bit late in the day, but from 4 to 7 PM workers were here, from 7 to 8 PM Daisy and I were feeding plants, and from 8 to 9 PM I took a train ride. So here it is. Short and sweet.
Tank car six of the series is done. Daisy is happy it is not another black car. No more tank cars for now.Have a great week all, Joe
Wednesday June 3rd - Another week, a bit more progress. Rockwell Falls Creamery is in place. The signage has been ordered. A couple of last minute details still need to be made. Biggest of them is the set of stairs for the passageway door to the right of the loading platform. I have the ideas in my head but the physical material is not on the property to make the stairs just yet. Have great week everybody. Joe
Wednesday June 10th - It has been another busy week. A couple of wind storms brought two more trees to their knees. My chainsaw is out for repair so tackling the trees will have to wait. My helper loaded two more trailer loads of wood debris from the railroad and I brought them to the dump. That makes 25 loads so far this year. The railroad is looking good.
Two milestones were reached this week.
First, I decided to add 14 feet of track to one of the industrial spurs at Deer Run so I could place a second industry on that spur. Laying and ballasting that track provided the first milestone. There are now 10,562 feet of track on the railroad. My math says that is two feet more than two miles of track. Two miles of track. That's the milestone. I did not have to make any track for that extension as I had it on hand as I'd been trying to decide where to lay more track for over a year. Now that's done.
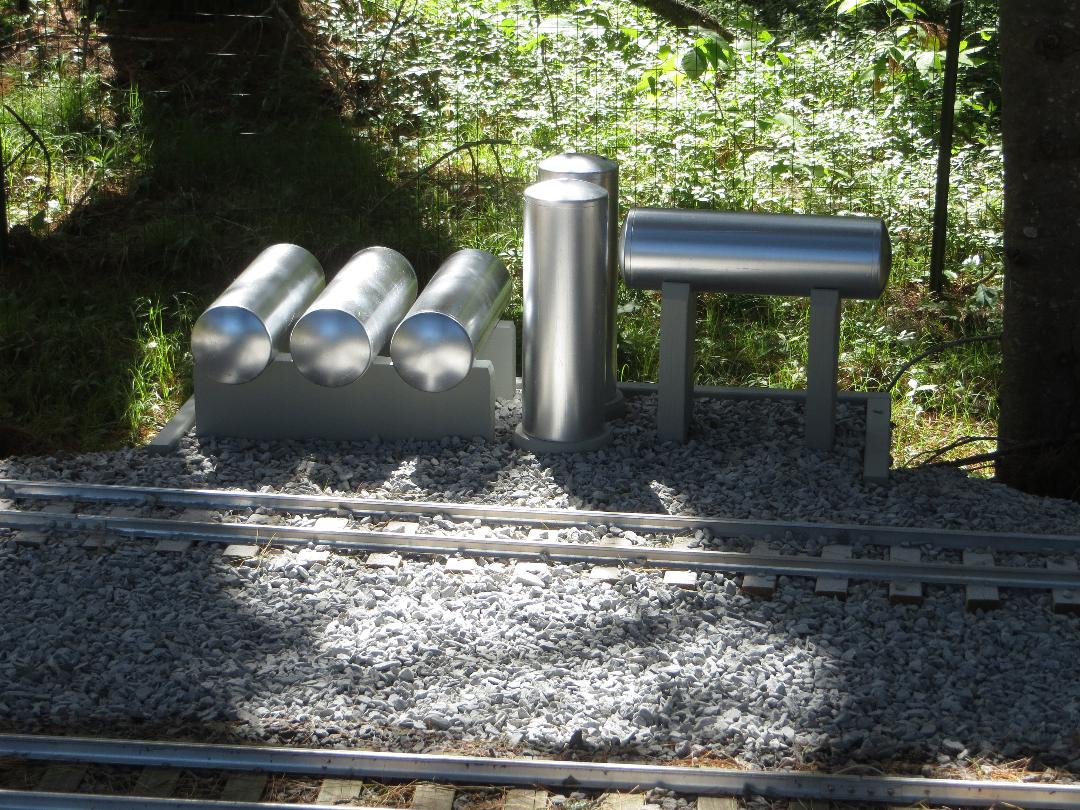
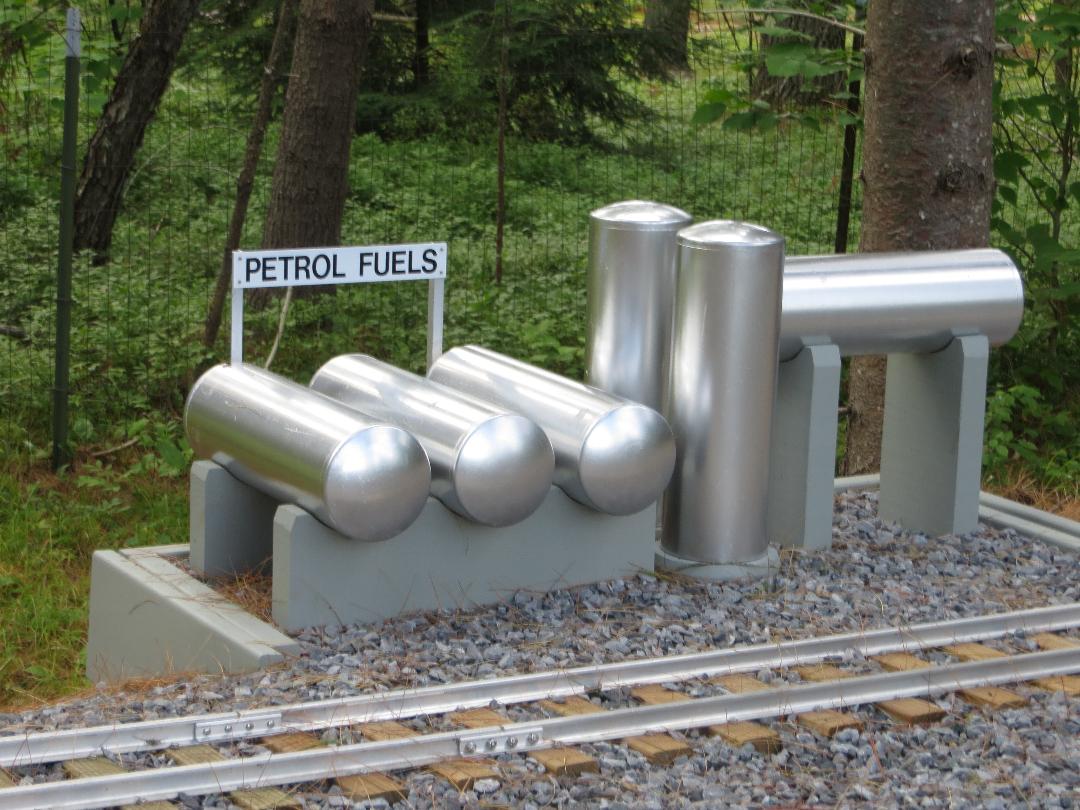
The second milestone did not take so long to accomplish. A couple of months ago Bob Mohowski lent me the Model Railroader book on "Industries Along the Tracks". Right on the cover was an industry that fit right in with the six tank cars I just finished. So after the tank cars were out of the basement, parts to make the new industry took over the workspace. Back in 2007 I used 10 foot lengths of 4" PVC pipe as runners when I needed to drag the seven sections of 9 foot long and 5 1/2 foot diameter gasoline tank sections into place to make Friendship Tunnel. So those 4" PVC pipes have been laying around without a purpose since then. Hmmm. I think I know what I can use one of those pipes for. A little bit later and now that the industry has been completed and has been installed on the new spur extension.there is one less old PVC pipe awaiting a new purpose.
Here is a photo of the new industry at Deer Run:
"Petrol Fuels" is the name of the company. The lettering has been ordered and the sign will be installed when it arrives. Simple, but it will serve the purpose of having a destination a tank car can be delivered to.
Thank you Bob Mohowski for providing the source for the idea for the industry.
I wonder what I'll do next. Hmmm.
Onward we go! Have a good week everybody.
Cheers, Joe
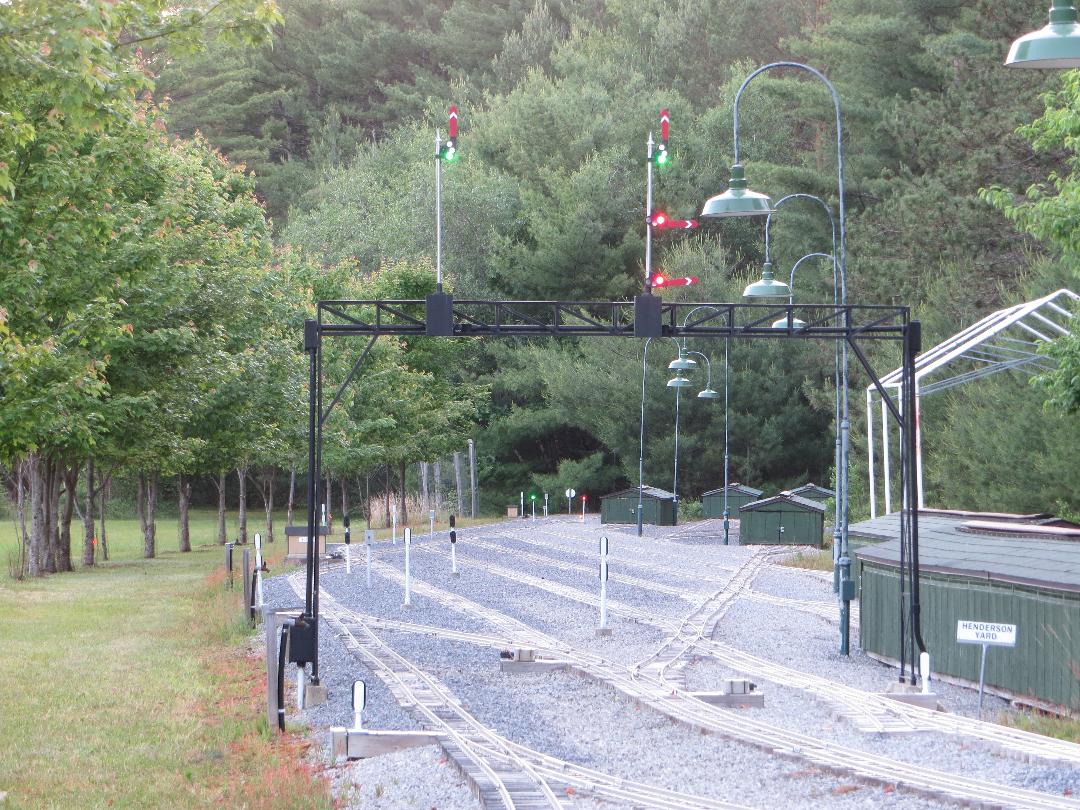
Wednesday June 17th - Hi guys. Not that much to show for the week. Two things did get attention. 1. I re-installed the semaphore signals on the signal bridge.
I had removed them last fall to protect them from the winter. The two logic boards also needed repair from the lightning strike last August. I had already repaired the more simple logic board there. I spent Saturday working on the more complex logic board and repaired it, then re-installed the semaphores. All-in-all there were two burned out LEDs on other masts of this district, a broken wire between one of the track switches and the complex logic board, and a bad 2N4069 chip that were fixed Saturday. I replaced the two LEDs, the bad chip, and a blown fuse. However, the broken wire wends its way from the switch through conduit, up one side of the signal bridge, across it and down the other side and into the signal box. Rather than try to find the break, I abandoned it and buried a wire in the ballast directly from the micro-switch at the track switch into a small hole I drilled into the bottom of the signal box and on to the logic board.
Also, the signals next in line down the track are at Bucca and are dark. They also were fried in the lightning strike and have not yet been repaired. At Bucca, on Saturday I separated the signal power from the switch motor power and installed a second fuse. So now the track switches work while the signals still do not. I have been doing this at many locations on the railroad over the past several years.
2. Another industry building is taking shape. Not finished, but under construction.
Wednesday June 24th - Hi all. Once again here is a report on what's been done railroad-wise around here.
1. The building shown last week has been moved out of the shop. Installation of the windows, doors, and all painting are complete. What it needs is roofing and a foundation. I ran out of 3" deck screws to accomplish that last task. I do have roofing material but the building remains under wraps until it is installed.
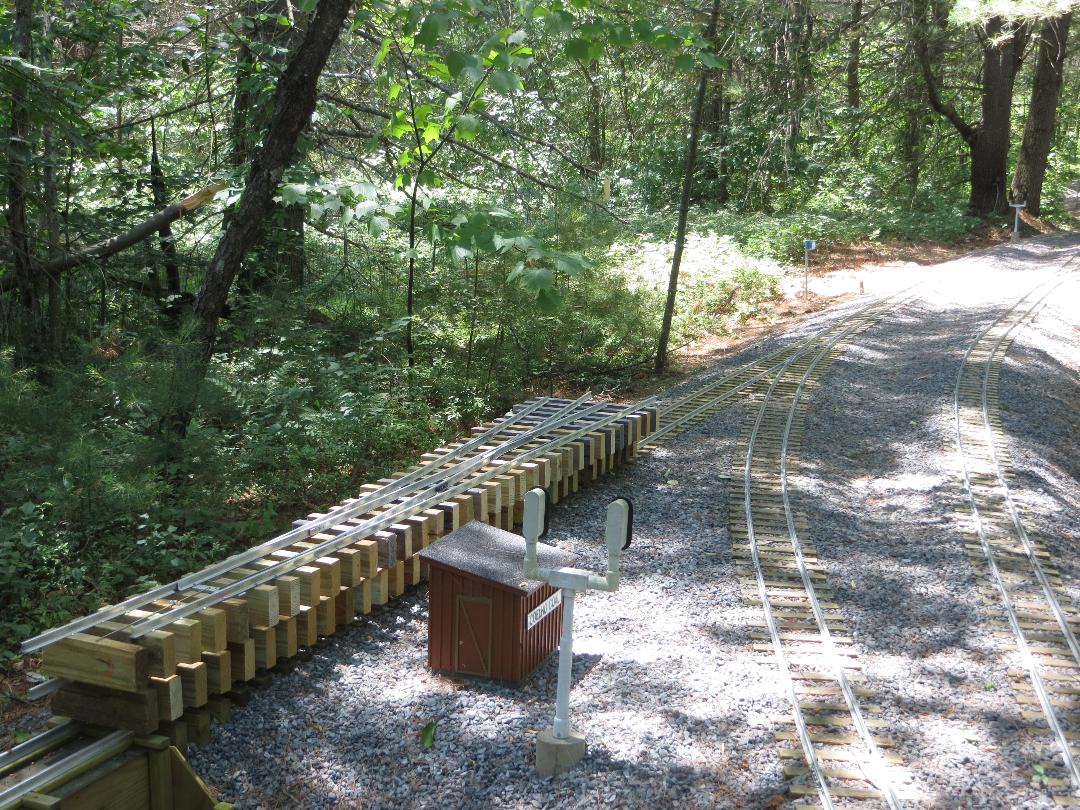
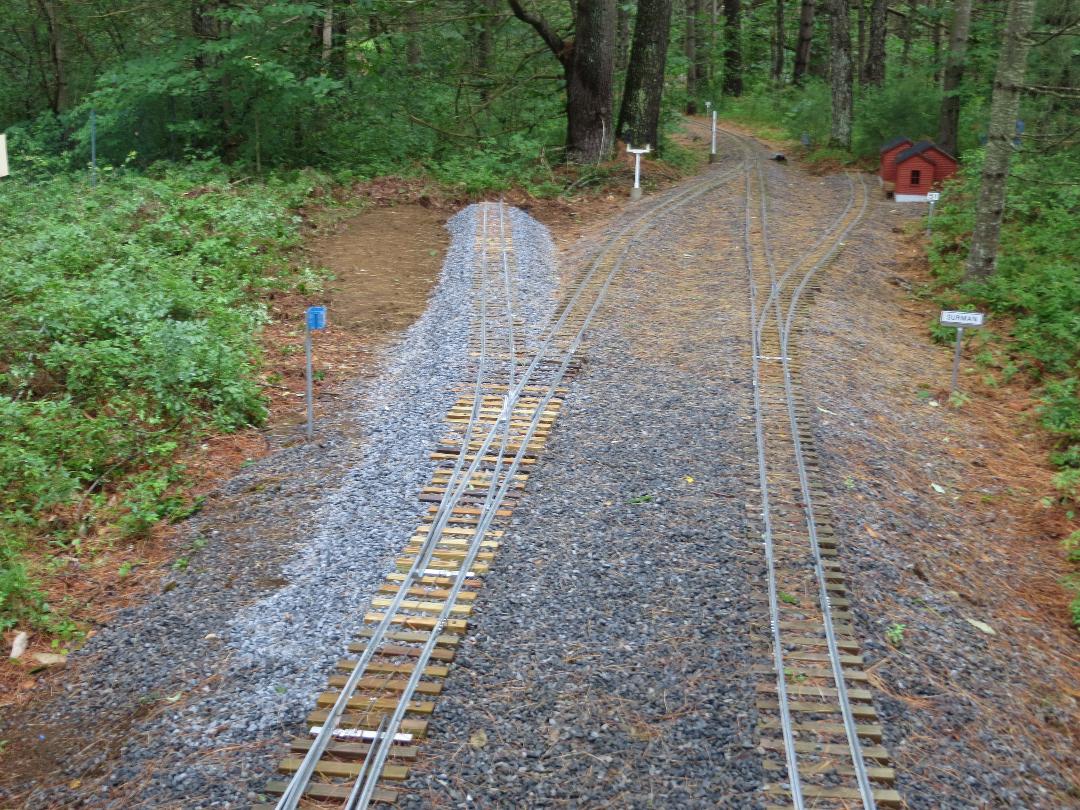
2. A ten foot track panel and a left hand switch were made this week and brought out to near where they will be installed. The locale is the town of Surman. In the foreground is Coelho Coal. Just out of view on the distant right is Surman Electric.A new spur will be coming in the area just beyond the points of the switch serving Coelho Coal.
3. And last but not least, vinyl lettering that had been ordered some time ago finally arrived. That enabled me to size the aluminum strips used as their base, cut them to size, drill them for fasteners, paint them, let them cure for a week, and then apply the vinyl.
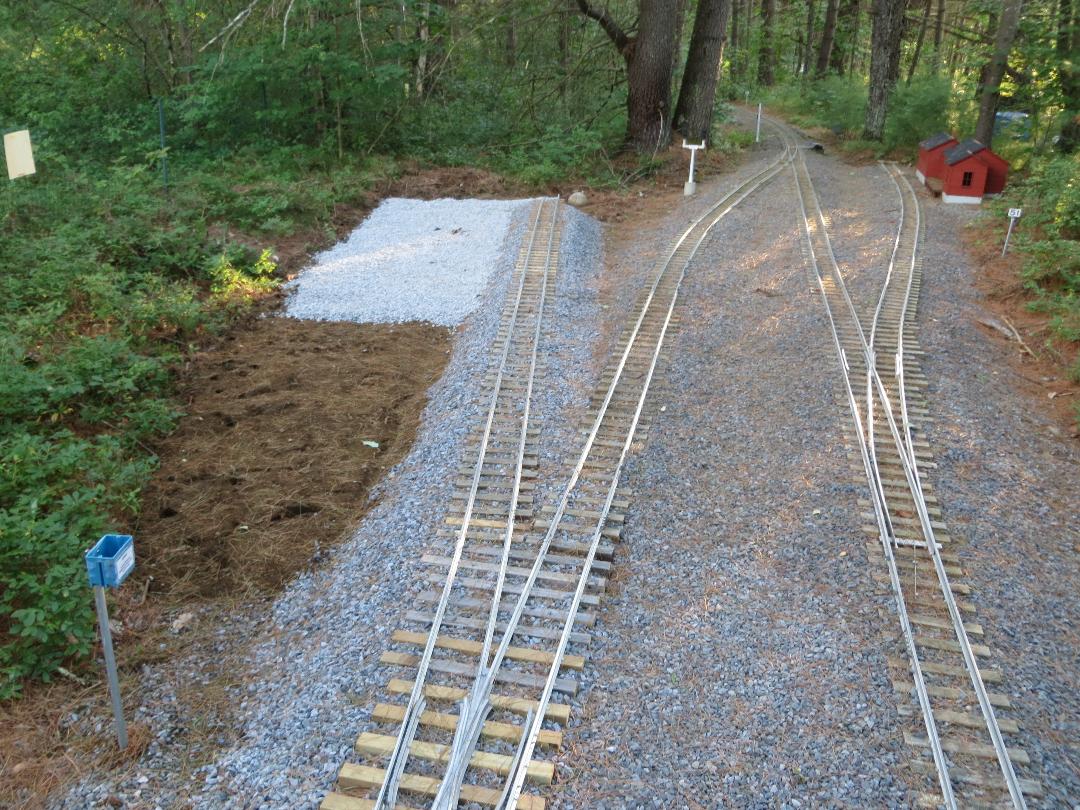
Tuesday June 30th - Okay, okay, it's only Tuesday, but I want to get this out. I have two things to report this week. 1. The new spur at Surman is in. It was connected, ballasted, tamped, raised, reballasted, retamped, raised again, reballasted again and tamped again. Done.
The spur is firm and level. Beyond the switch is 20 feet of straight track on the spur. The area to the left of the spur is where the building will go. I spent part of Sunday bringing in fill to bring the area up. Rain and T-storms slowed me down and this is the way it looks now. More work to be done there.
Wednesday July 8th - Not much accomplished this week. I did manage to make adjustments to four motorized switch mechanisms that needed it. I did blow the blanket of pine needles off the tracks. And the three buildings put out previously got signs attached to them:
That's it. You all have a great week. Stay well, Joe
Wednesday July 15th - This week was another slow one. Two photos can show it all. The jumble of logs on the side of the garage have been cut to length for splitting. The building under the tarp in the background saw no progress this week.
Where will the building go? I did make some progress there.
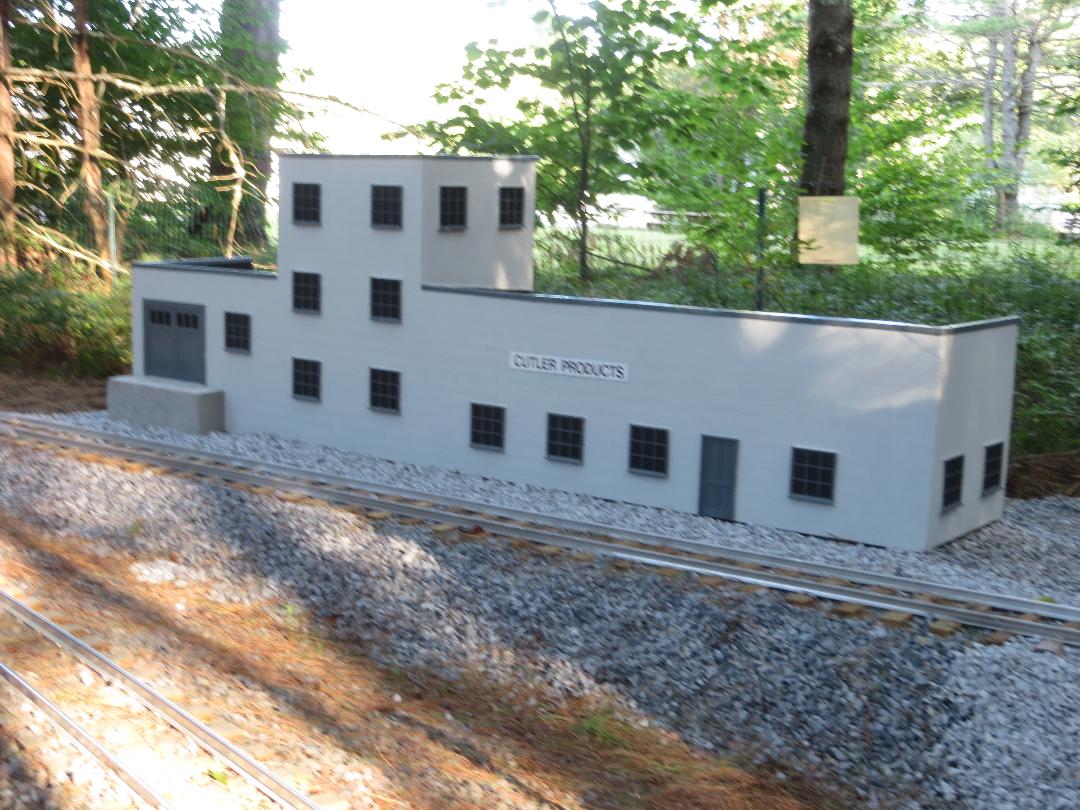
Wednesday July 22nd - Cutler Products has been installed on its own spur in the town of Surman. It joins Surman Electric and Coelho Coal which are on their own spurs in town
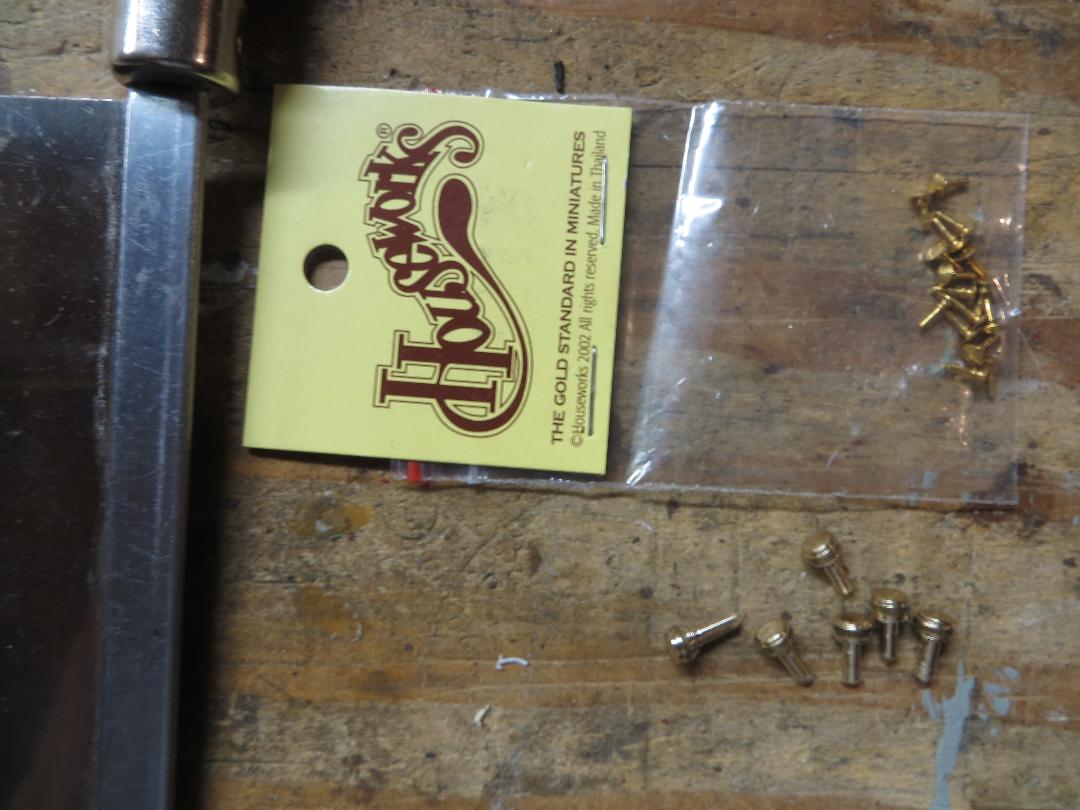
Wednesday July 29th - Hi all. A couple of weeks ago I ordered a package of brass doorknobs from an online supplier. They arrived yesterday.. I saw that the doorknobs are the size of drawer pulls and not suitable for my use. Alas, that's a problem with online purchases: they do not often indicate the size of the product. So after waiting these weeks for the product, I decided to bite the bullet and make my own. I put a piece of 3/16" diameter brass rod into the lathe and in less than 30 minutes I had six doorknobs that will serve the purpose.
This morning I spent another 1/2 hour and installed three of them on buildings on the railroad. Here's one: This is Cutler Products. The other two buildings are Rockwell Falls Creamery and Northern Furniture.
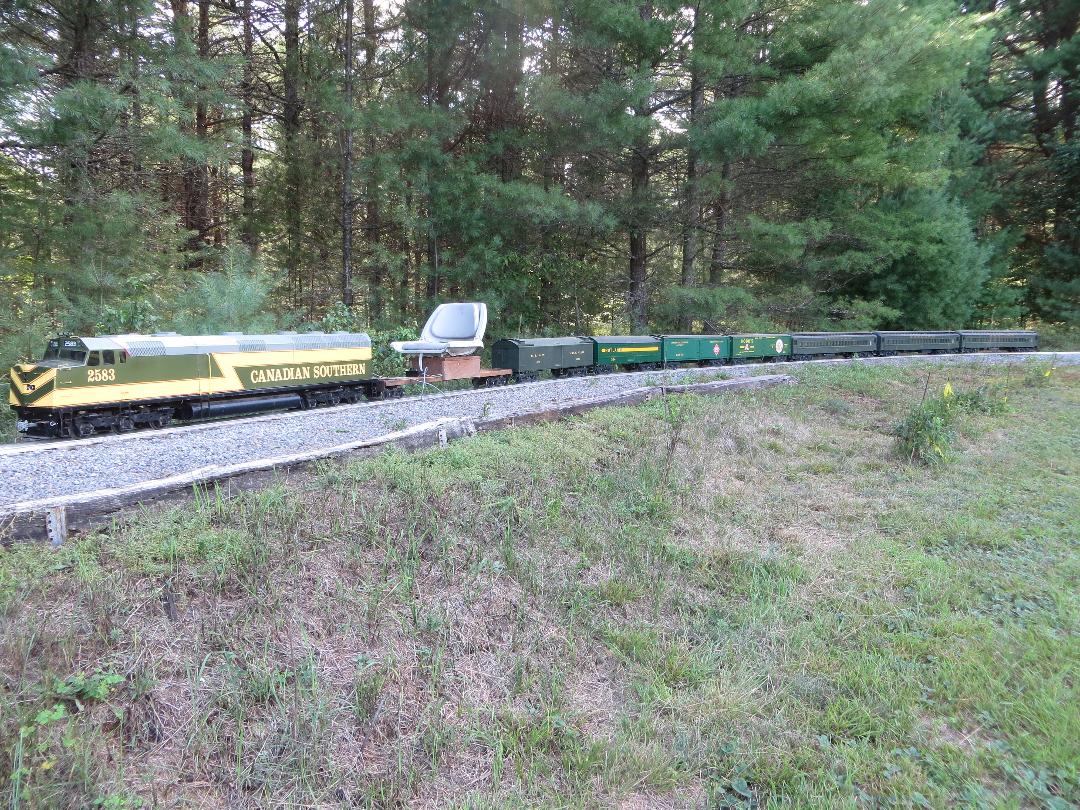
Wednesday August 5th - Hi guys - Nothing to show as far as railroad work goes this week. Daisy and I cut down and cut up portions of a shattered tree at Dederick Curve. The branches made trailer load #29 brought to the dump this year. The trunk logs were brought back to Rockwell Falls via multiple work trains. Most of the logs have already been split and stacked for burning. There are still portions of the tree standing at Dederick Curve. I'm sure they will need to be removed some day, but not now. A bit each week for two weeks my worker brought some other logs and branches to trackside at Henchar. I had previously cut down and up a number of dead trees in the woods there. This afternoon I brought the logs out via work train. The branches are still at trackside at Henchar and will be loaded onto the trailer and make load #30 to the dump this year, but not today. After my helper went home today I decided to take a train ride. (As long as the work train engine and riding car were already out, why not?) So I coupled up the four head end cars and the three coaches. And round and round I went. I did meet a doe on one of the trips around the railroad. I traveled 3 1/3 miles altogether. A beautiful afternoon and a perfect way to cap it off.
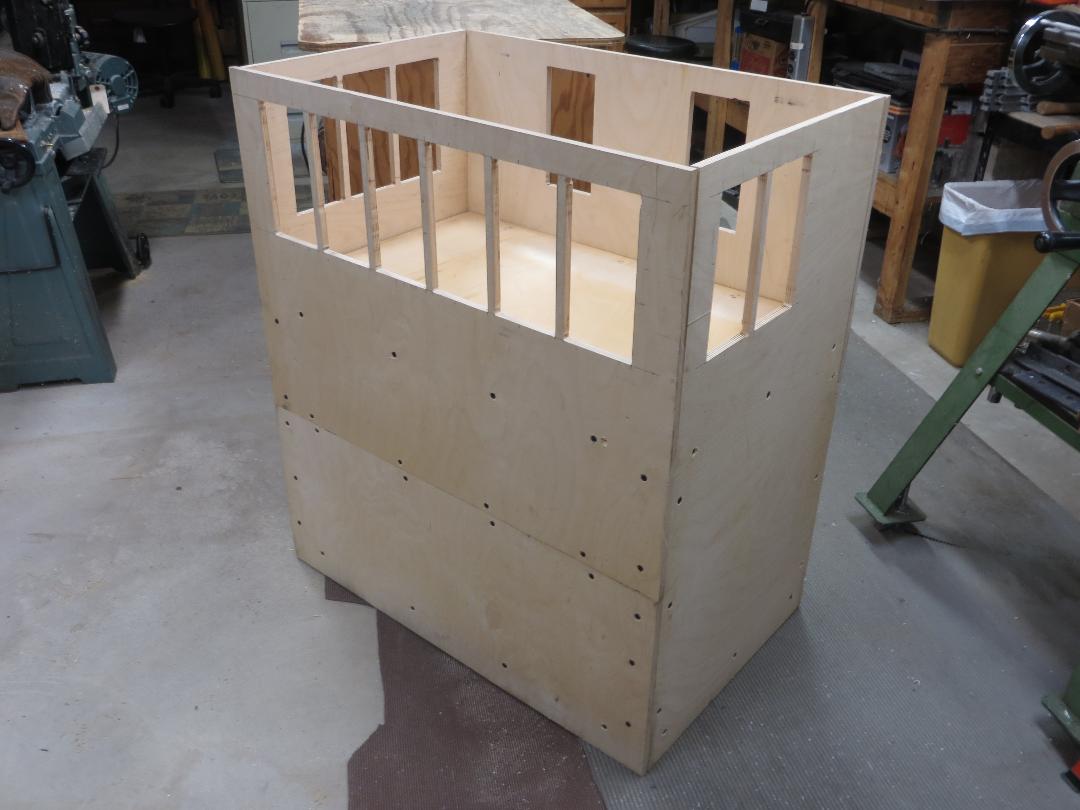
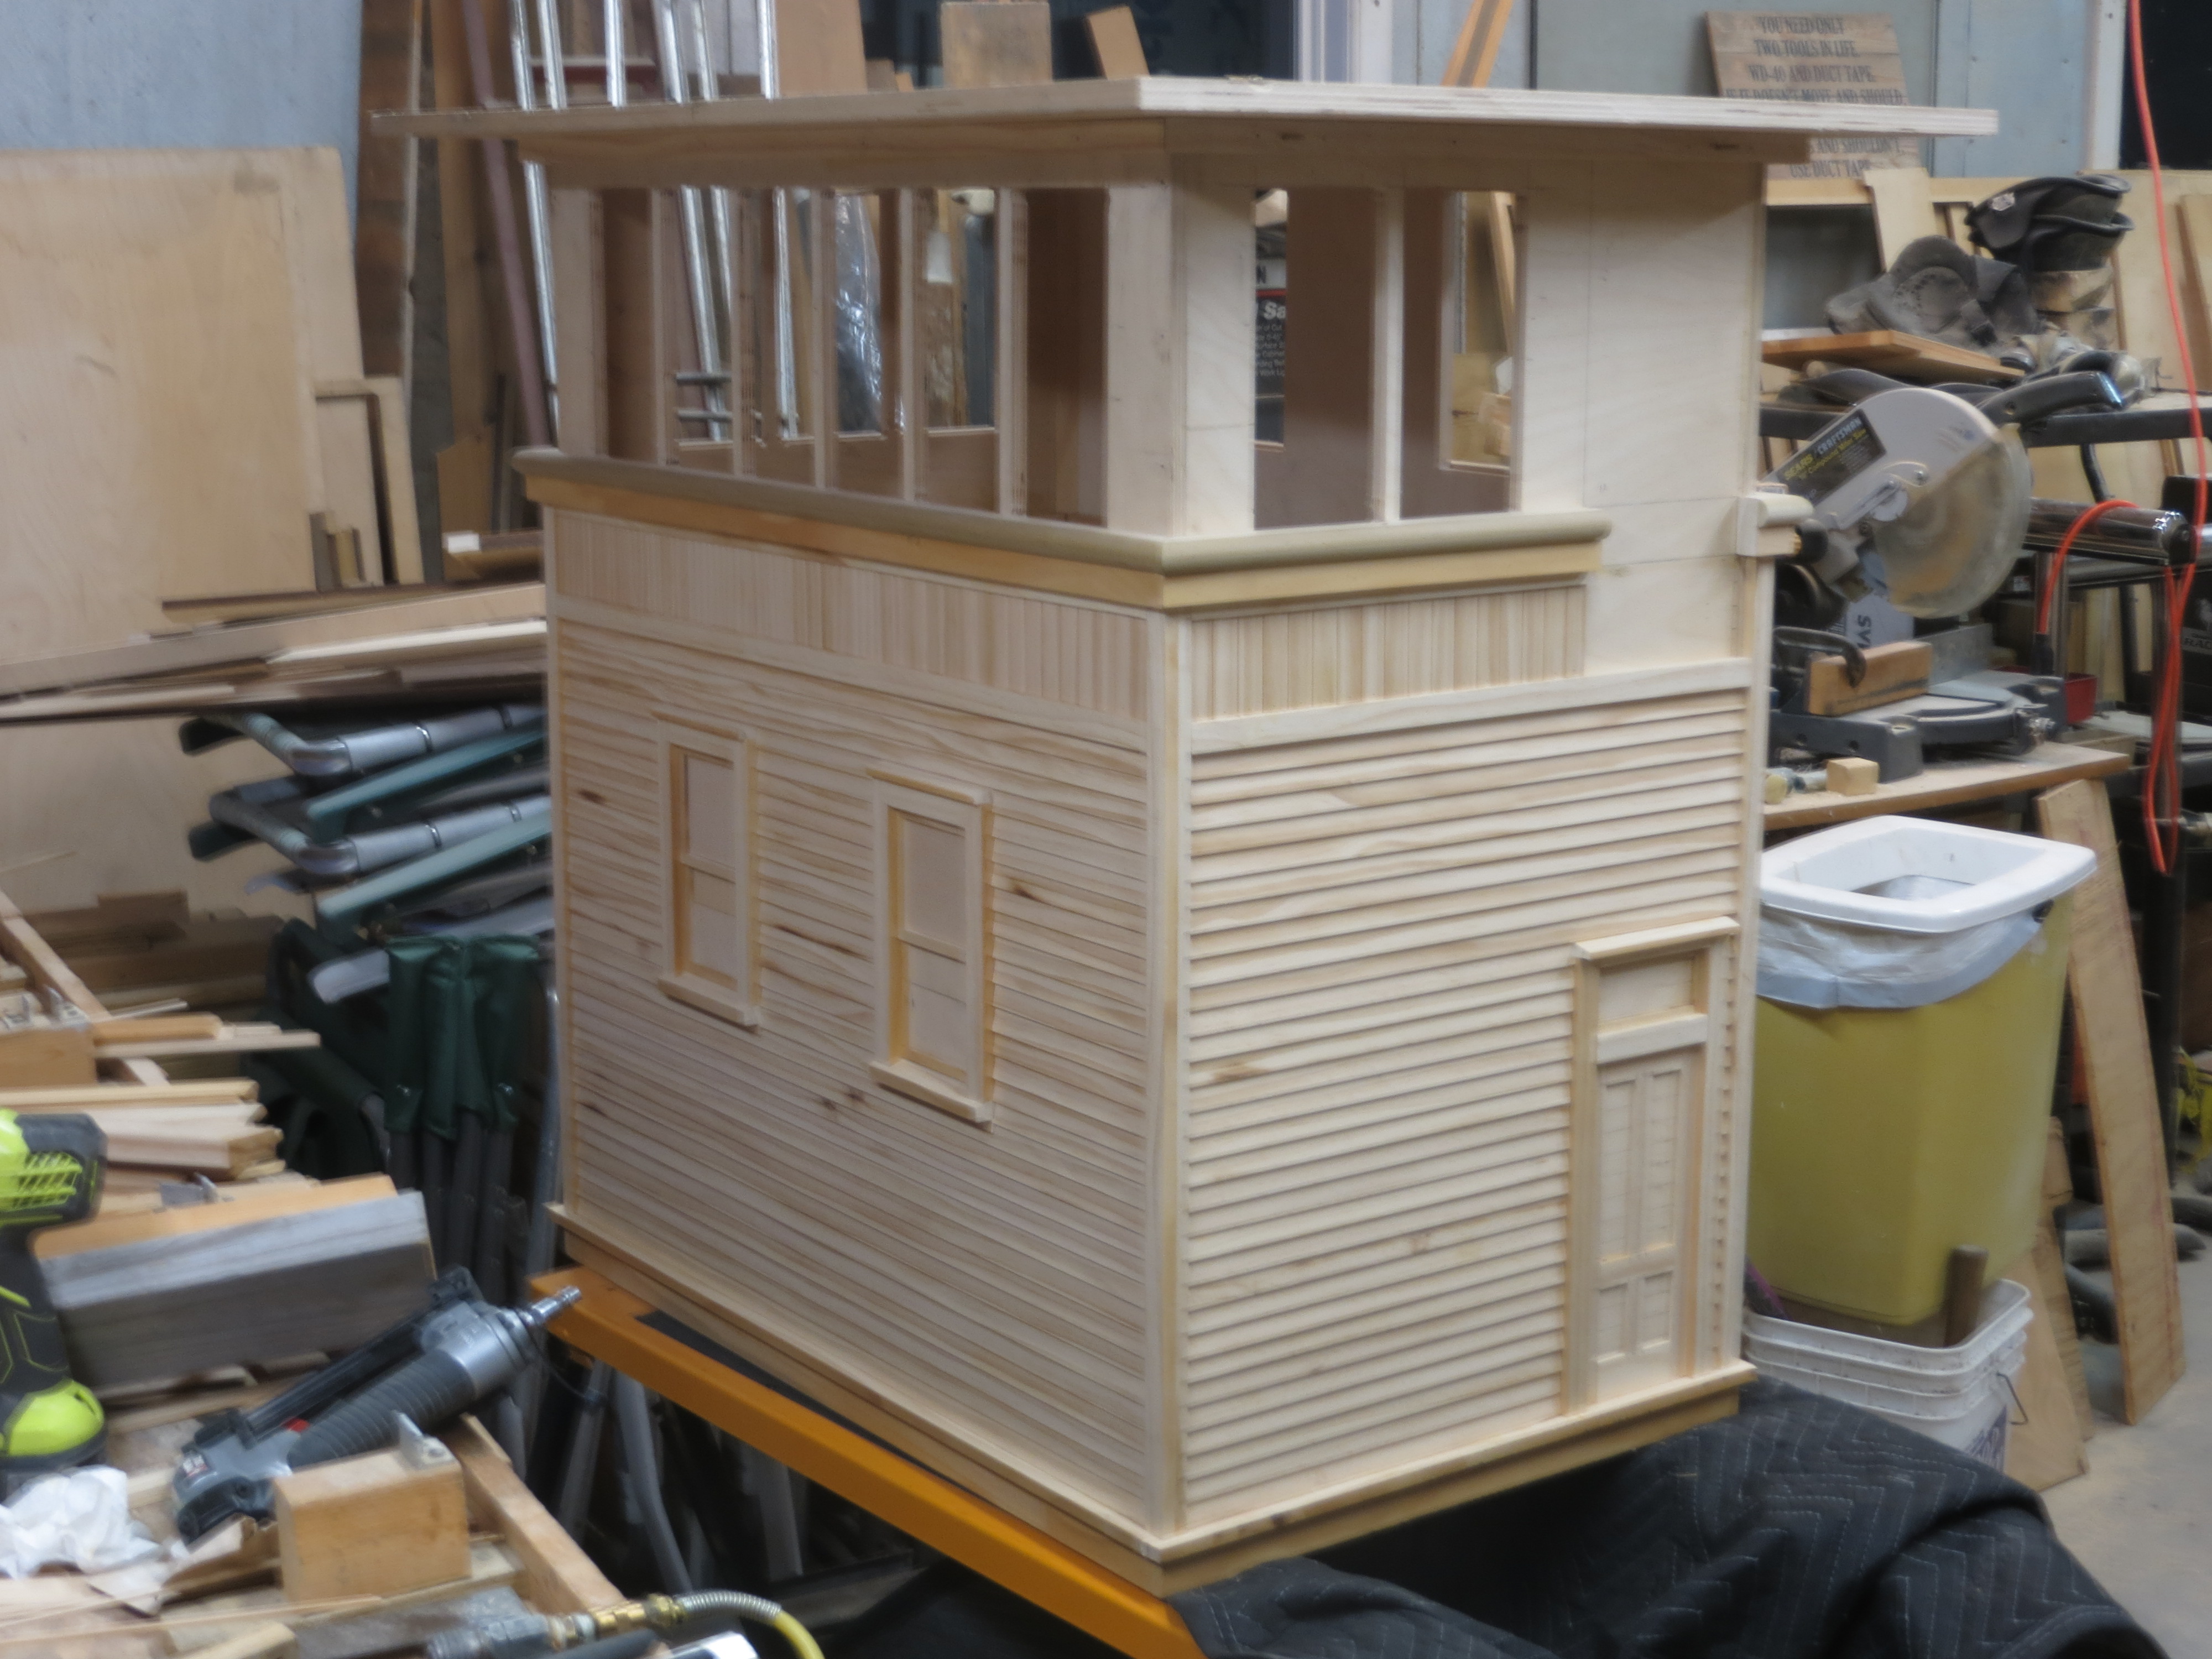
Wednesday September 2nd - Hi guys - I've not reported in for a number of weeks as I've been doing things that do not show change very well. But now that is changing. Once again I am doing something that should yield visible progress from week to week.It's an interlocking tower in 1.5" scale, copied from an HO model I have. The photo shows the second story floor is in. The walls are secure up to the floor level. It is in the basement for now as the basement has more room than the wood shop behind the garage and the work is not very dusty. After the walls are secured up to the roof line but before the siding gets put on the building will be moved out to the garage where room for it will have to be made. Here it is.
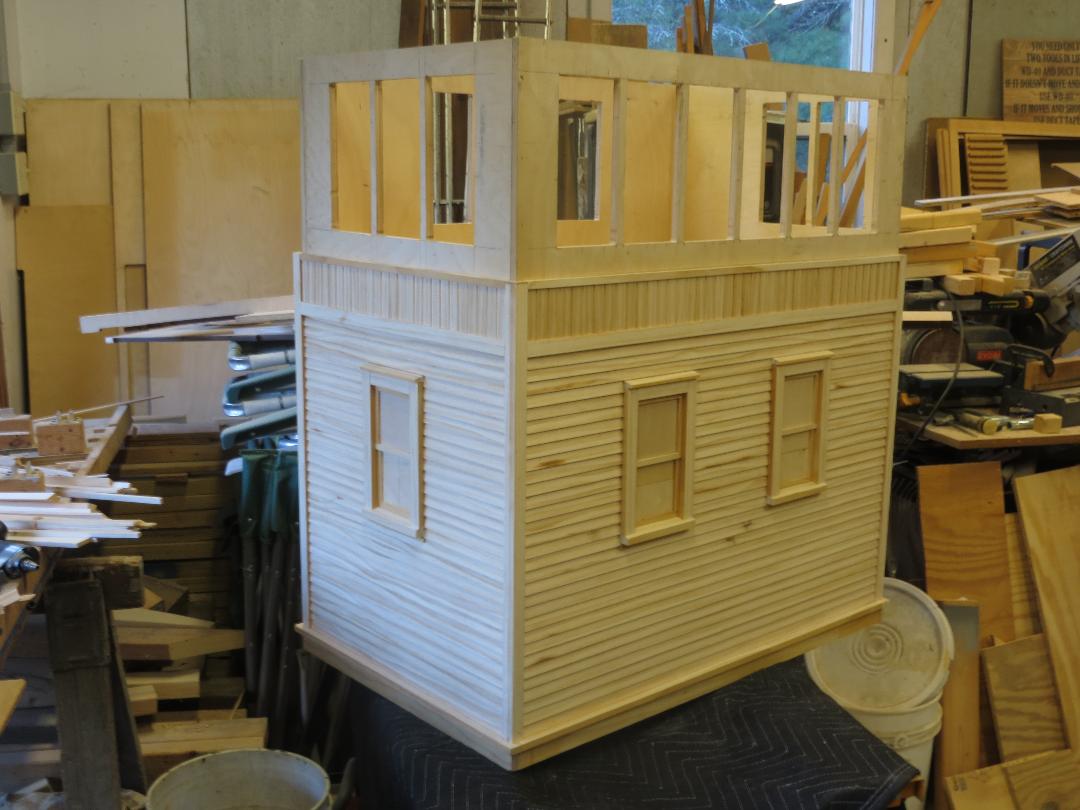
Wednesday September 9th - No time for work today. Here's a photo of the tower as of the end of the work day yesterday:The siding is complete for the first floor all around. The three first floor windows are complete. The wainscoting is complete on the two sides showing. Cheers, Joe
Wednesday September 16th - It was a busy week. So busy I only had short portions of maybe three days to work on the tower. Yesterday was one of those days and it was for 15 minutes! Anyway, progress has been made. The first story is finished all around, as is the wainscoting on all four sides of the second story. I bought some 3/4" poplar dowels and ripped them down the middle to make half-round lengths. They have been installed just under the second story window openings. I'm very happy with how they turned out. They are attached to 3/4" thick by 1.5" wide lengths of pine ripped from 1 x 10's. A door to an exterior stairway will be made to fit in the blank area on the short wall. I think at this point I should give some attention to what the roof will be. I have ideas, but I still need to check my material stock to see if I have what will be needed. That's it for this week, hope to have more time next week for modeling. Hope the same for you! Joe
Wednesday September 23rd - This week saw modest but significant progress on the tower. I rummaged through my partial sheets of plywood and found only one piece large enough to serve as a ceiling for the tower. It is a 3/4" thick piece. I cut it to size and found it was slightly racked. A few days on top of the walls with bar clamps holding it down did help to flatten it somewhat. Then I had to figure out a method to keep the roof from blowing off while still allowing it to be removed for access to the second floor. I decided to install four 1/8" diameter brass rods as pins through the upper part of the two end walls to keep the ceiling flat and secure to the walls. I added some 1/2" x 3/4" pine sticks to the ceiling making a rectangle placed just inside of the side walls for the pins to penetrate and secure the ceiling.. I added 3/4" x 3/4" pine sticks to the outside top of the walls as trim pieces. The roof will overhang each side of the tower by over 4". The fact that the plywood sheet is a 3/4" thick one will help support that overhang. Two of the brass rods can be seen just below the ceiling on the4 short wall. I still have to figure an easy way to get the pins out. Some sort of caps (silver brazed onto the brass rods) that can be grabbed would do it. With securing the ceiling to the walls accomplished, I can focus on making the roof above it and adding the window and door trim to the second floor. That's all for this week.Keep busy, have fun and stay well, Joe
Here's the photo which actually shows very little:
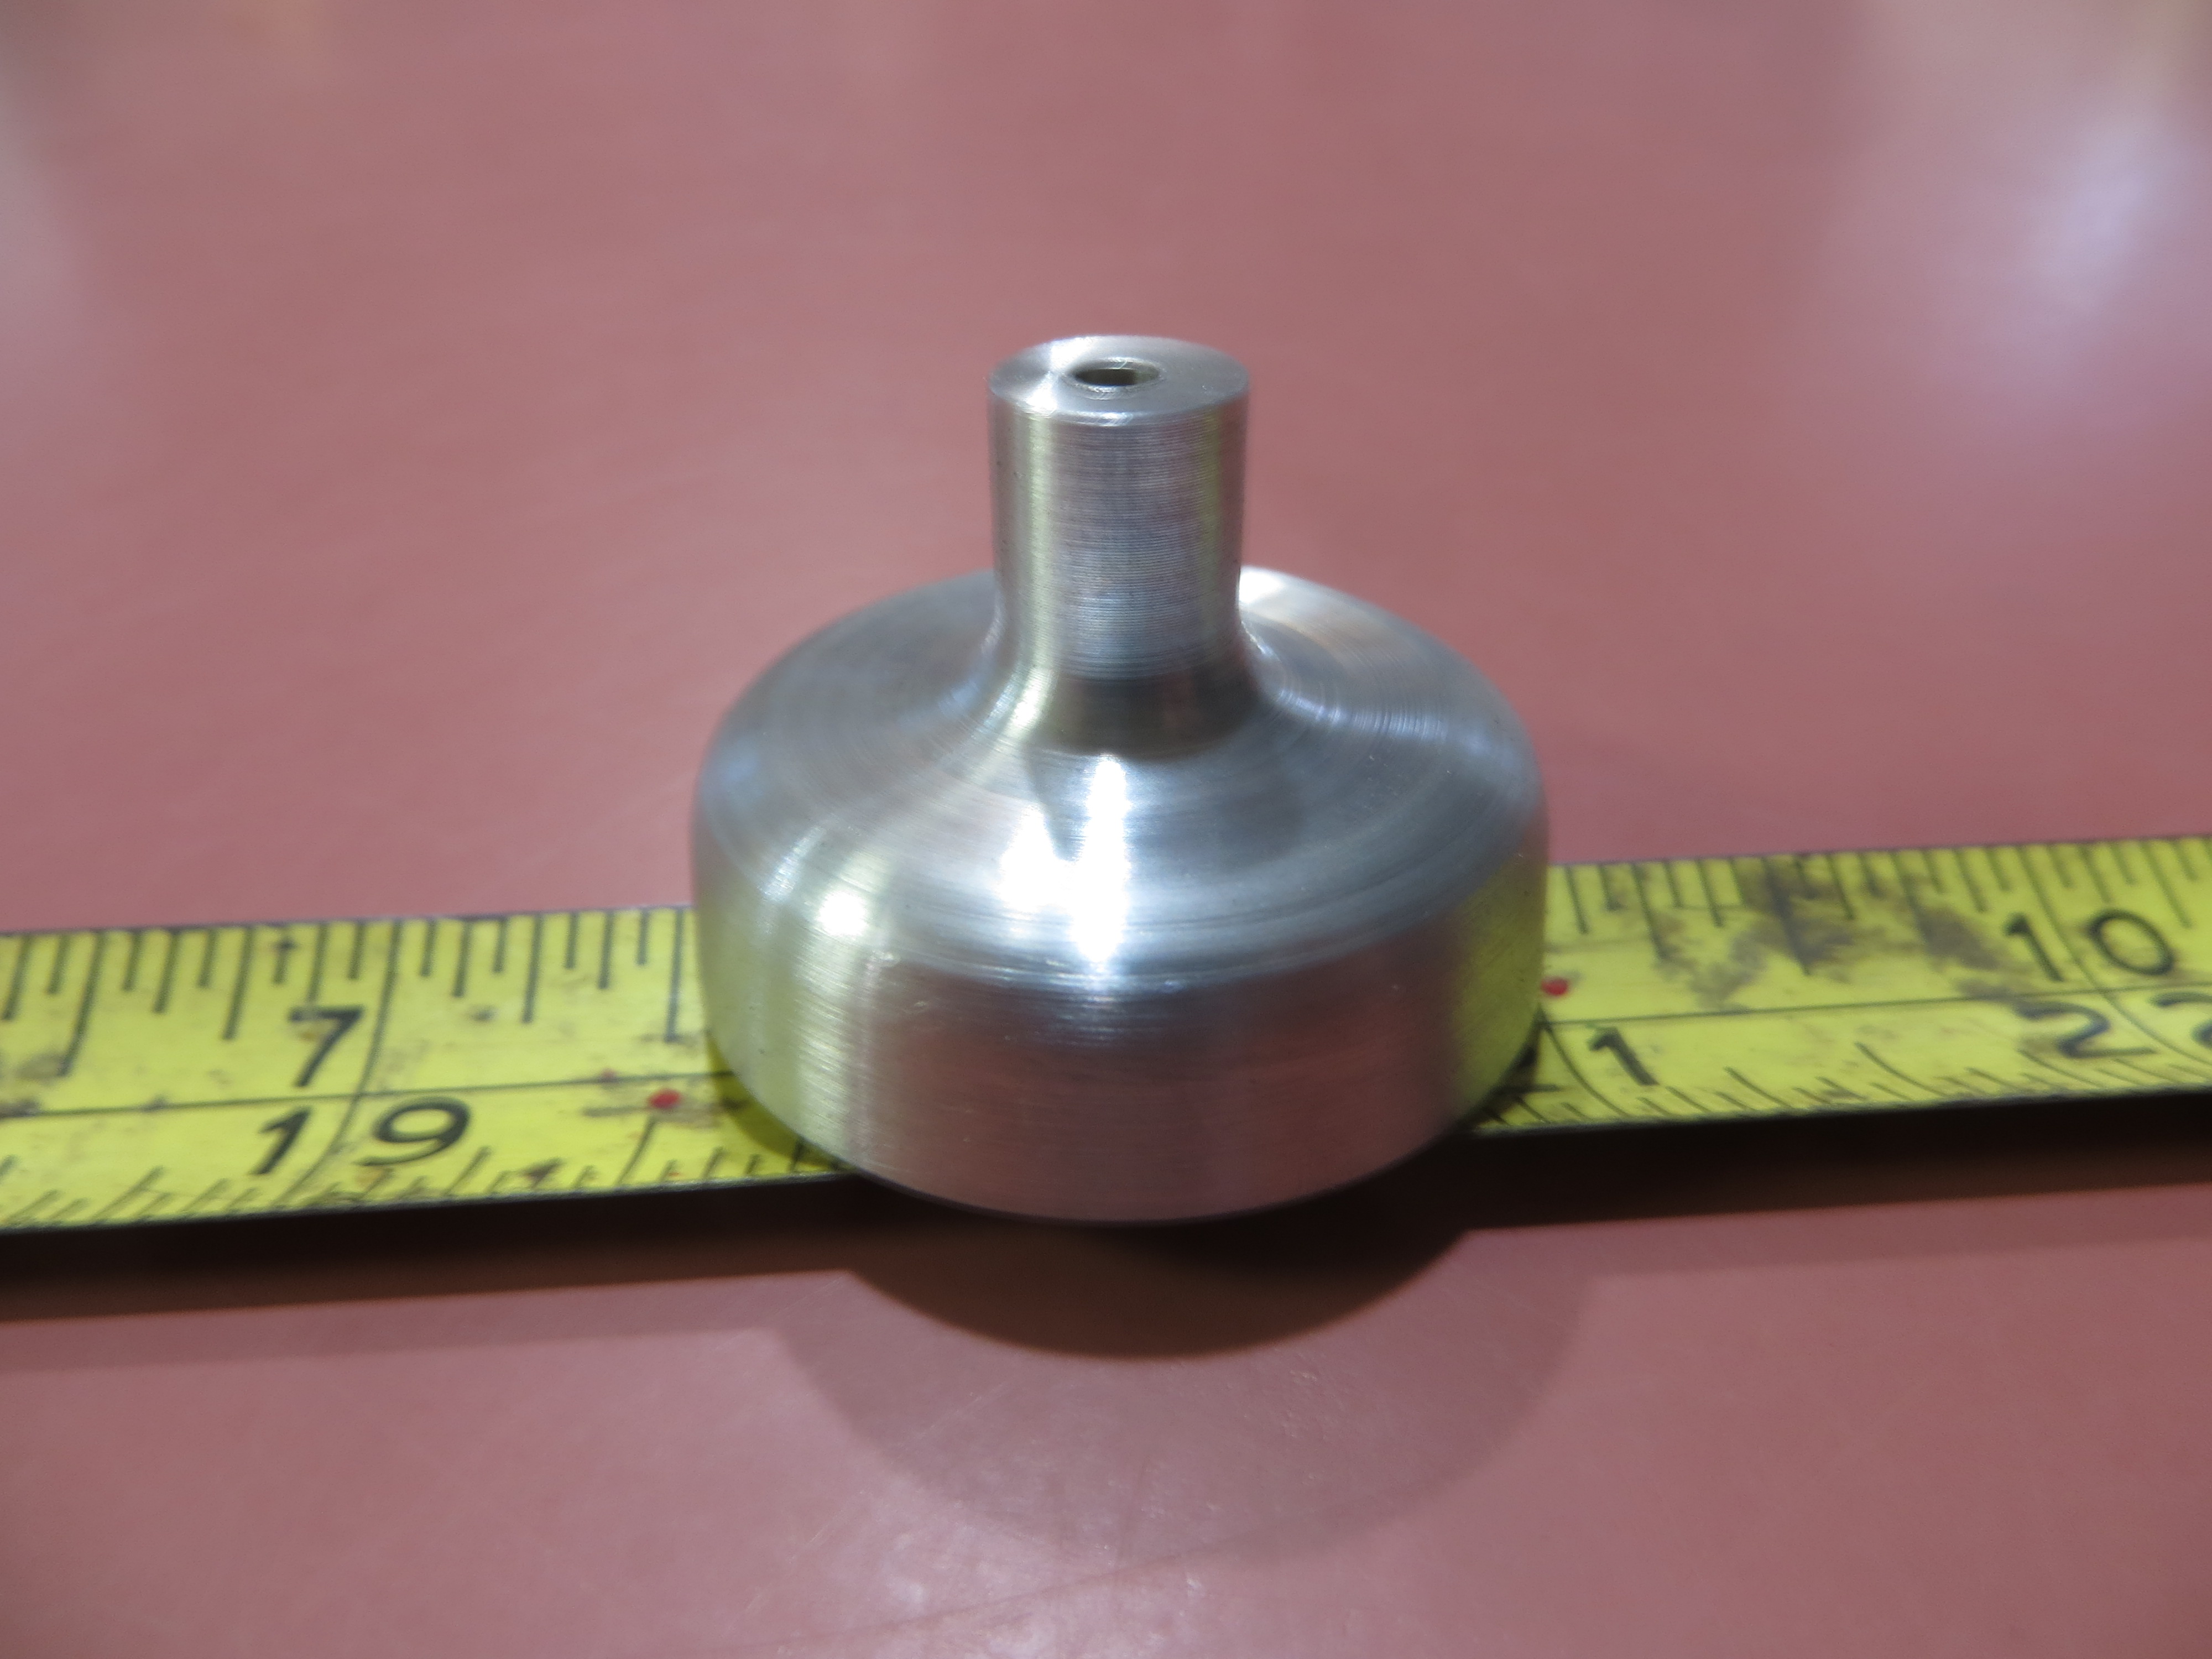
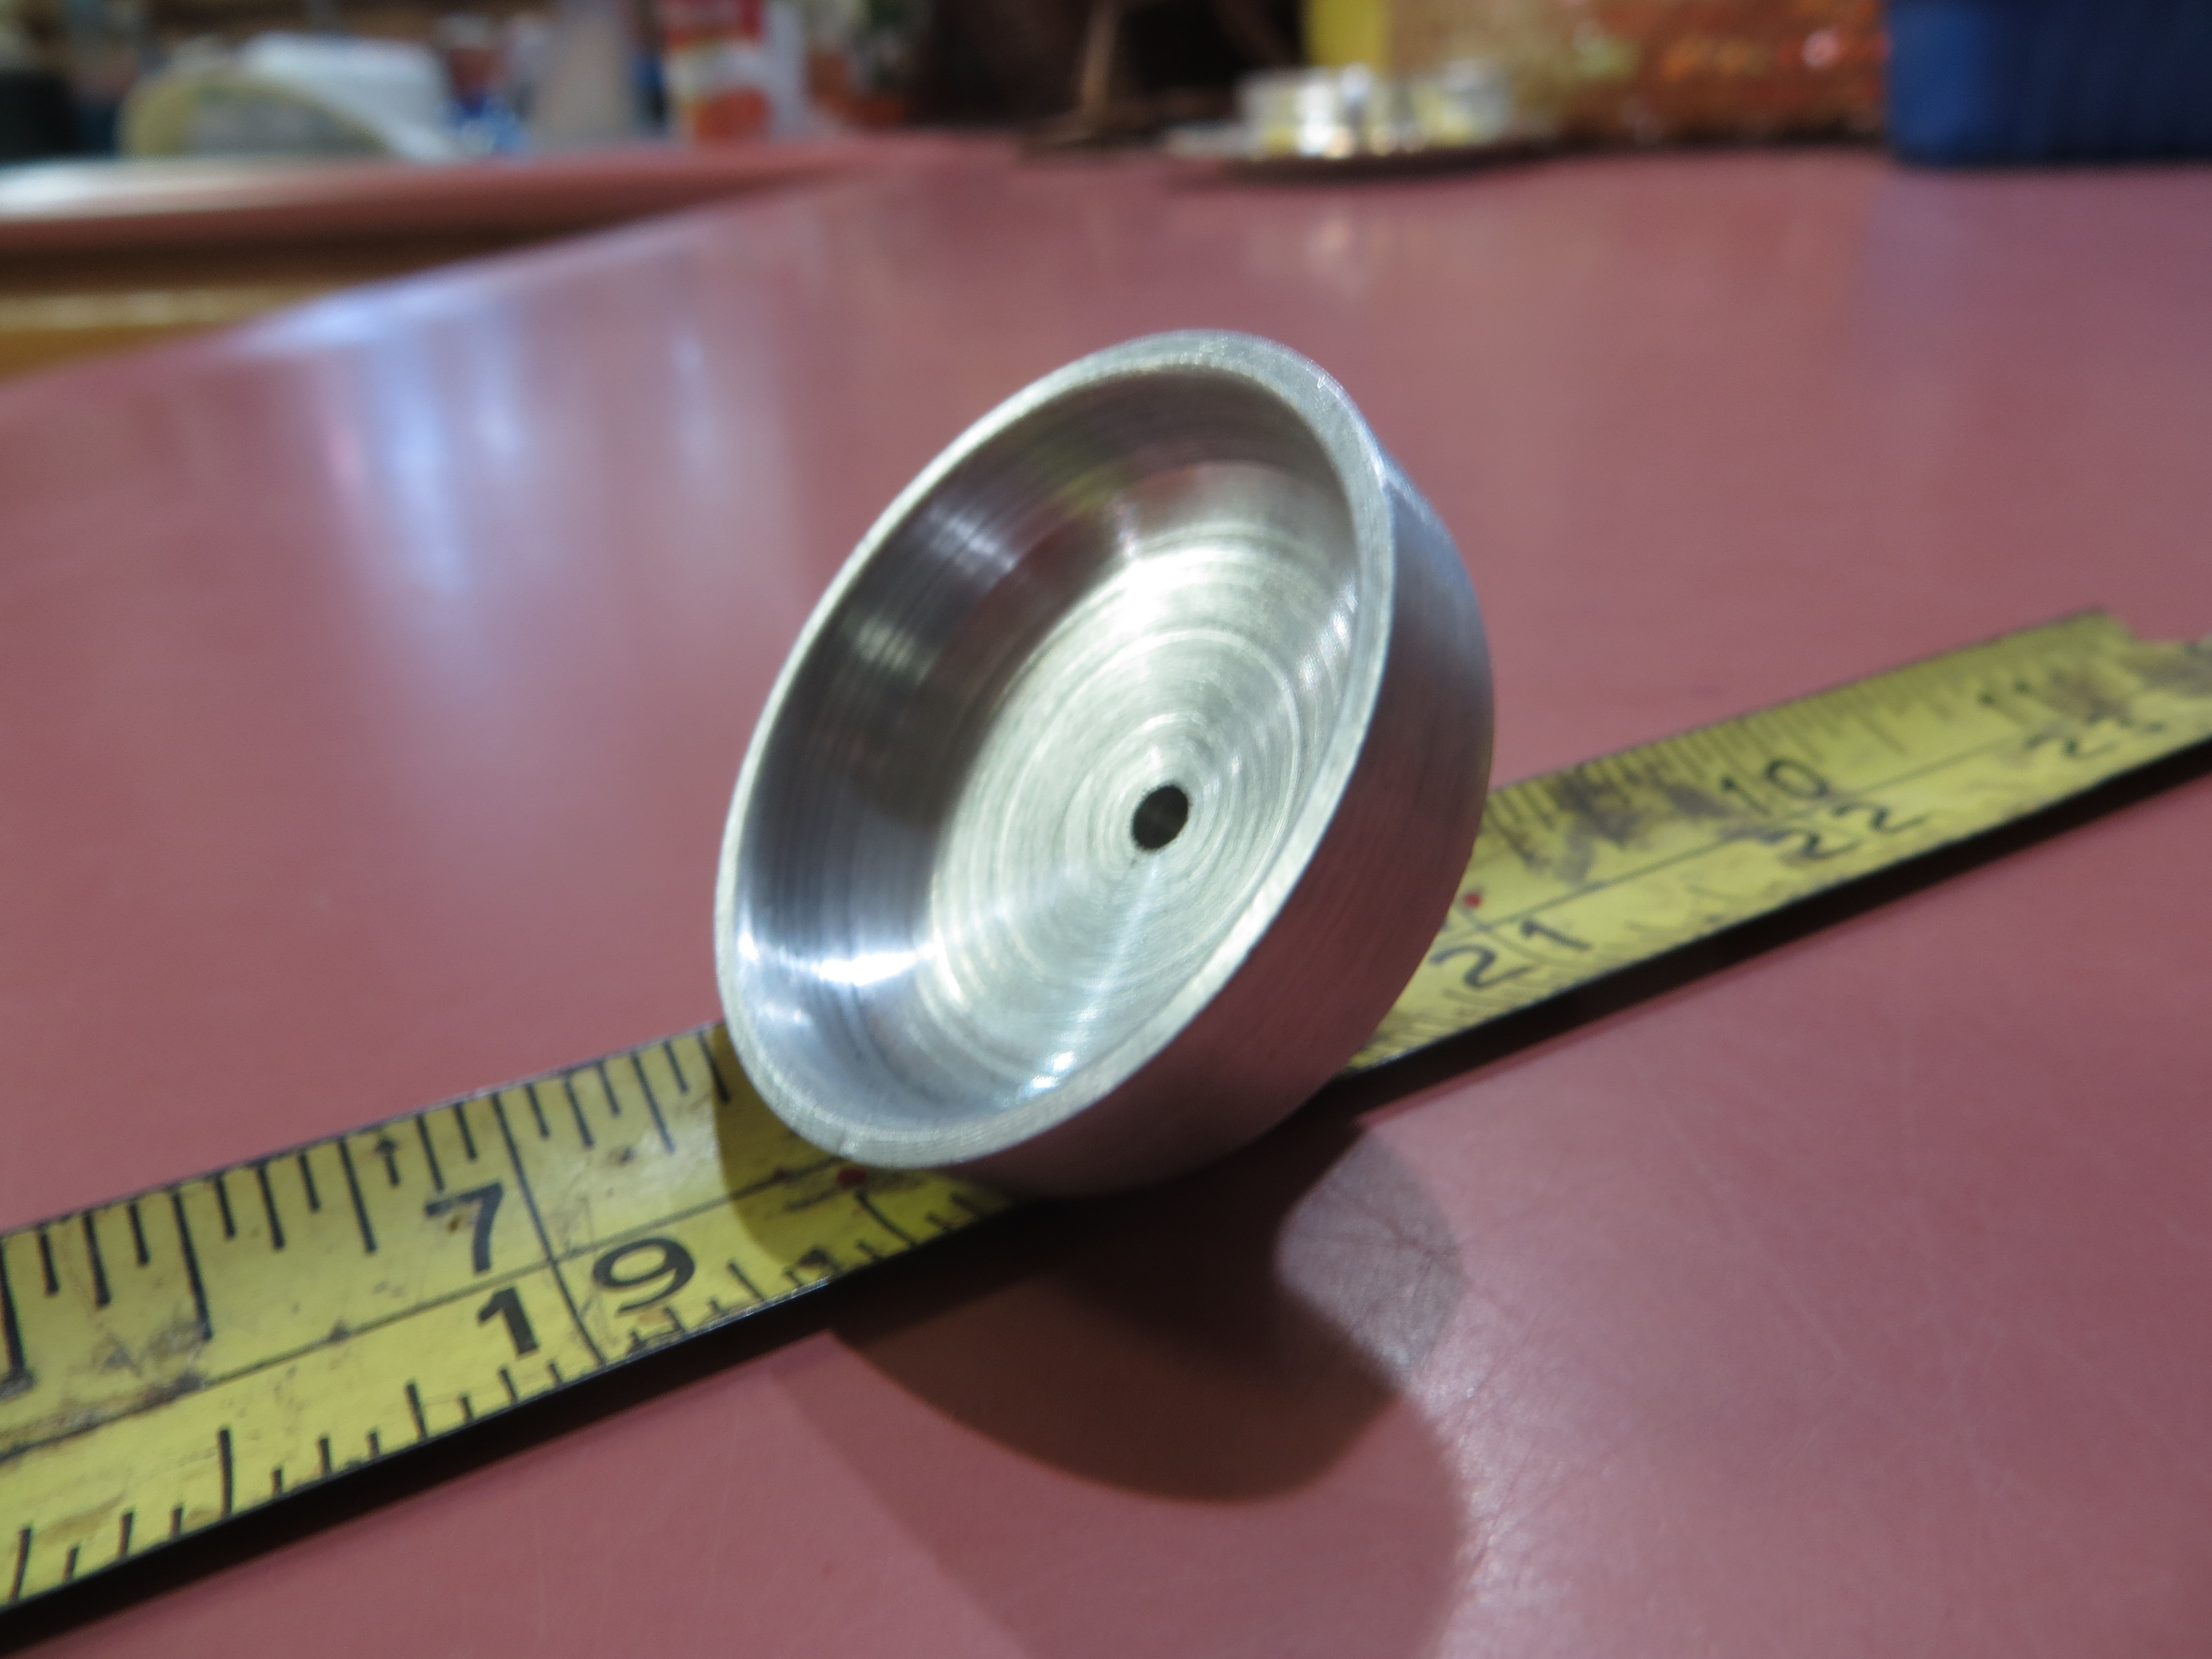
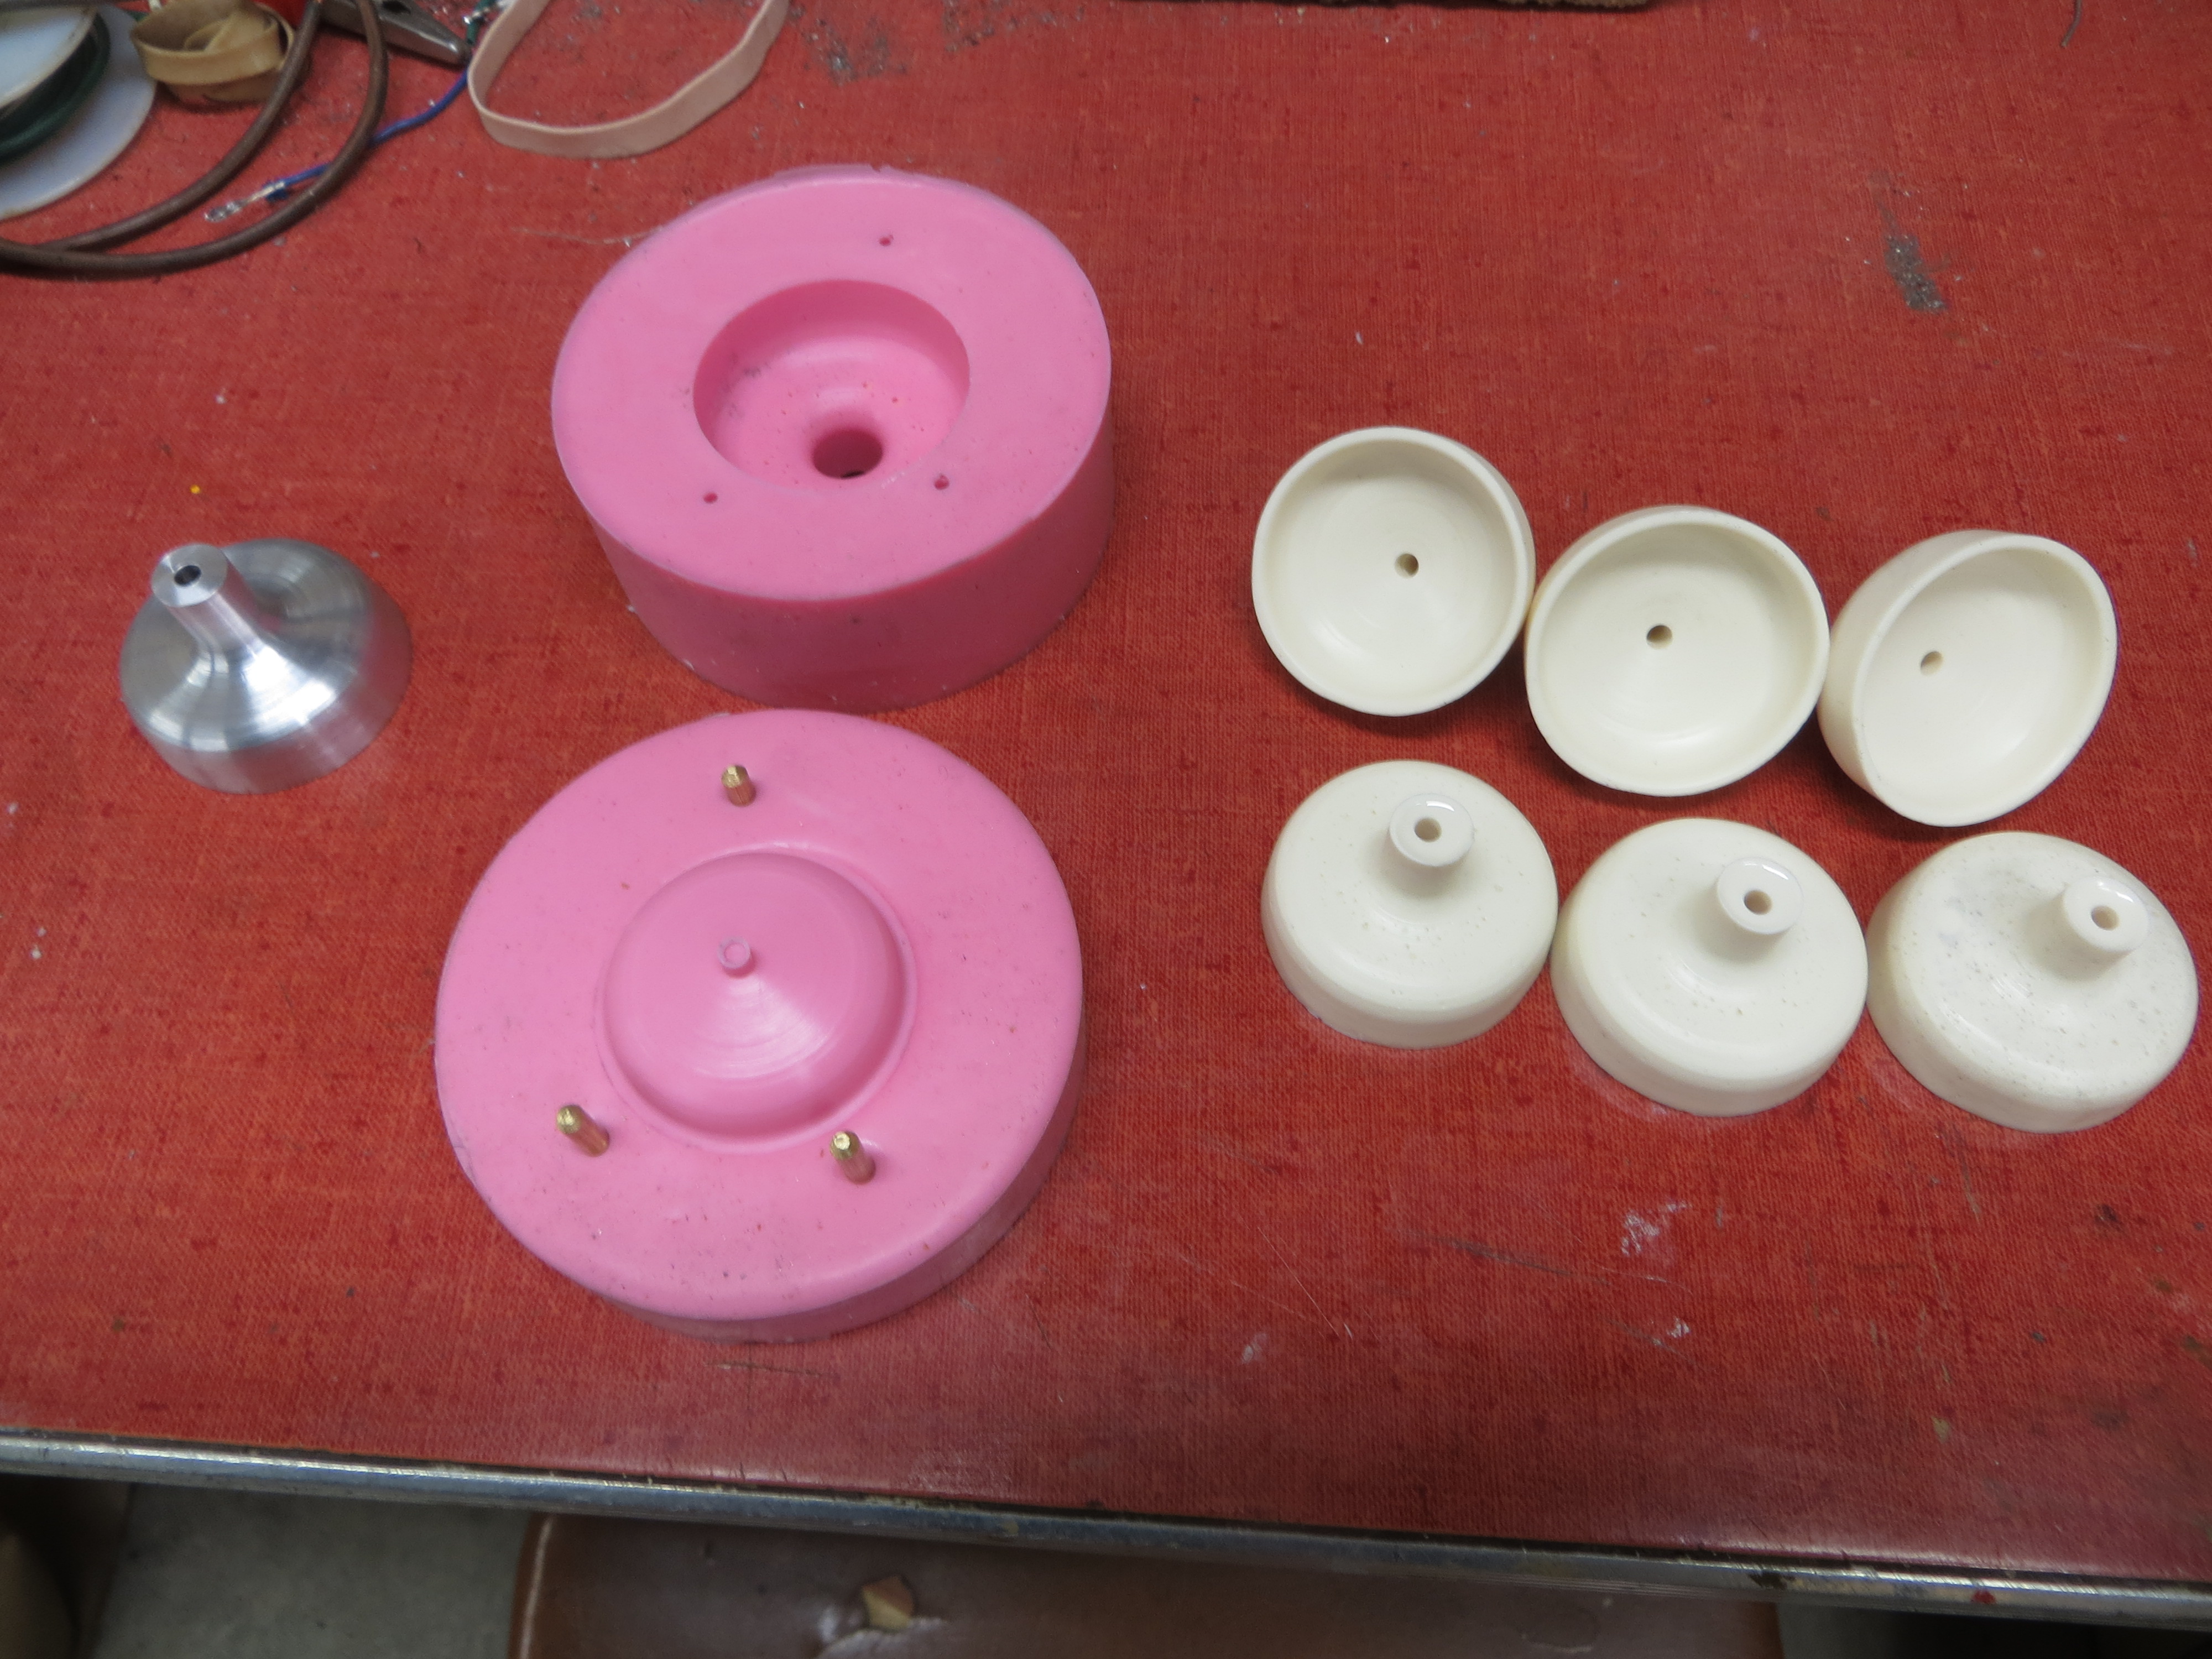
Wednesday October 7th - Not much to report. Much time has been spent cleaning pine needles from both the railroad and the driveway, as well as plenty of leaves. More will fall. Nature ain't done yet. I did spent whatever time I had over about four days to make this: It's a lamp shade for the 1.5" scale tower. The stem is 3/8" in diameter I left tit a bit long so it can be trimmed to suit the situation. The shade is 1.5" in diameter. It took quite a while to machine as I only have square stock. That's a lot of aluminum to cut off. My lathe is 88 years old and not too rigid, so small cuts are the only thing I can do. The hole inside is 1/8" in diameter. It's a start. Since I need a few of these, I think I will make a rubber mold and then cast as many as I want in epoxy resin. No more hours and hours on the lathe.
Have a good week, Stay well and have fun, Joe
Wednesday October 23rd - This week did see some progress on a couple of projects.
1. The tower project got lampshades: First the master machined out of a square aluminum log and then a two part rubber mold, then six resin castings. This is 1.5" scale. I need three for inside the tower and maybe two more for outside.
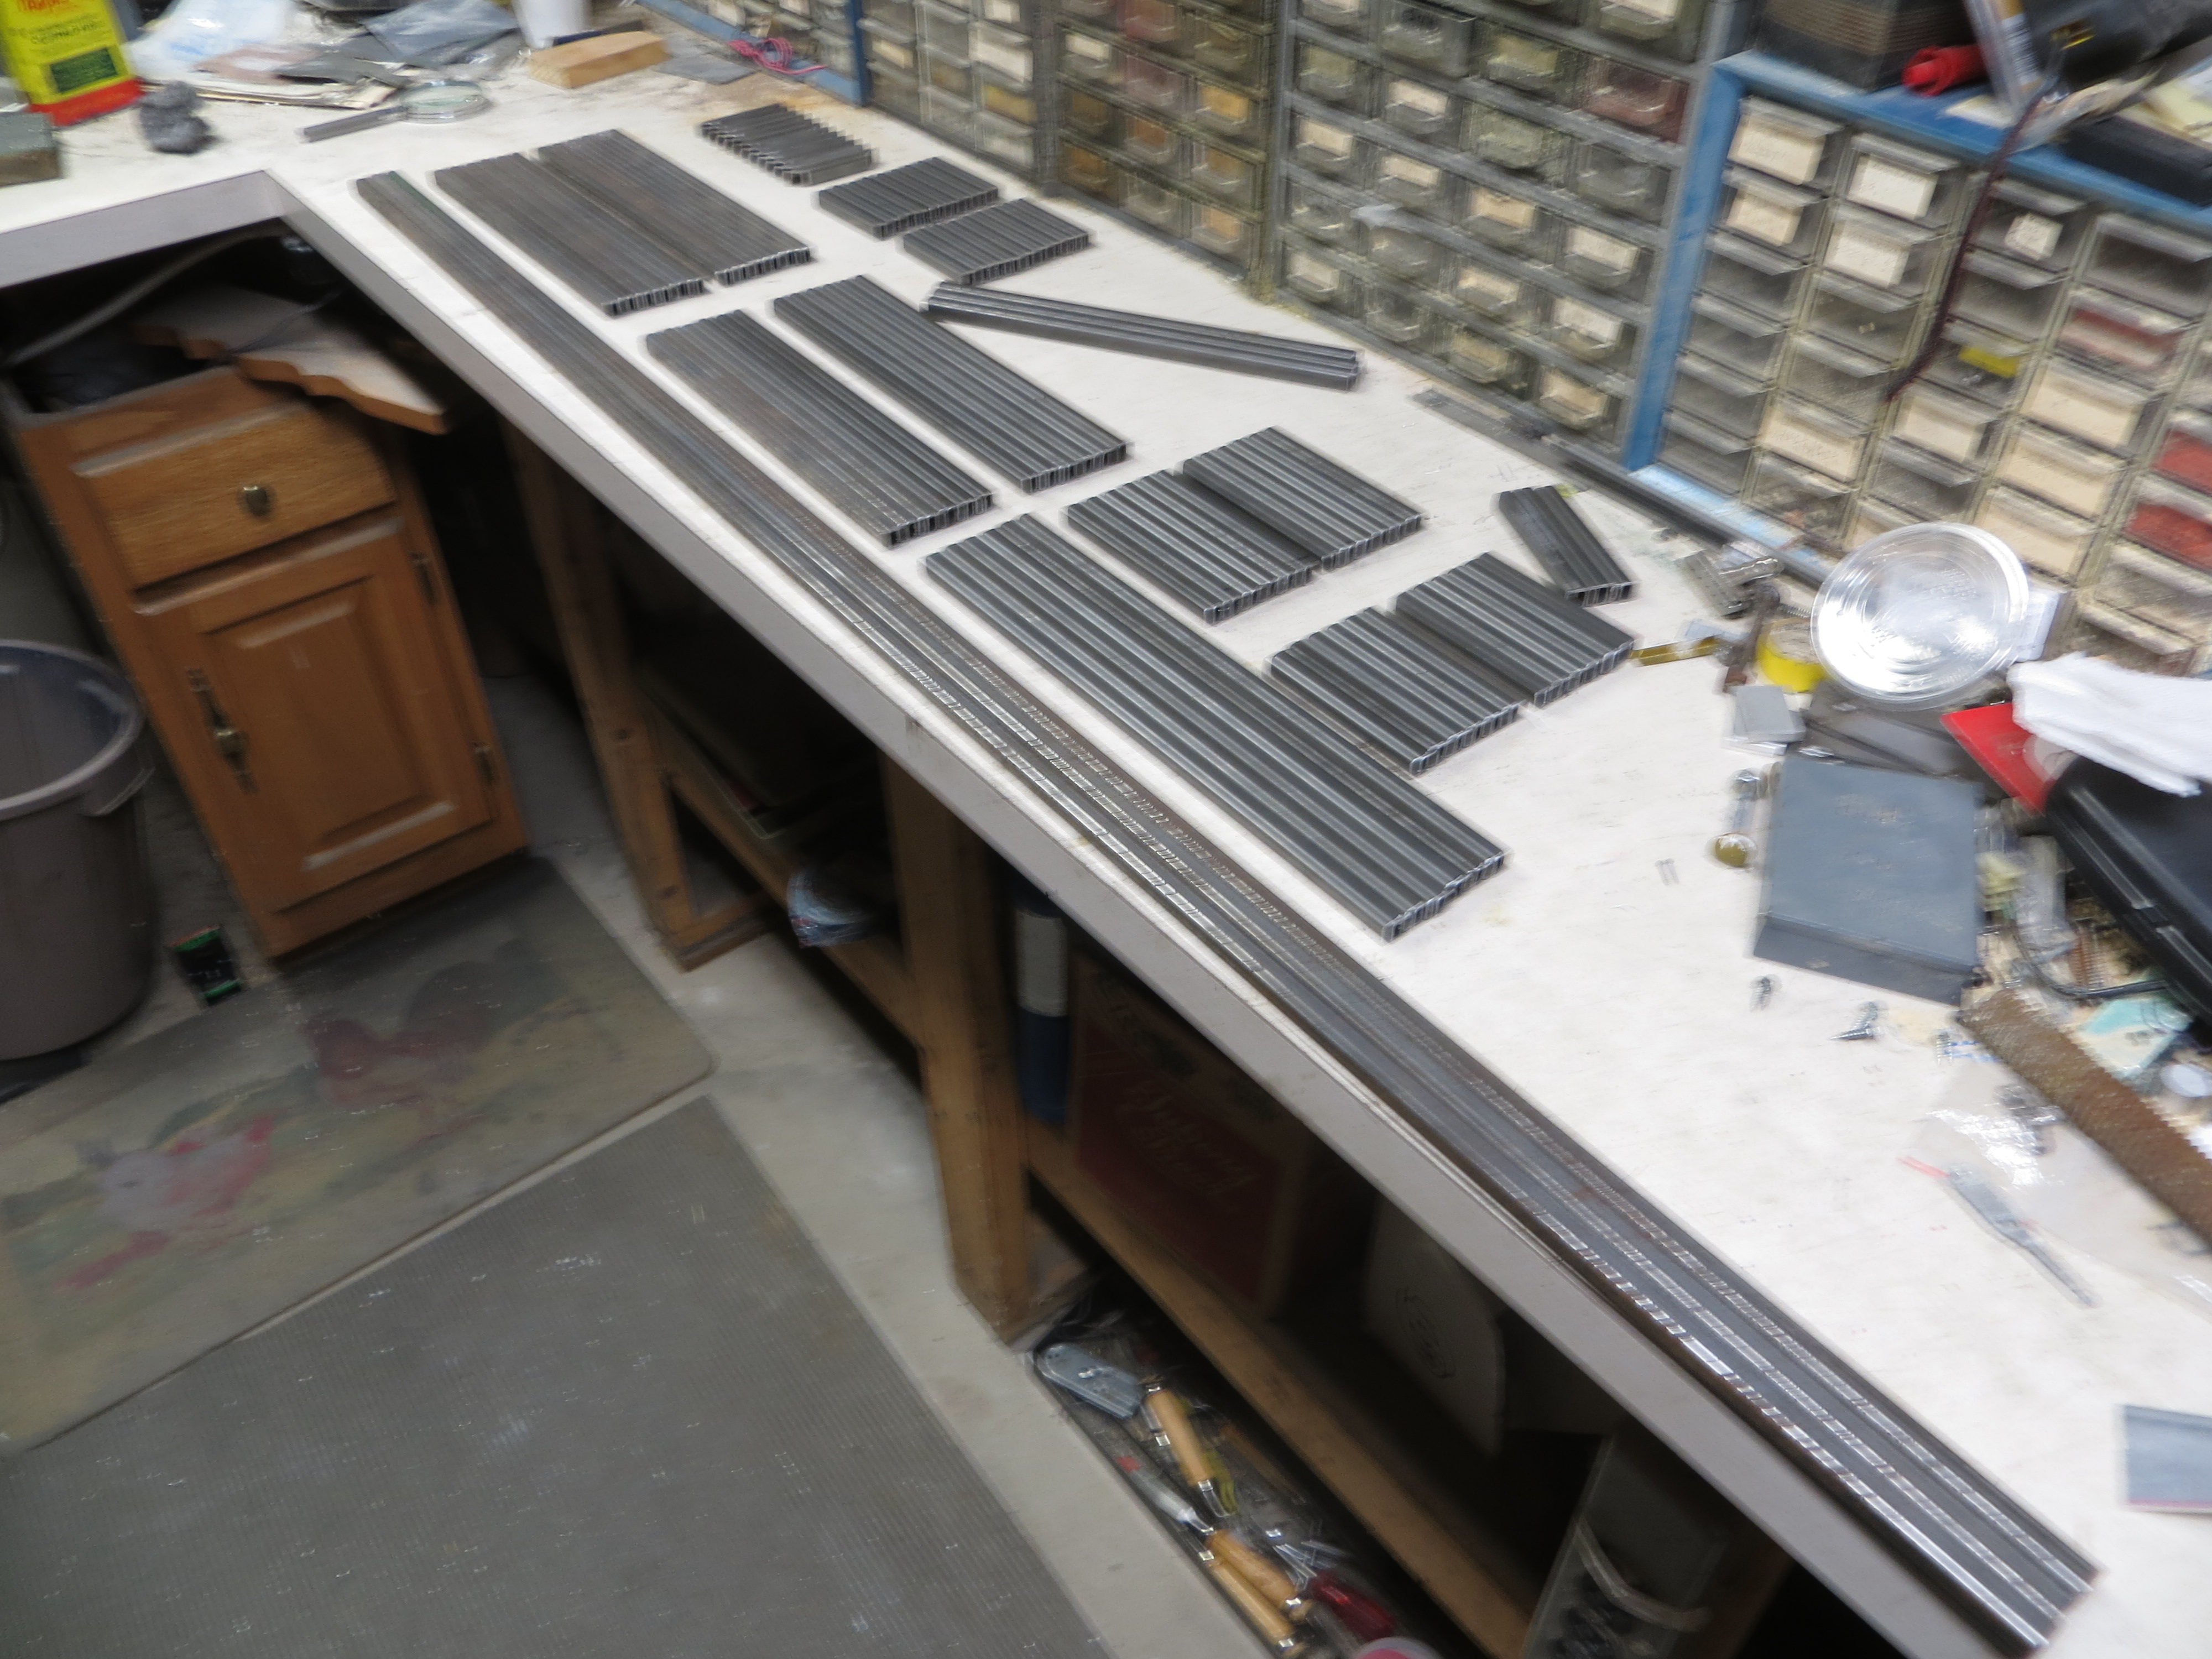
2. A new industry got its building's steel frame pieces cut. They are cut from 1/2" square steel tube stock. The next step is to weld them together to make the building frame.
That's it for this week. You all have fun and stay safe. Joe
+ + + + + Back to top + + + + +
Wednesday November 4th - This week did see some progress on a couple of projects.
Recently I purchased some 2 x 4s and a cement board, both to make a base for another railroad industry. Prior to that I had purchased a number of sticks of 1/2" x 1/2" steel tube. This week, over a couple of nights, I put "feet" under the three 55" long steel tube frames I had made. Silver braze is the method I used to attach the feet so I could work in the basement and after dark. On small pieces like this I can get away with a plumber's propane torch to give the heat. Now I'm out of propane. This afternoon I assembled the base and screwed the three frames to it.
This coming weekend is looking good weatherwise so far and three or so days of welding work should be enough to complete the building's frame. There are 48 more pieces of steel already cut to near size that need to be cut to finish size and welded in place. I'm looking forward to it!
I ran out of welding gases (oxygen and acetylene) just over a week ago so I went out and exchanged them for full tanks. I'm ready to weld again.
That's it for this week. You all have fun and stay safe. Joe
+ + + + + Back to top + + + + +
Wednesday November 11th - This week did see some progress on a couple of projects.
I just came up from the basement. Today's rain gave me an opportunity to accomplish work down there, more than just after dark otherwise. Over the weekend I finished welding and silver brazing the building frame for the pickle salting station The mild weather Sunday then allowed me to put some Rustoleum paint on it before Daisy and I went for our road trip from 11 AM to 5 PM that day. (We drove up to Essex and back via the back roads except for the very end when we were running low on fuel. We had enough gas in the tank for just 9 more miles when we got home to the gas station.)
The building is open sided. It is 55" long, 24" wide and 14" tall. There are no walls enclosing it. Since then I worked on the eleven salting vats. I ripped 127 pieces of 1/8" x 3/4" x 24" for the staves. Then I made 22 circles out of 2" x 10"s for the tops and bottoms of the vats. I still need to cut wood for the covers and all the platforms for the plant.There is much work ahead.
That's it for this week. You all have fun and stay safe. Joe
+ + + + + Back to top + + + + +
Wednesday November 18th - This week did see some progress on the new industry.
By Friday of last week I had almost all the pieces for the salting station at least rough-cut and brought into the basement. In the photo they are segregated into piles according to their purpose, with labels so I don't get things confused.
Since then I'd been working on assembling the eleven vats so I could see how things might shape up. I finished that work last night and this afternoon Daisy helped bring the building frame into the basement. I spent a bit of time positioning the vats inside it and then placing some of the platform framing to test.
Everything will need to come out again as nothing is ready for final placement. The vats all need covers made for them, then staining, and then banding around them. I am leaning toward using a light-color transparent stain on all the wood. The banding might be black so it stands out. That banding is turning out to be a problem. So far I have not been able to locate a source to purchase thin brass strips for the banding. The vats are eight inches in diameter so banding 25 inches in length is needed. I would rather not use steel wire, which I have plenty of. Another option might be to use Chartpak tape but I do not know if it will survive outside. I thought of automotive striping tape but have not found a source of 3/16" wide tape for either Chartpak tape or automotive striping tape. I might just have to use 1/8" Chartpak tape. Should I worry about that?
I've also been thinking of modifying the design to include two sets of steps to reach the platform level from the ground. The platform level is 6 inches above the cement base. I would place the steps just inside the ends of the building going down toward the rear.
So you see I still have plenty to think about and do for this industry. At least now it is in the basement where I can work on it over the winter. Who's volunteering to help get it out of the basement in the spring? Guaranteed it will be heavier and more difficult to get out than it was to get in.
Cheers. Joe
+ + + + + Back to top + + + + +
.png)


