Here are some of the modeling activities that our members are working on during our Division activity hiatus. Click on the members name to go to their page to see what they have been working on
Doug Dederick
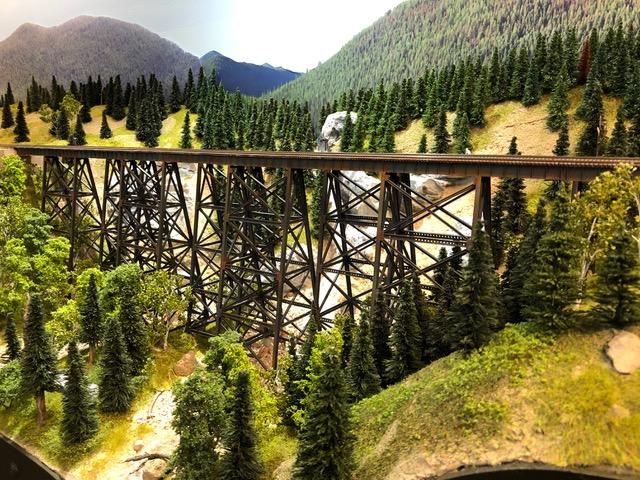
HB How To Videos - Basic Scenery Tips
Click on the scene pictured to the left to see a YouTube video of scenery tips that I used in scenicking
the area by the Sheep Creek Bridge as shown in the pictures below
I’ve been working on the scene where the Sheep Creek Bridge is located near Essex, Montana
Extended the scenery into the aisle with a small bump out
More pictures to follow once the second bridge has been installed and the overall scene is completed
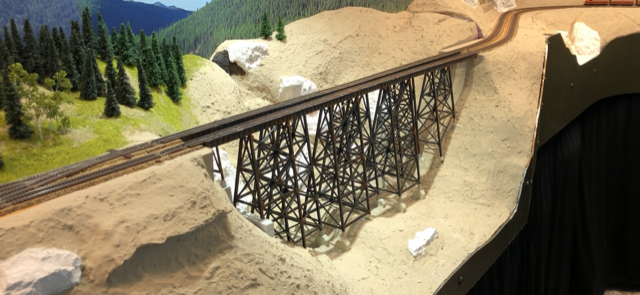
Bridge scene before new scenicking

Bridge removed so work can begin
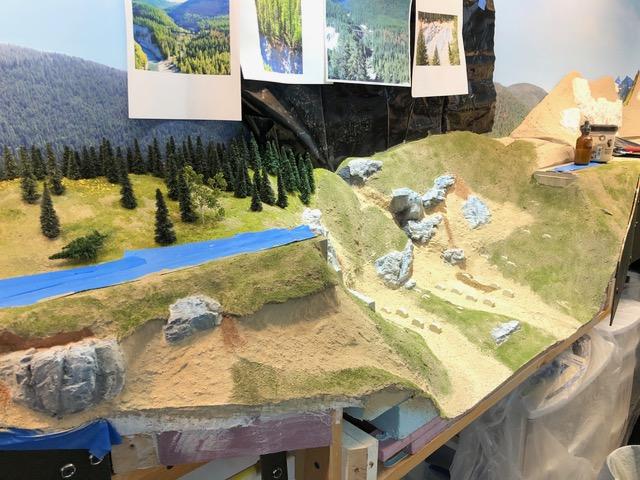
Building the scenery from the "ground" up with some static grass
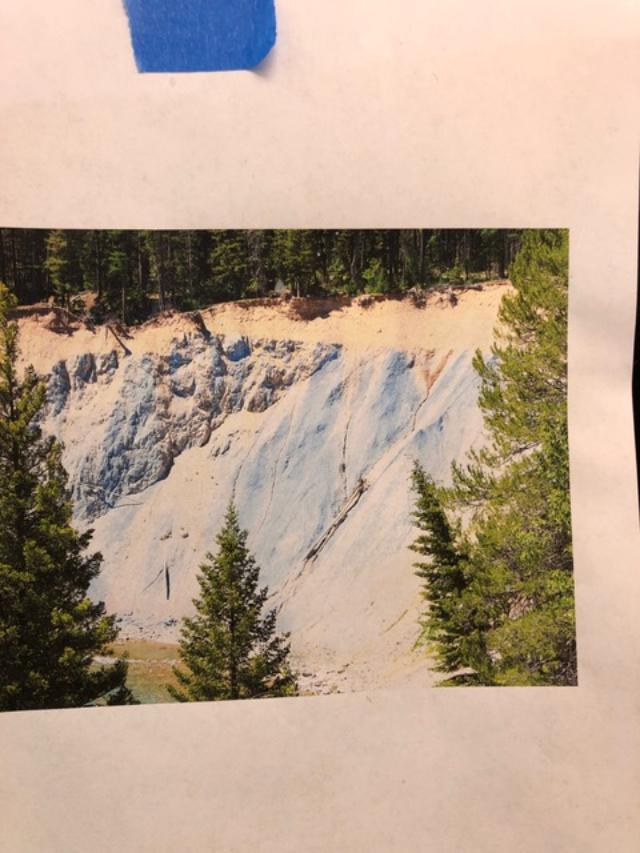
Reference photo 1 of area being modeled
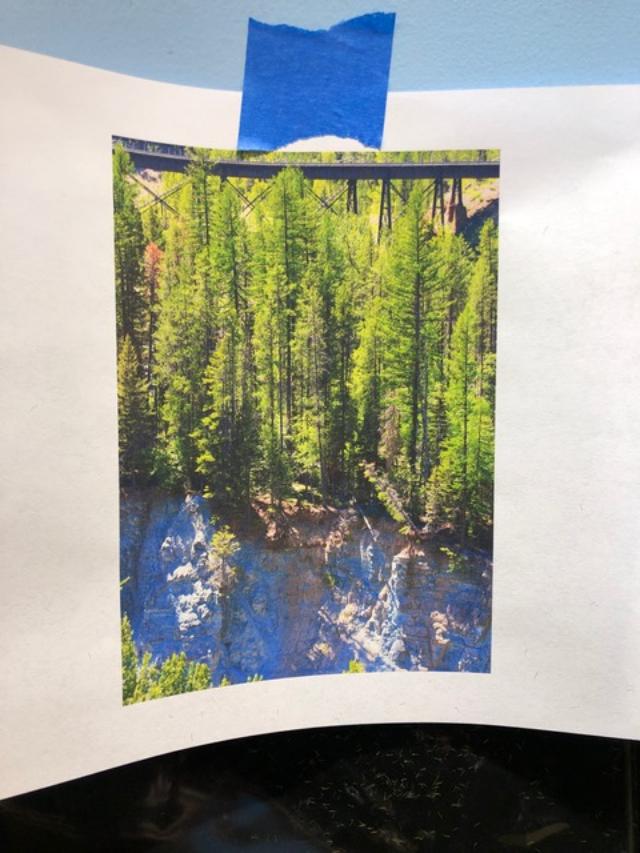
Reference photo 2 of area being modeled
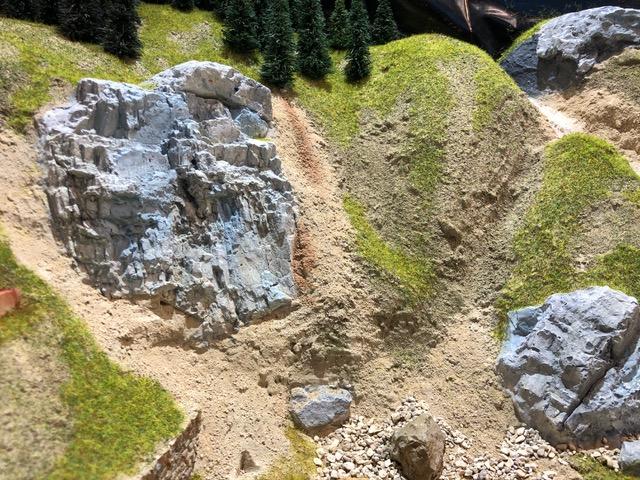
Rock coloration to match reference photo 1 above
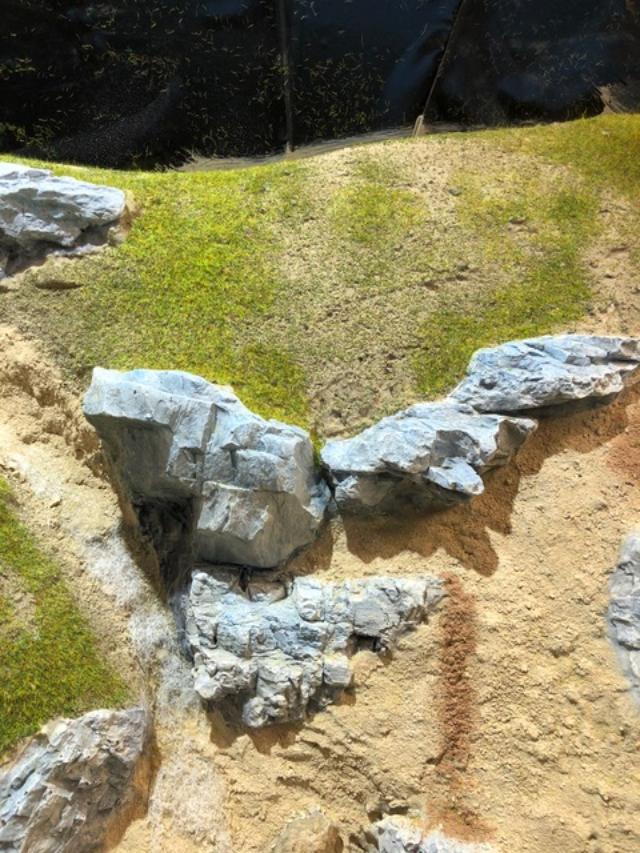
Rock coloration to match reference photo 2 above
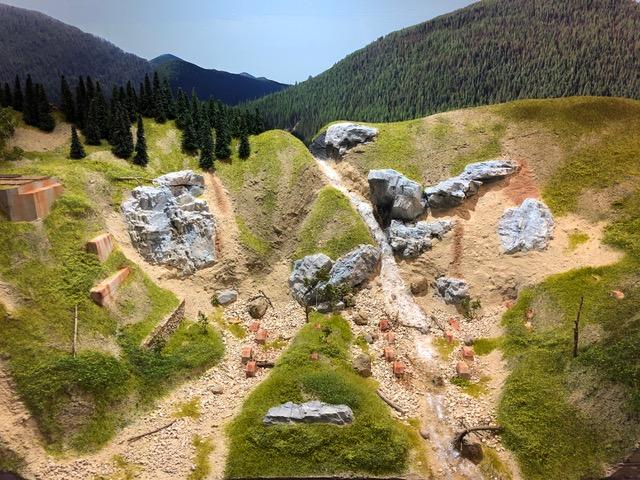
The scene is starting to come together
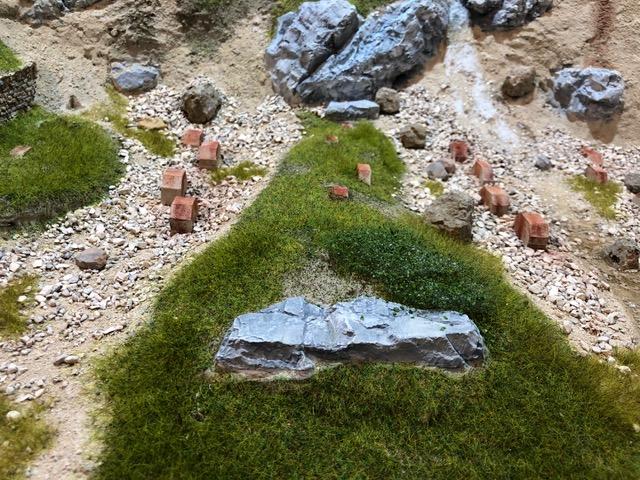
Creating some bushes along the creek bed
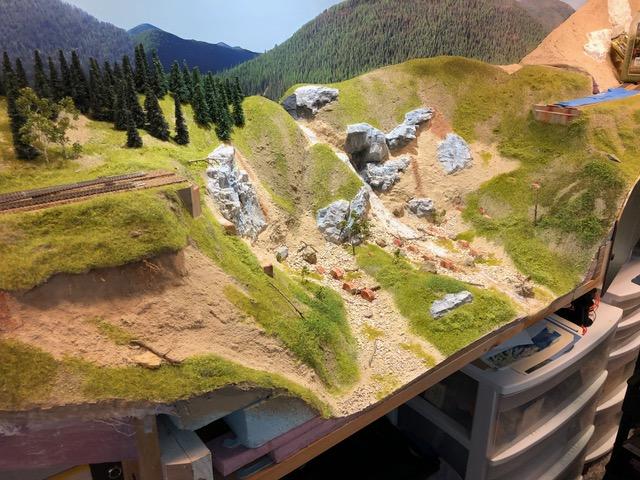
Almost done
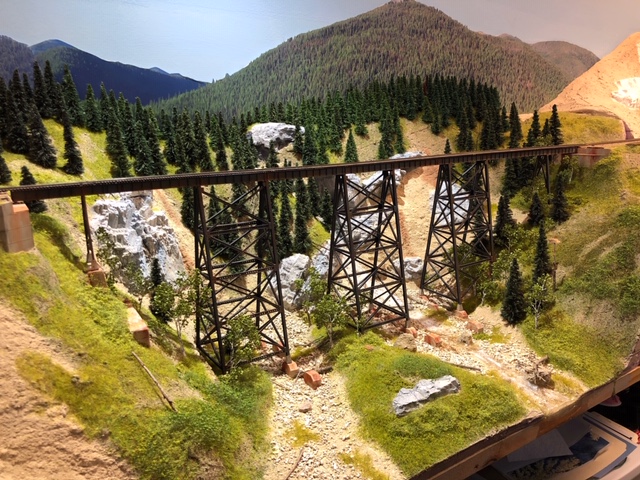
One of the two bridges installed
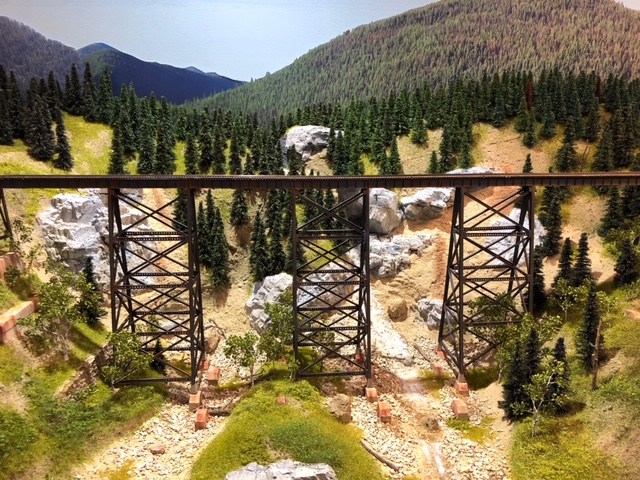
This shows the overall scene but still more to do
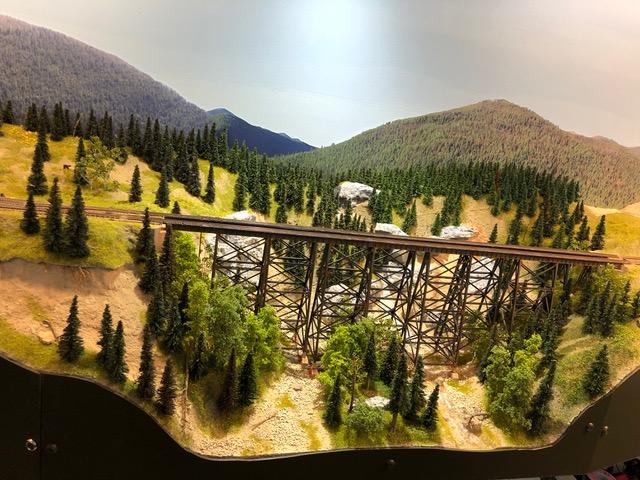
After working all day I think it’s where I want it to be
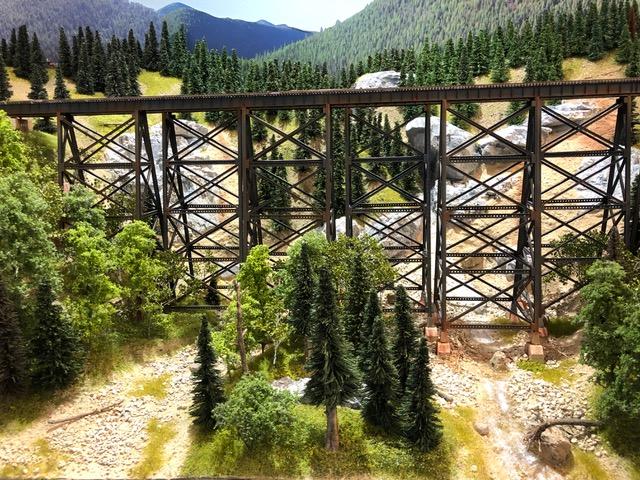
After working all day I think it’s where I want it to be

After working all day I think it’s where I want it to be
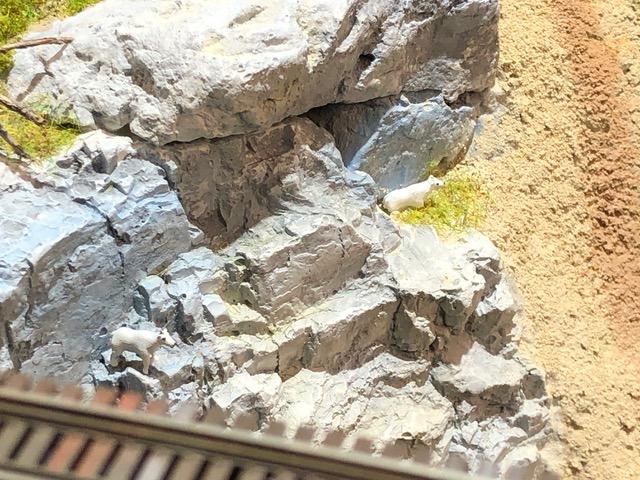
If you lucky you might even see a few Mountain Goats from the bridge
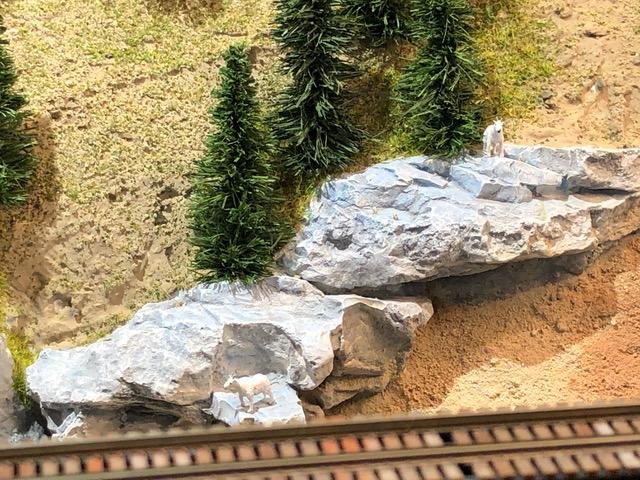
If you lucky you might even see a few Mountain Goats from the bridge

Now I just need a Train to go by !
After I completed the scene @ Sheep Creek Bridge I moved on to something I have been putting off BALLASTING ! See below pic’s
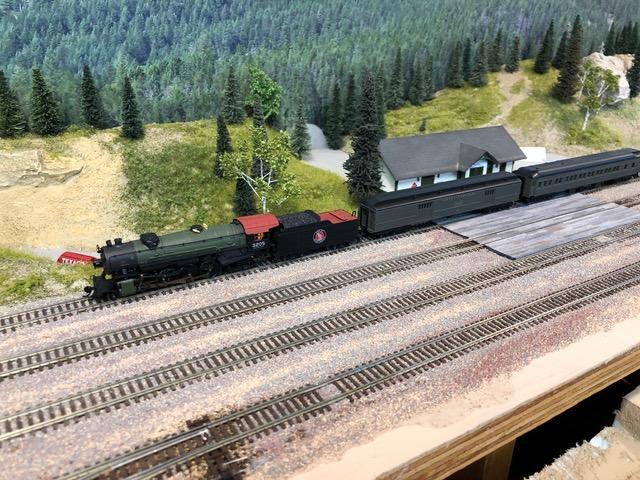
Belton
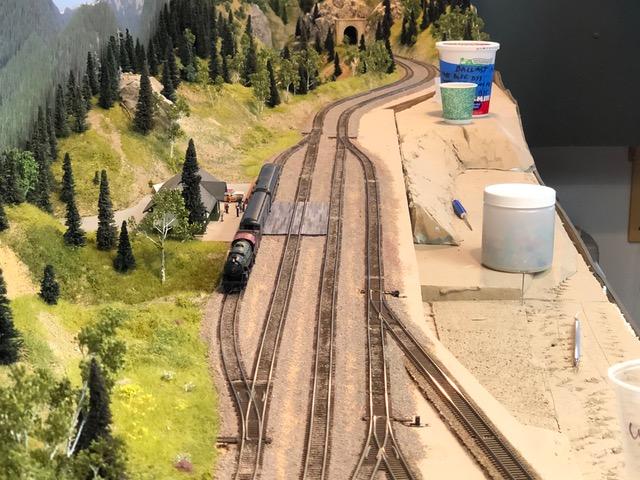
Belton
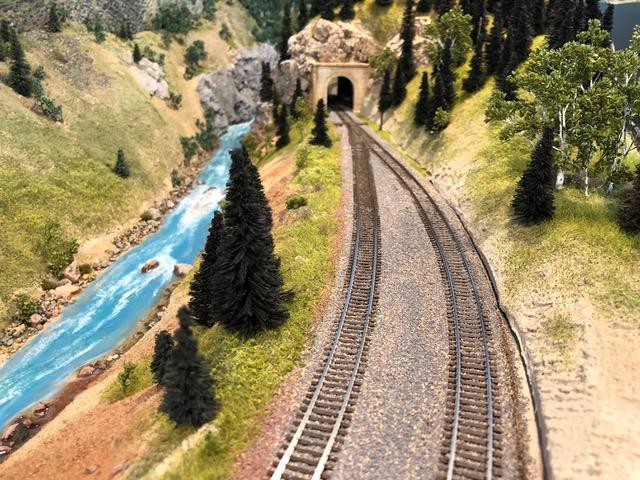
Approaching Belton
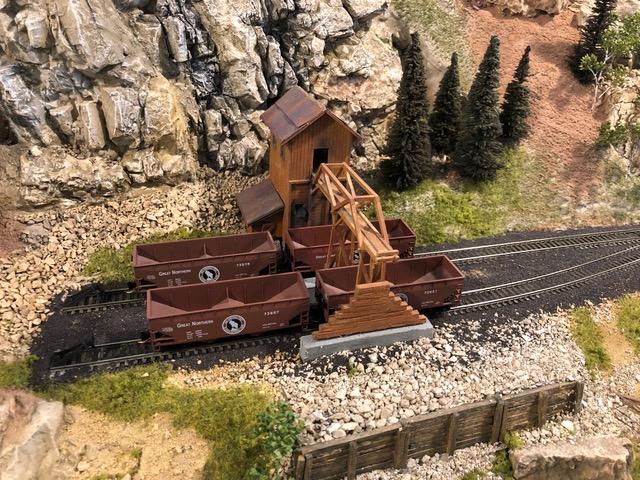
Coal mine outside of Kalispell
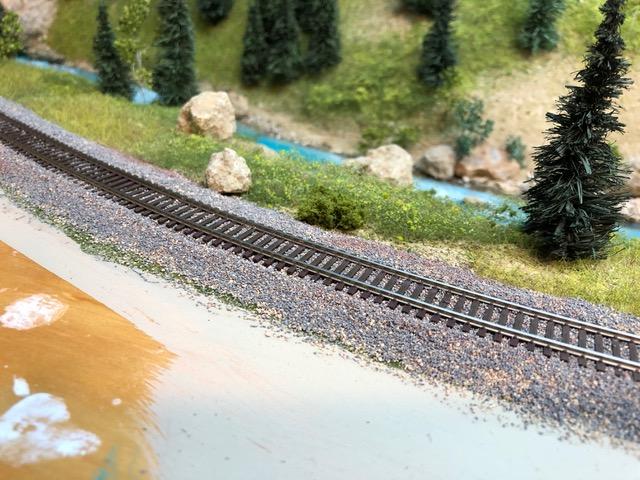
More ballasting
Thursday June 18th Doug wrote - Building a snowshed for the GN !
Making the Bents took me a couple of weeks ( 29 total bents)

Bents under construction
Next came laying a section of the roof down on the template and gluing each bent to it

Section of roof
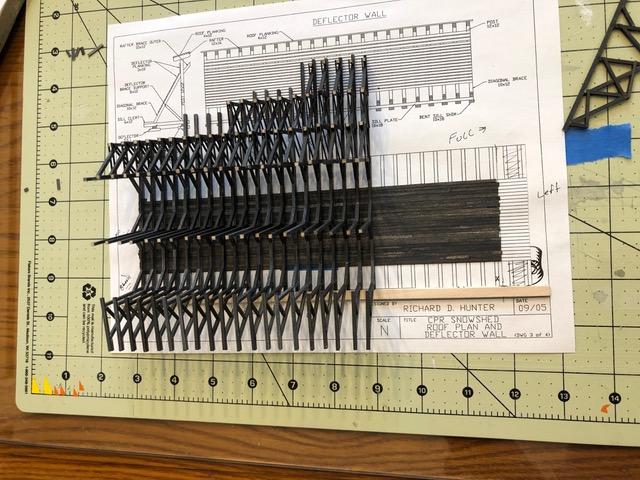
Bents being attached to roof
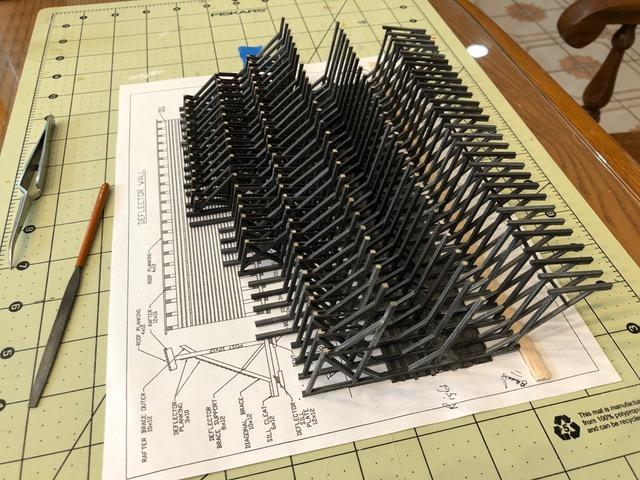
Bents being attached to roof
Once that was done I turned it over and glued the rest of the roof boards on which took hours. I then turned it upside-down again and glued on the sill plates and shims ( more hours )
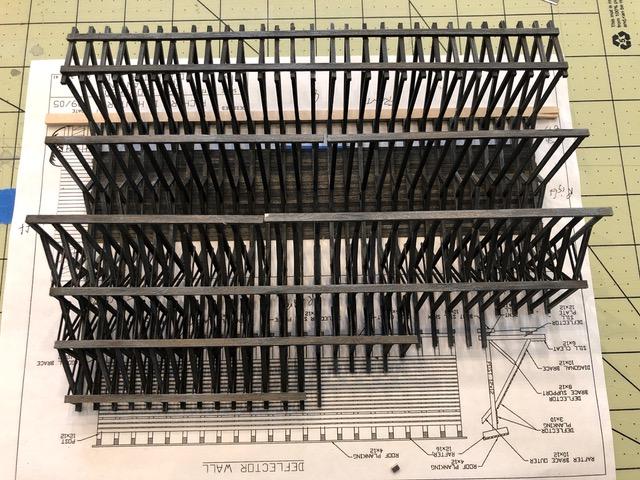
Sill plates and shims
Next came the cross sway bracing which was a real pain
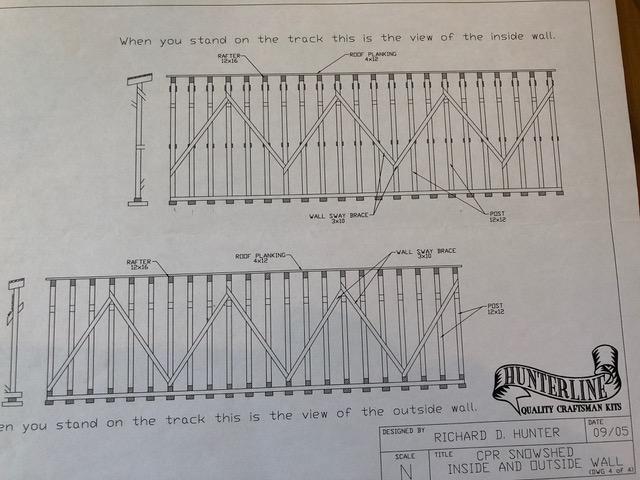
Cross sway bracing
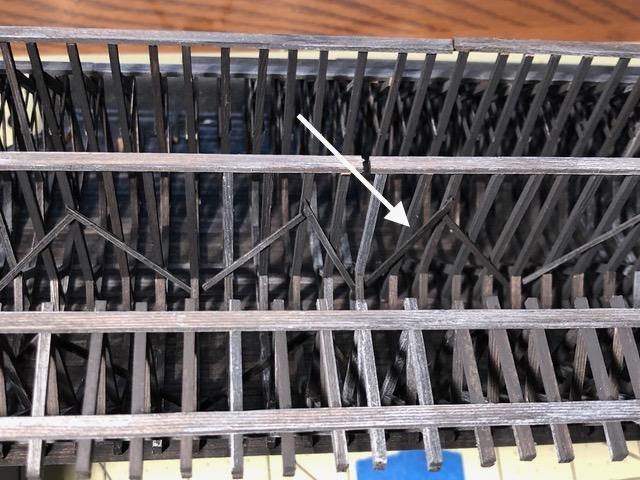
Cross sway bracing
Here it is almost completed
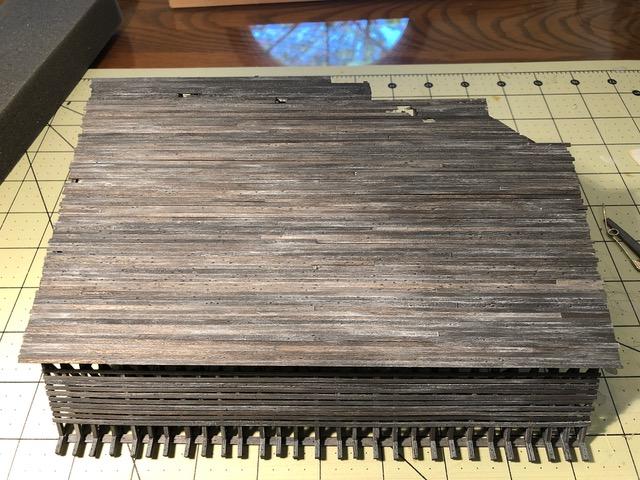
Nearing completion
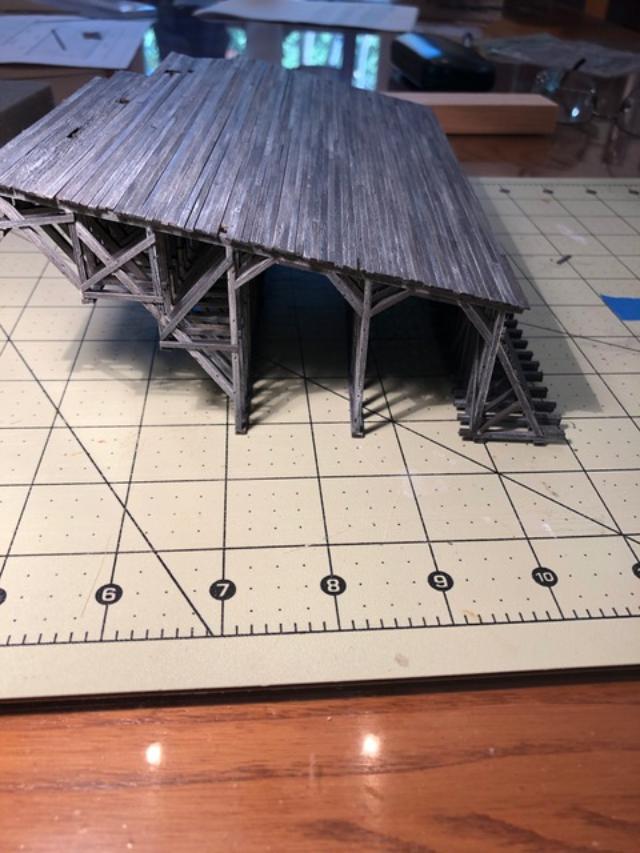
Nearing completion
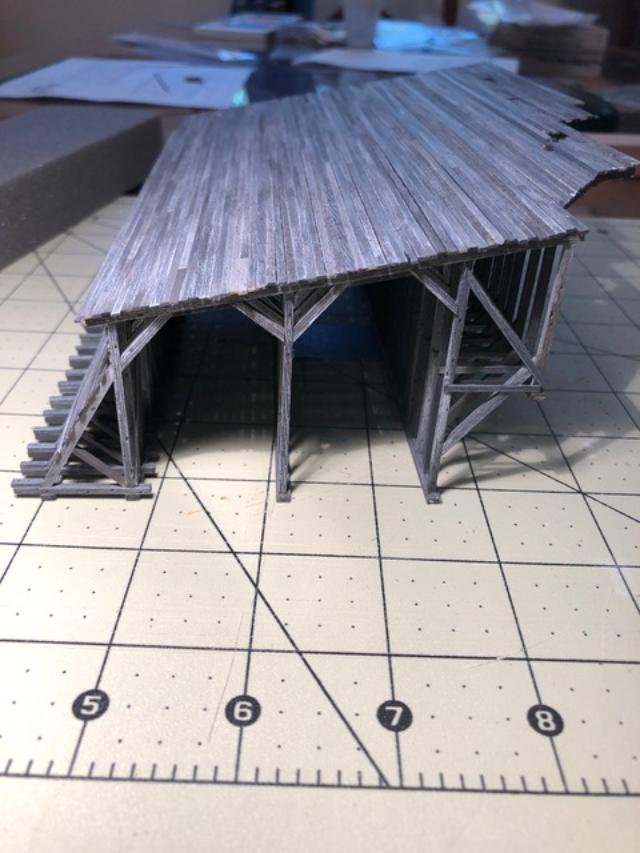
Nearing completion
Here it is completed and test fitted to it’s new home !
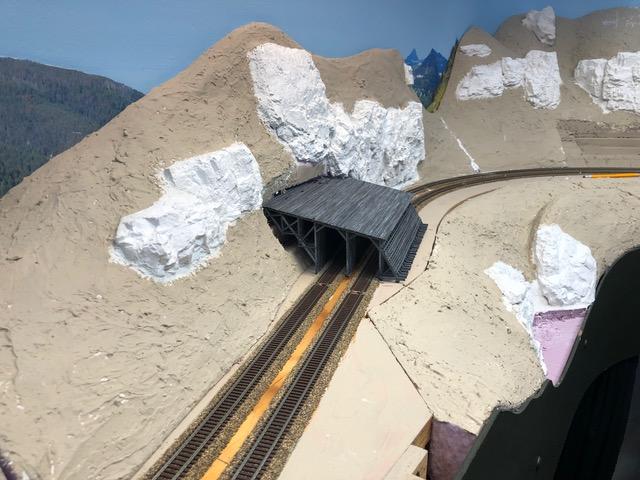
New home
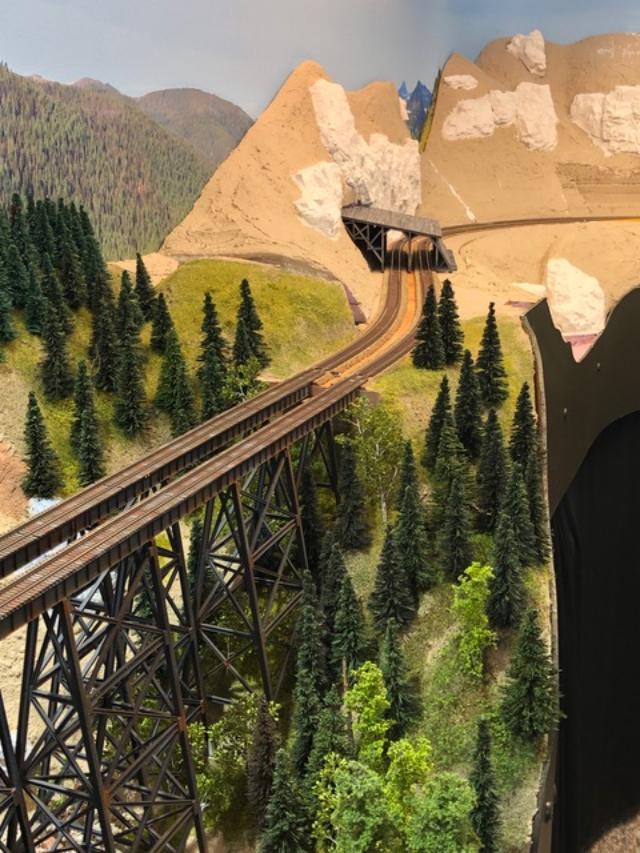
New home scenicked
+ + + + + Back to top + + + + +
.png)


