

Here are some of the modeling activities that our members are working on during our Division activity hiatus. Click on the members name to go to their page to see what they have been working on
Rich Smith
Been trying out various weathering techniques for rolling stock but that killer technique still eludes me. I have used:
1. Diluting enamels … blotchy
2. Oil paints … take very long to dry, but can have a nice effect when wiped with a Q-tip or cloth
3. Alcohol washes … there is a lack of control and blotchiness
4. Tamiya panel line washes … good for magnifying grime in nooks and crannies, around NBW details, etc. but not for general weathering
5. Air brushing … shows promise for me, but I need much more practice … or a better airbrush, so much clean up though
6. Pan pastel chalks … similar effect as airbrushing, but when you go to seal it, the effect disappears, left unsealed effect gradually goes away with handling
7. And then that to do with trucks and wheels? And underbodies?
So as you can see, there are a lot of options, but none has been very satisfying for me. The answer is probably a combination, but until I have a somewhat bullet proof technique I am still so nervous about weathering my loco investments. Still looking for that killer method!
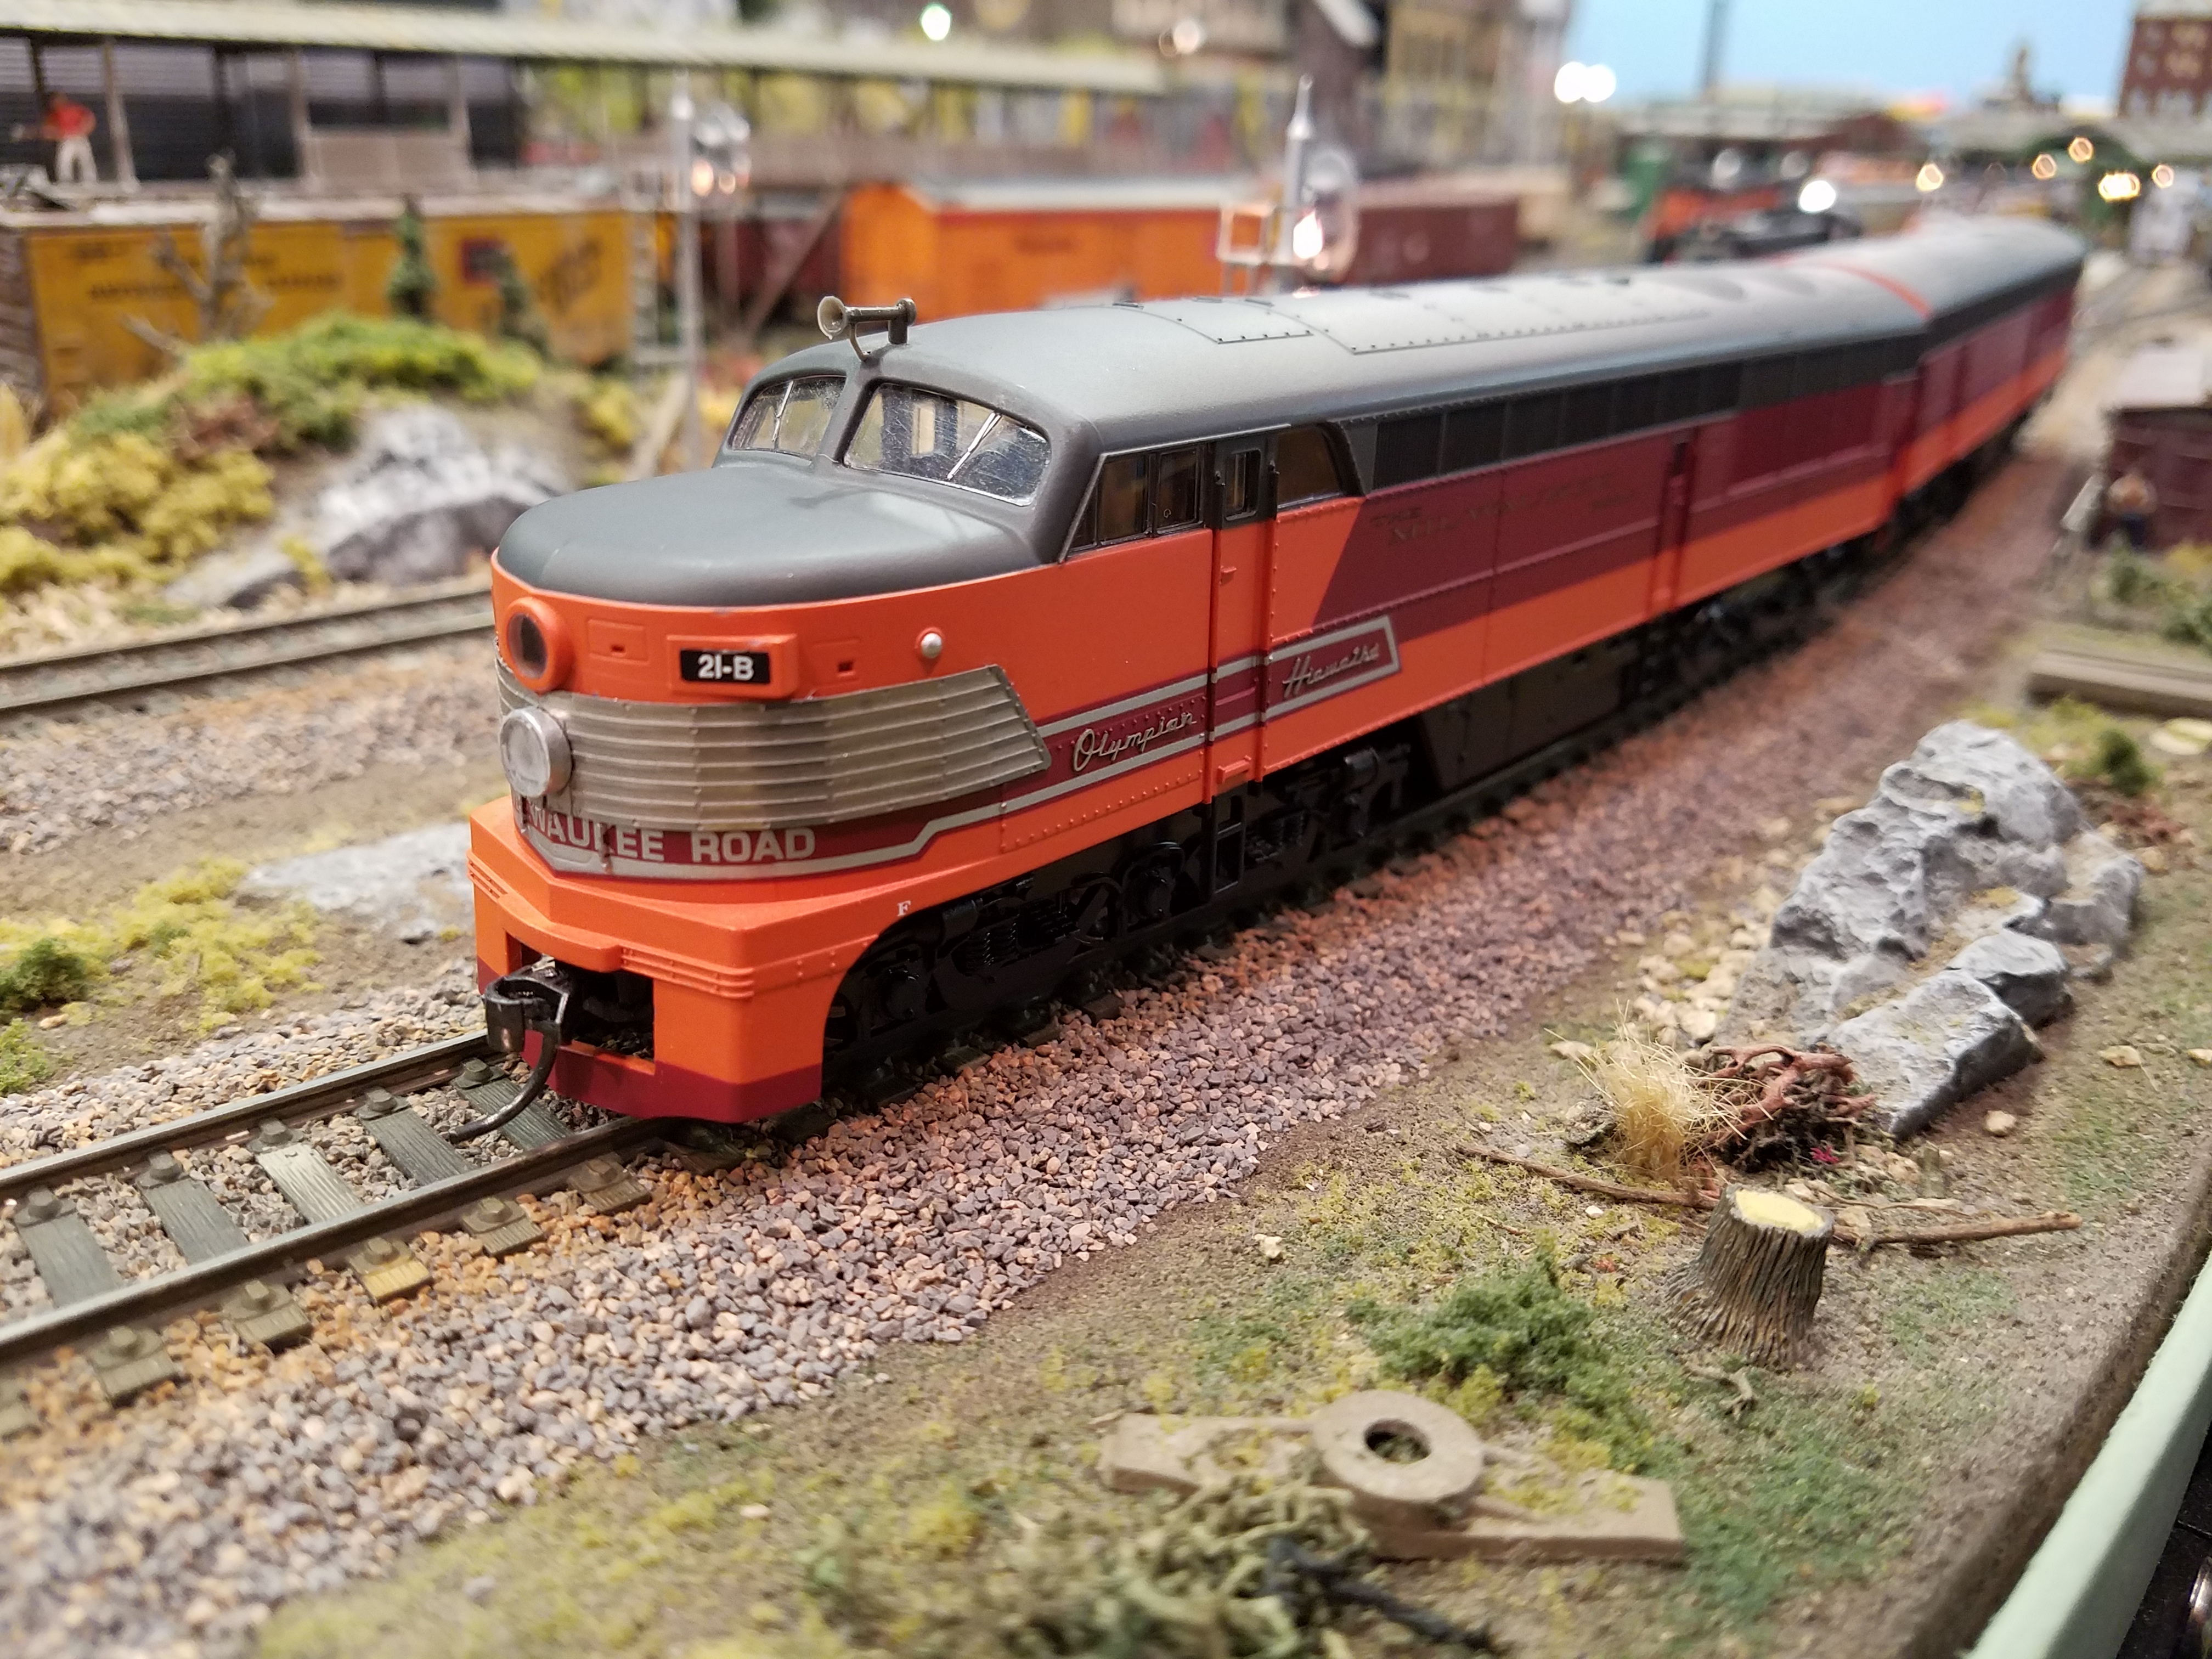
I am working on many small projects. One that was fun was taking a Proto 2000 (P2K) Erie Built and dressing it up with some new stainless steel on its snout (see the first attached pic). The part is actually made of stainless steel as is the raised lettering below the side windows! I had to scratch build the second lower headlight with aluminum tubing and plastic lens (the P2K only has one headlight). Those of you who remember the famous Olympian Hiawatha might be asking, didn’t that locomotive have a “chopped” hood and much narrower front windows? Yes, but my second attached picture shows the Milwaukee Road added these accoutrements to the more standard Erie Built design like the P2K, but you’ll notice no SS lettering. So in my world, both the snout and the lettering exist, so sue me!

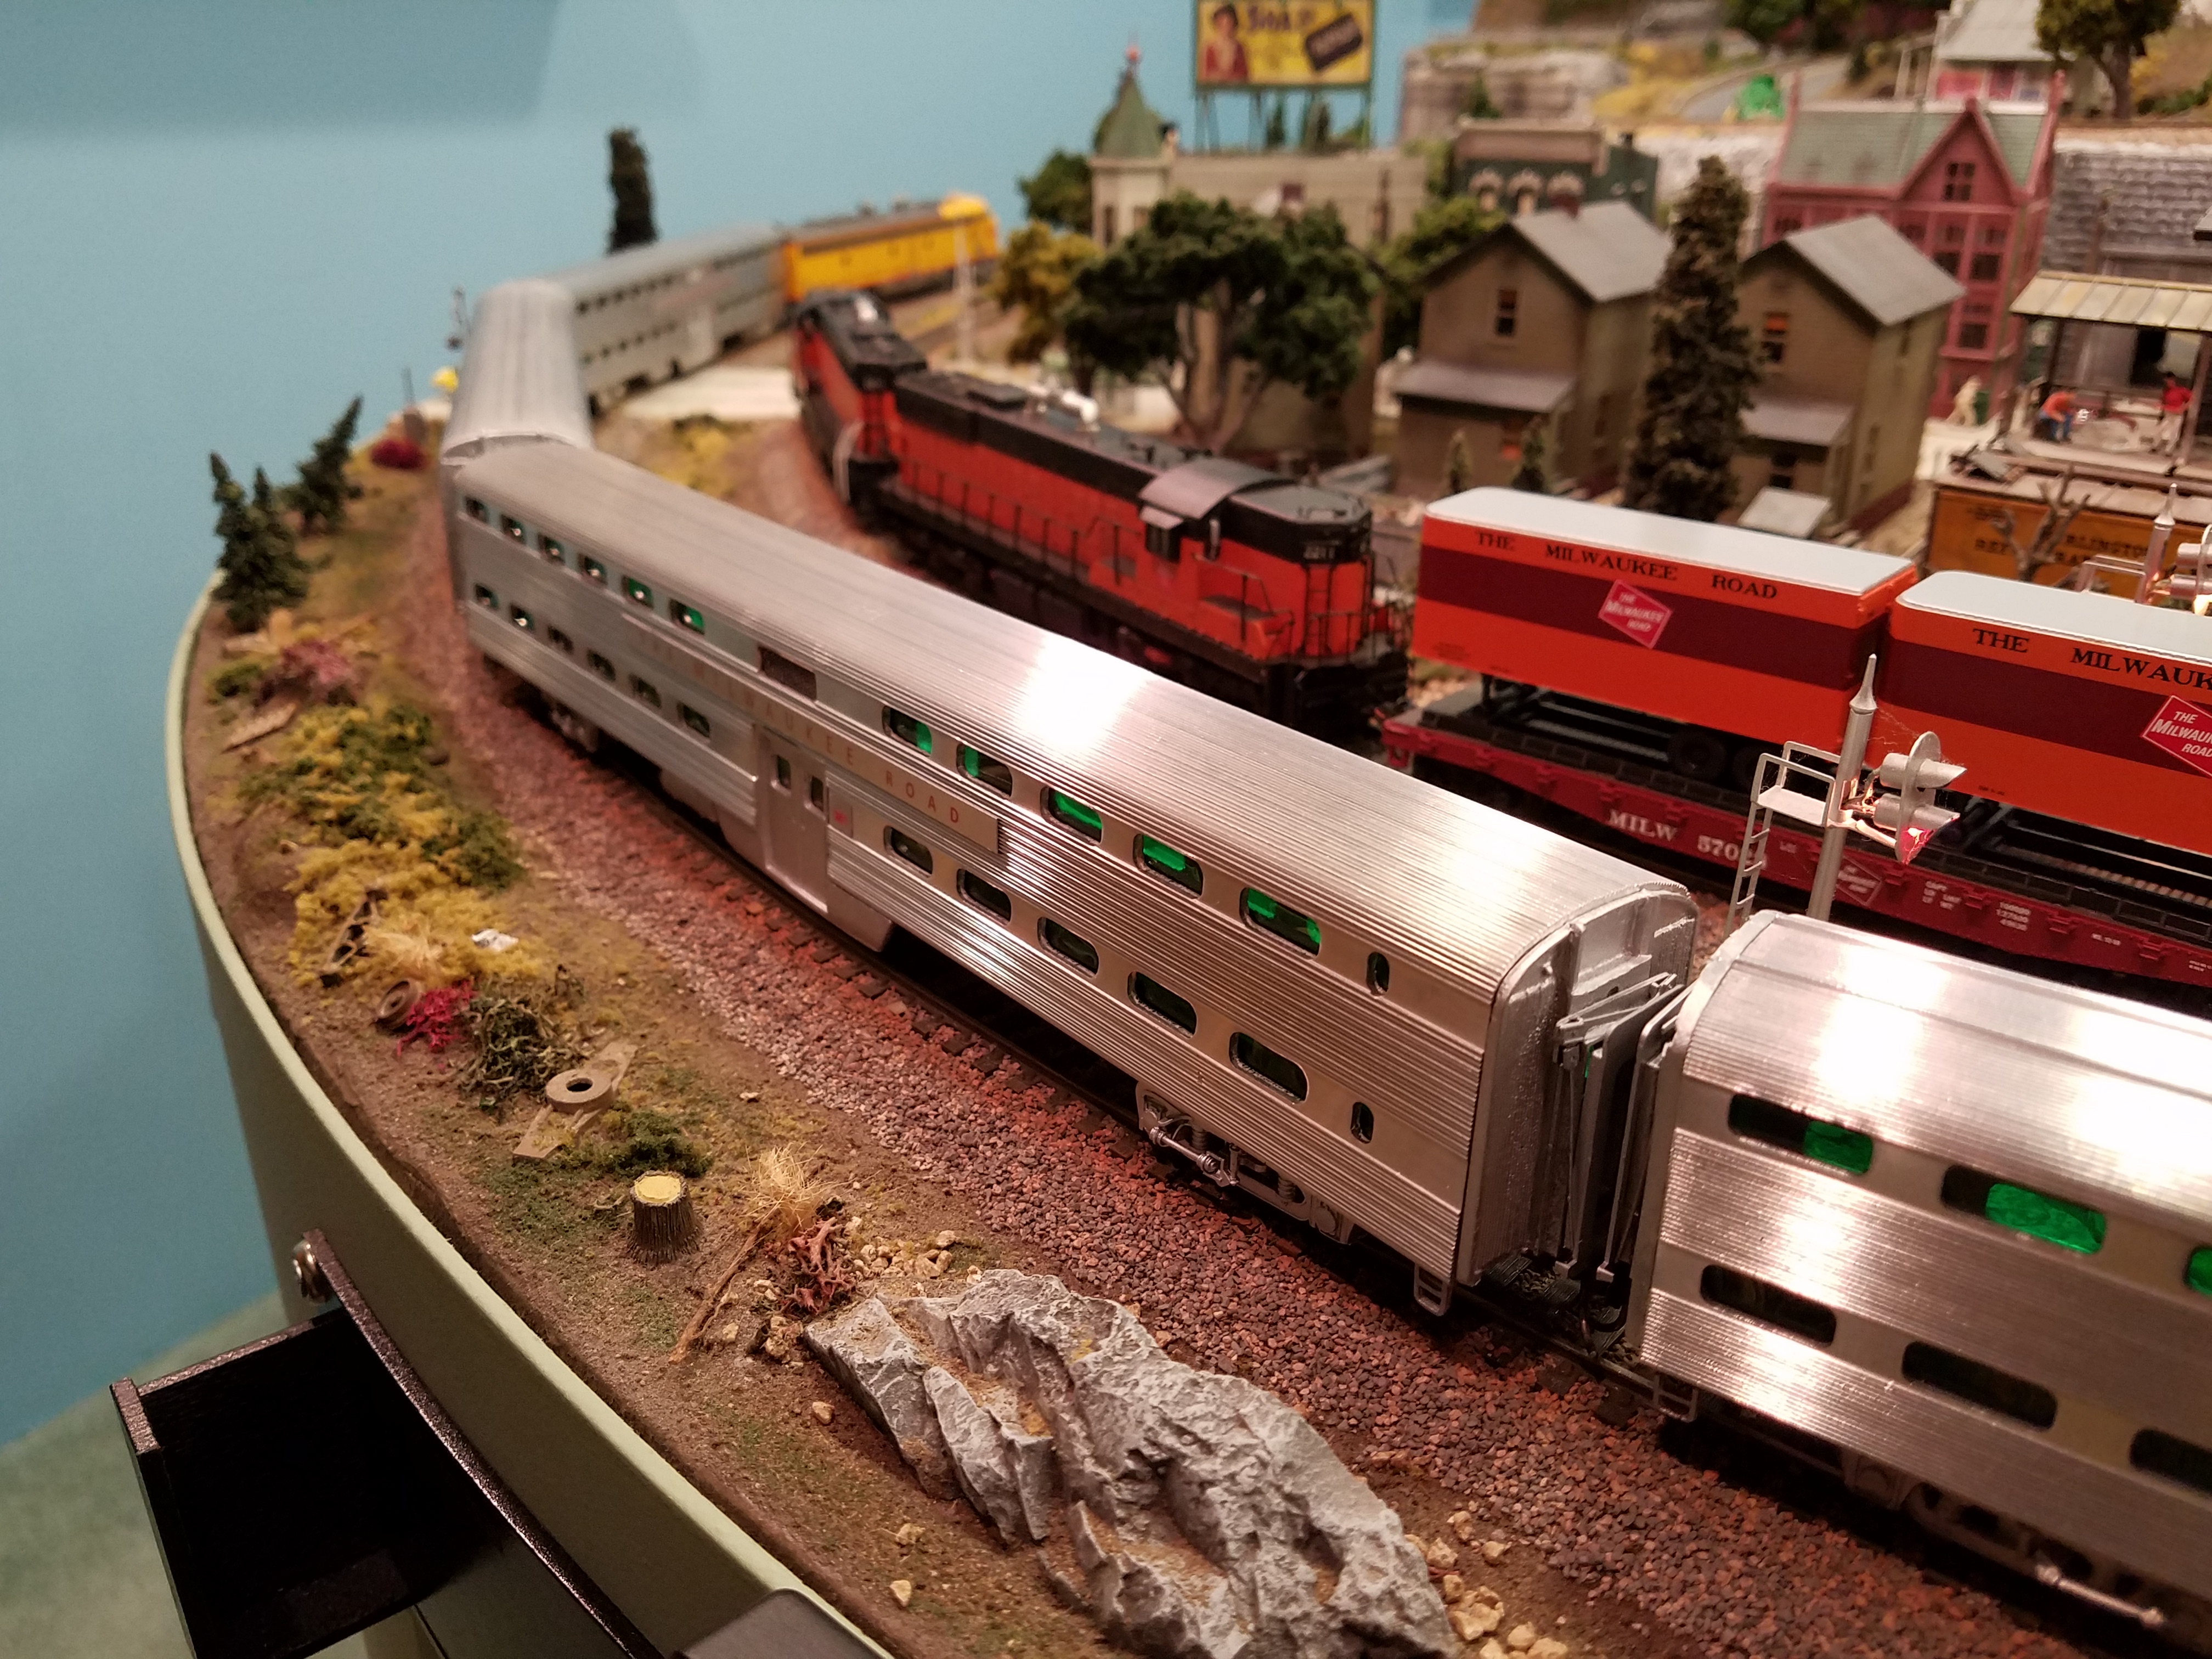
Another project I have worked on is my Milw Rd bi-level commuter train. I had good timing while train watching at the Wauwatoga train station and caught Extra No. 33 coming in, running in “push” mode. The sequence of shots shows the cab car first, and the rest of the 5 car consist, finally being pushed by E8 No. 33 (Milw named their extras with loco numbers) coming to a stop at the station platform. It is a Saturday and this is the “Girl Scout” special, taking nearly 350 girls to the Wisconsin Dells theme park. Milw Rd made use of their commuter equipment during off-times for both revenue and good PR.
I recently re-furbished 3 extruded aluminum models by a long gone company called “Three Brothers”. I already had two kits I built years ago. Modifications to the original kits include green tinted windows, Walther GSC trucks (scratch made bolsters), Kadee body mount couplers, American Limited diaphragms, home printed “Milwaukee Road” signage, and lots of Flitz polish! I installed a Tsunami 2 EMD sound decoder into my very old and well used Proto 2000 E8, and it works great (I think a 2 amp decoder is necessary for these older locos). Also, added the classic Milw Rd smoke arrestors on the E8.
Finally, thinking about adding a cheap non-sound decoder in the cab car and getting a head light for push operations, and a red light for pull. Right now, there are nifty little clear lenses in the unit, but lights would be cool. Walthers trucks make this pretty easy to do.


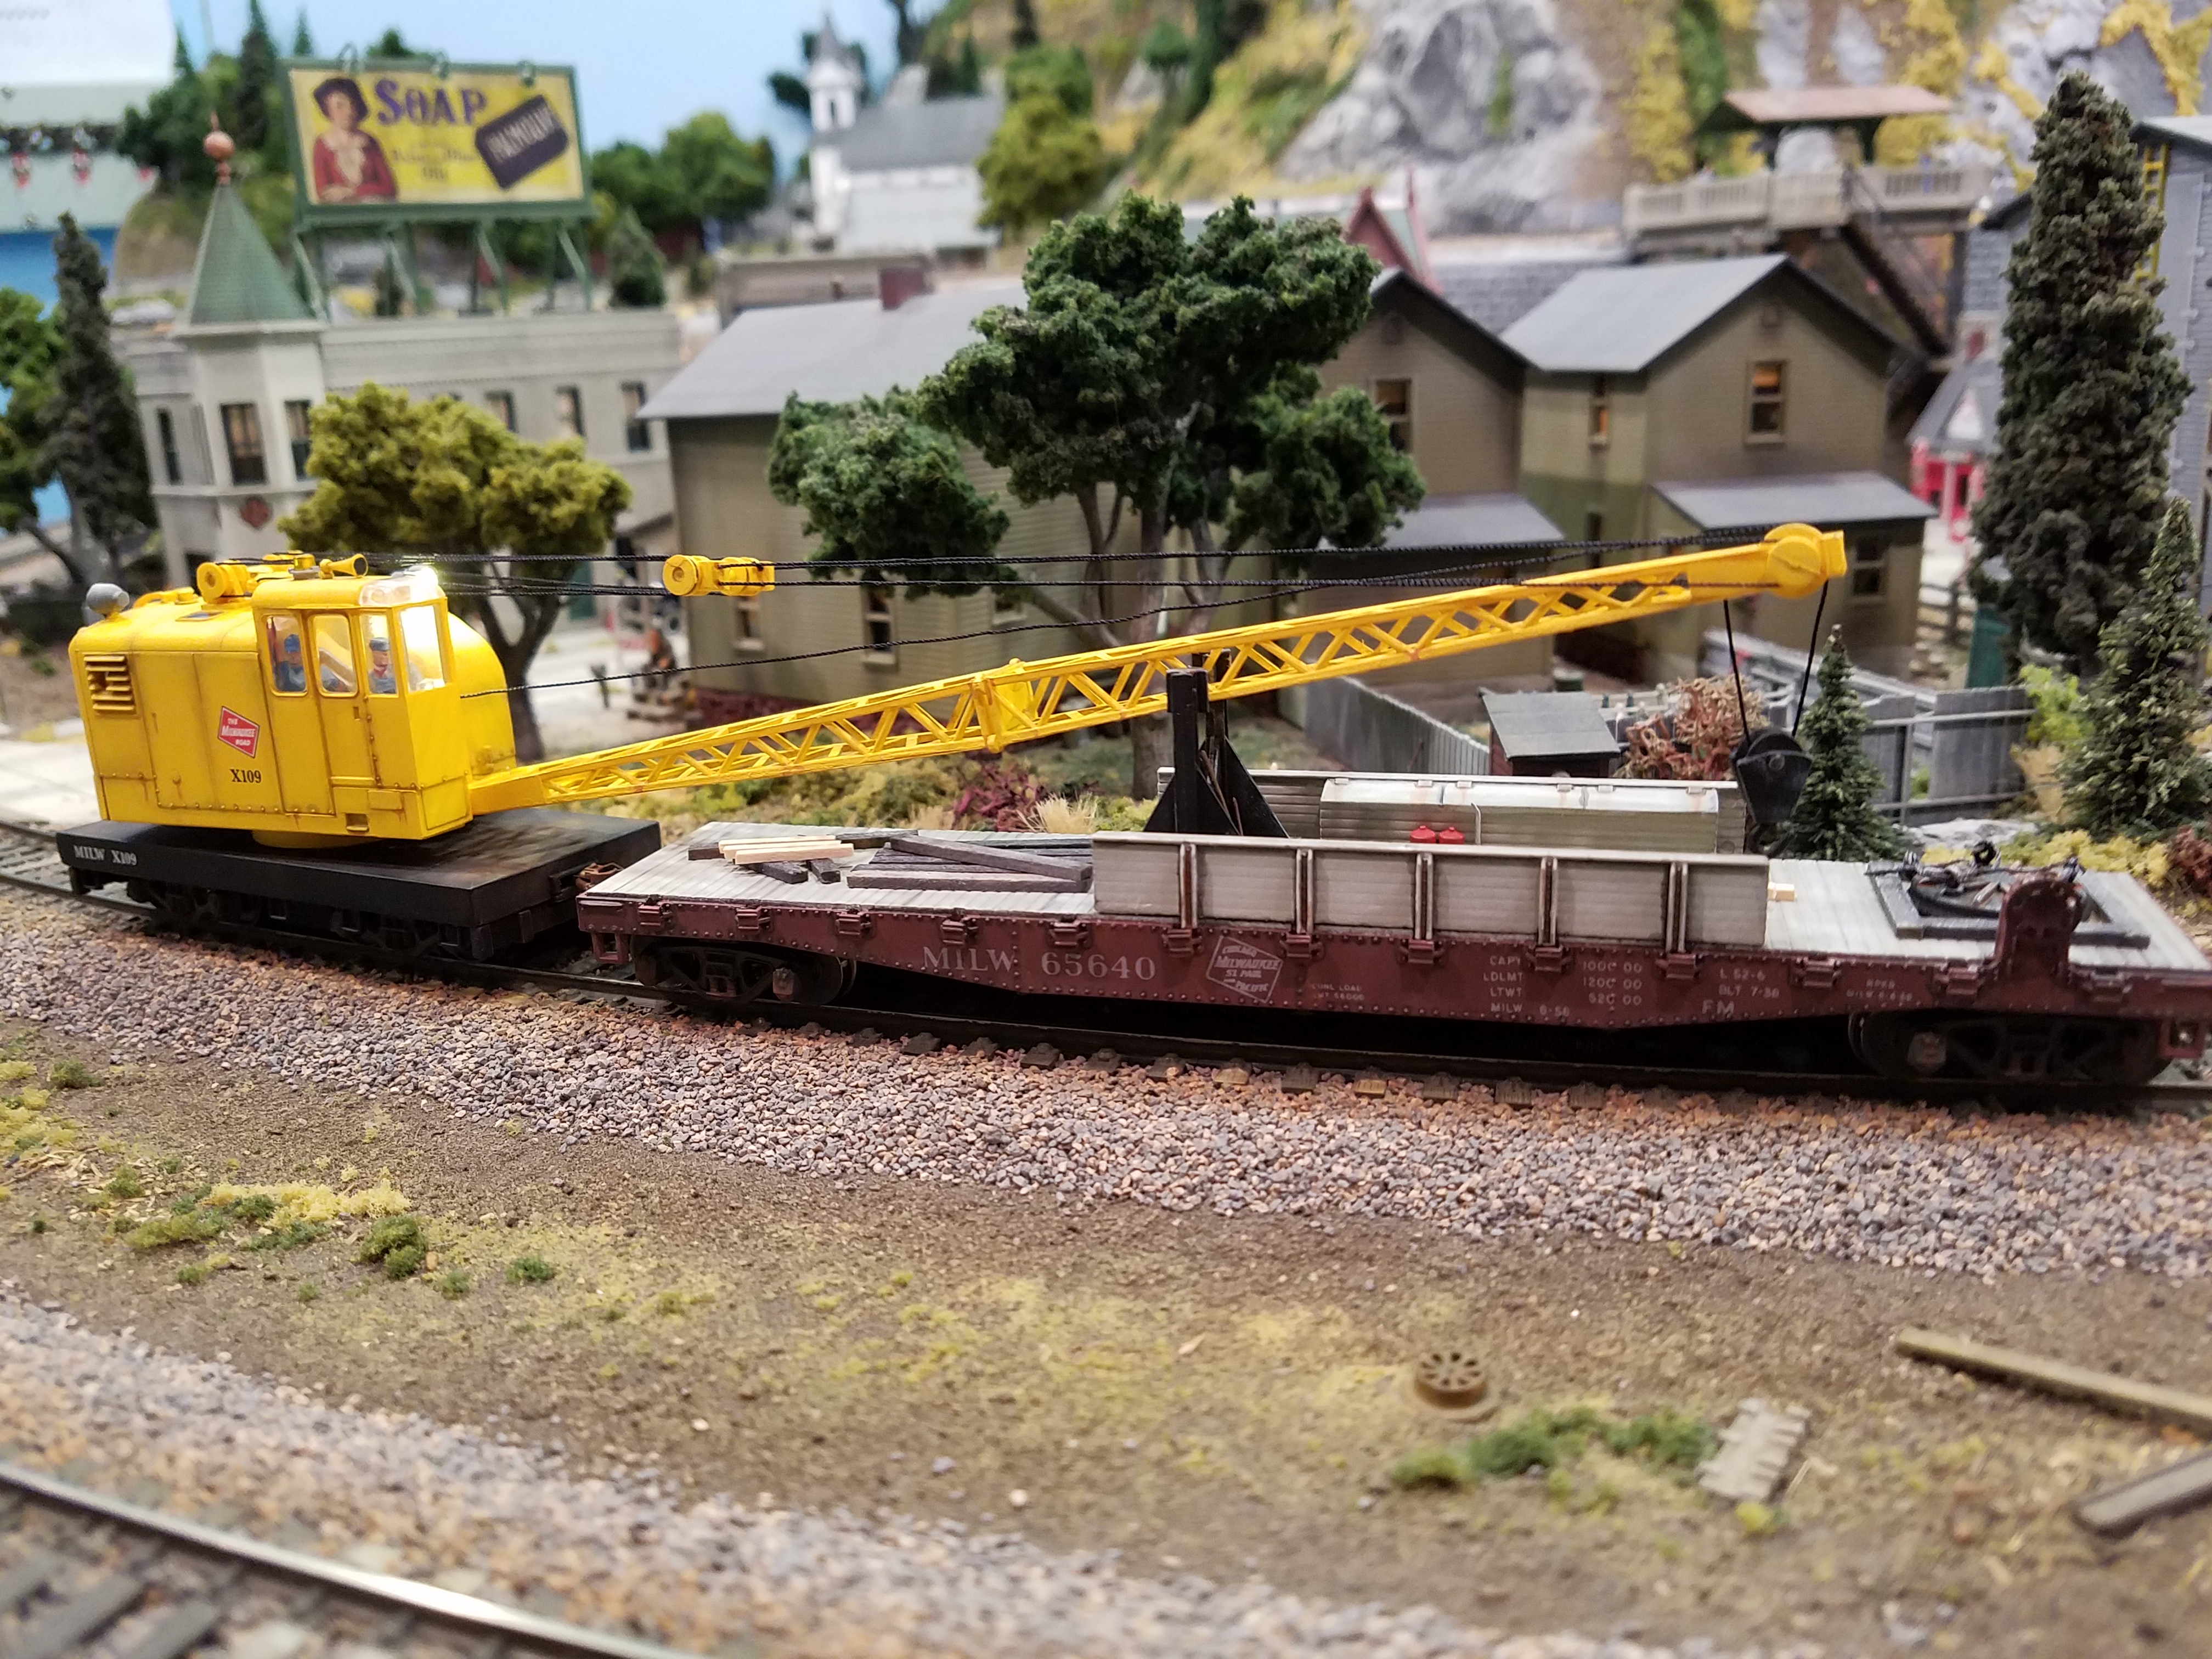
Please find some pics of my latest project. The American Crane is a powered Walthers kit (DC). I installed DCC (Digitrax DZ 143 decoder (thank you Irwin!) and have separately controlled rotary beacon, twin forward lights, and a reverse light. The unit was unreliable loosing contact over non-powered frogs so I added the boom flat car and installed phosphor bronze pickups in the trucks. Now it runs down the track flawlessly! The flat car is just an Athearn with some additions. The pickup wires are connectorized between the crane and the boom car so you can still run the crane by itself.
One thing that initially bothered me was that the idler pulleys jigged and the boom moves as it runs down the track. Then I found a YouTube video of a real one, and guess what, the real pulleys jiggle too and boom moves! I also got it right to put in two figures in the cab (see video)Take a look


One last couple of pics of those famous Milwaukee Rd bi-level commuter cars. Since they were operated push-pull, and since it is interesting to watch them in push mode, I just had to add LED lights to the cab car. I’ll let you guess which lights are for which direction, all synced up with the loco of course. Since the double headlight is so close to the roof, I had to use a clear plastic “light bar” (can’t think of a better word right now) that let me mount the LED away from the actual holes. Turns out, I had a “light bar” laying around because I put DCC and lights into an Atlas RS unit and had to remove it to fit the decoder and speakers. Good to keep old parts sometimes!


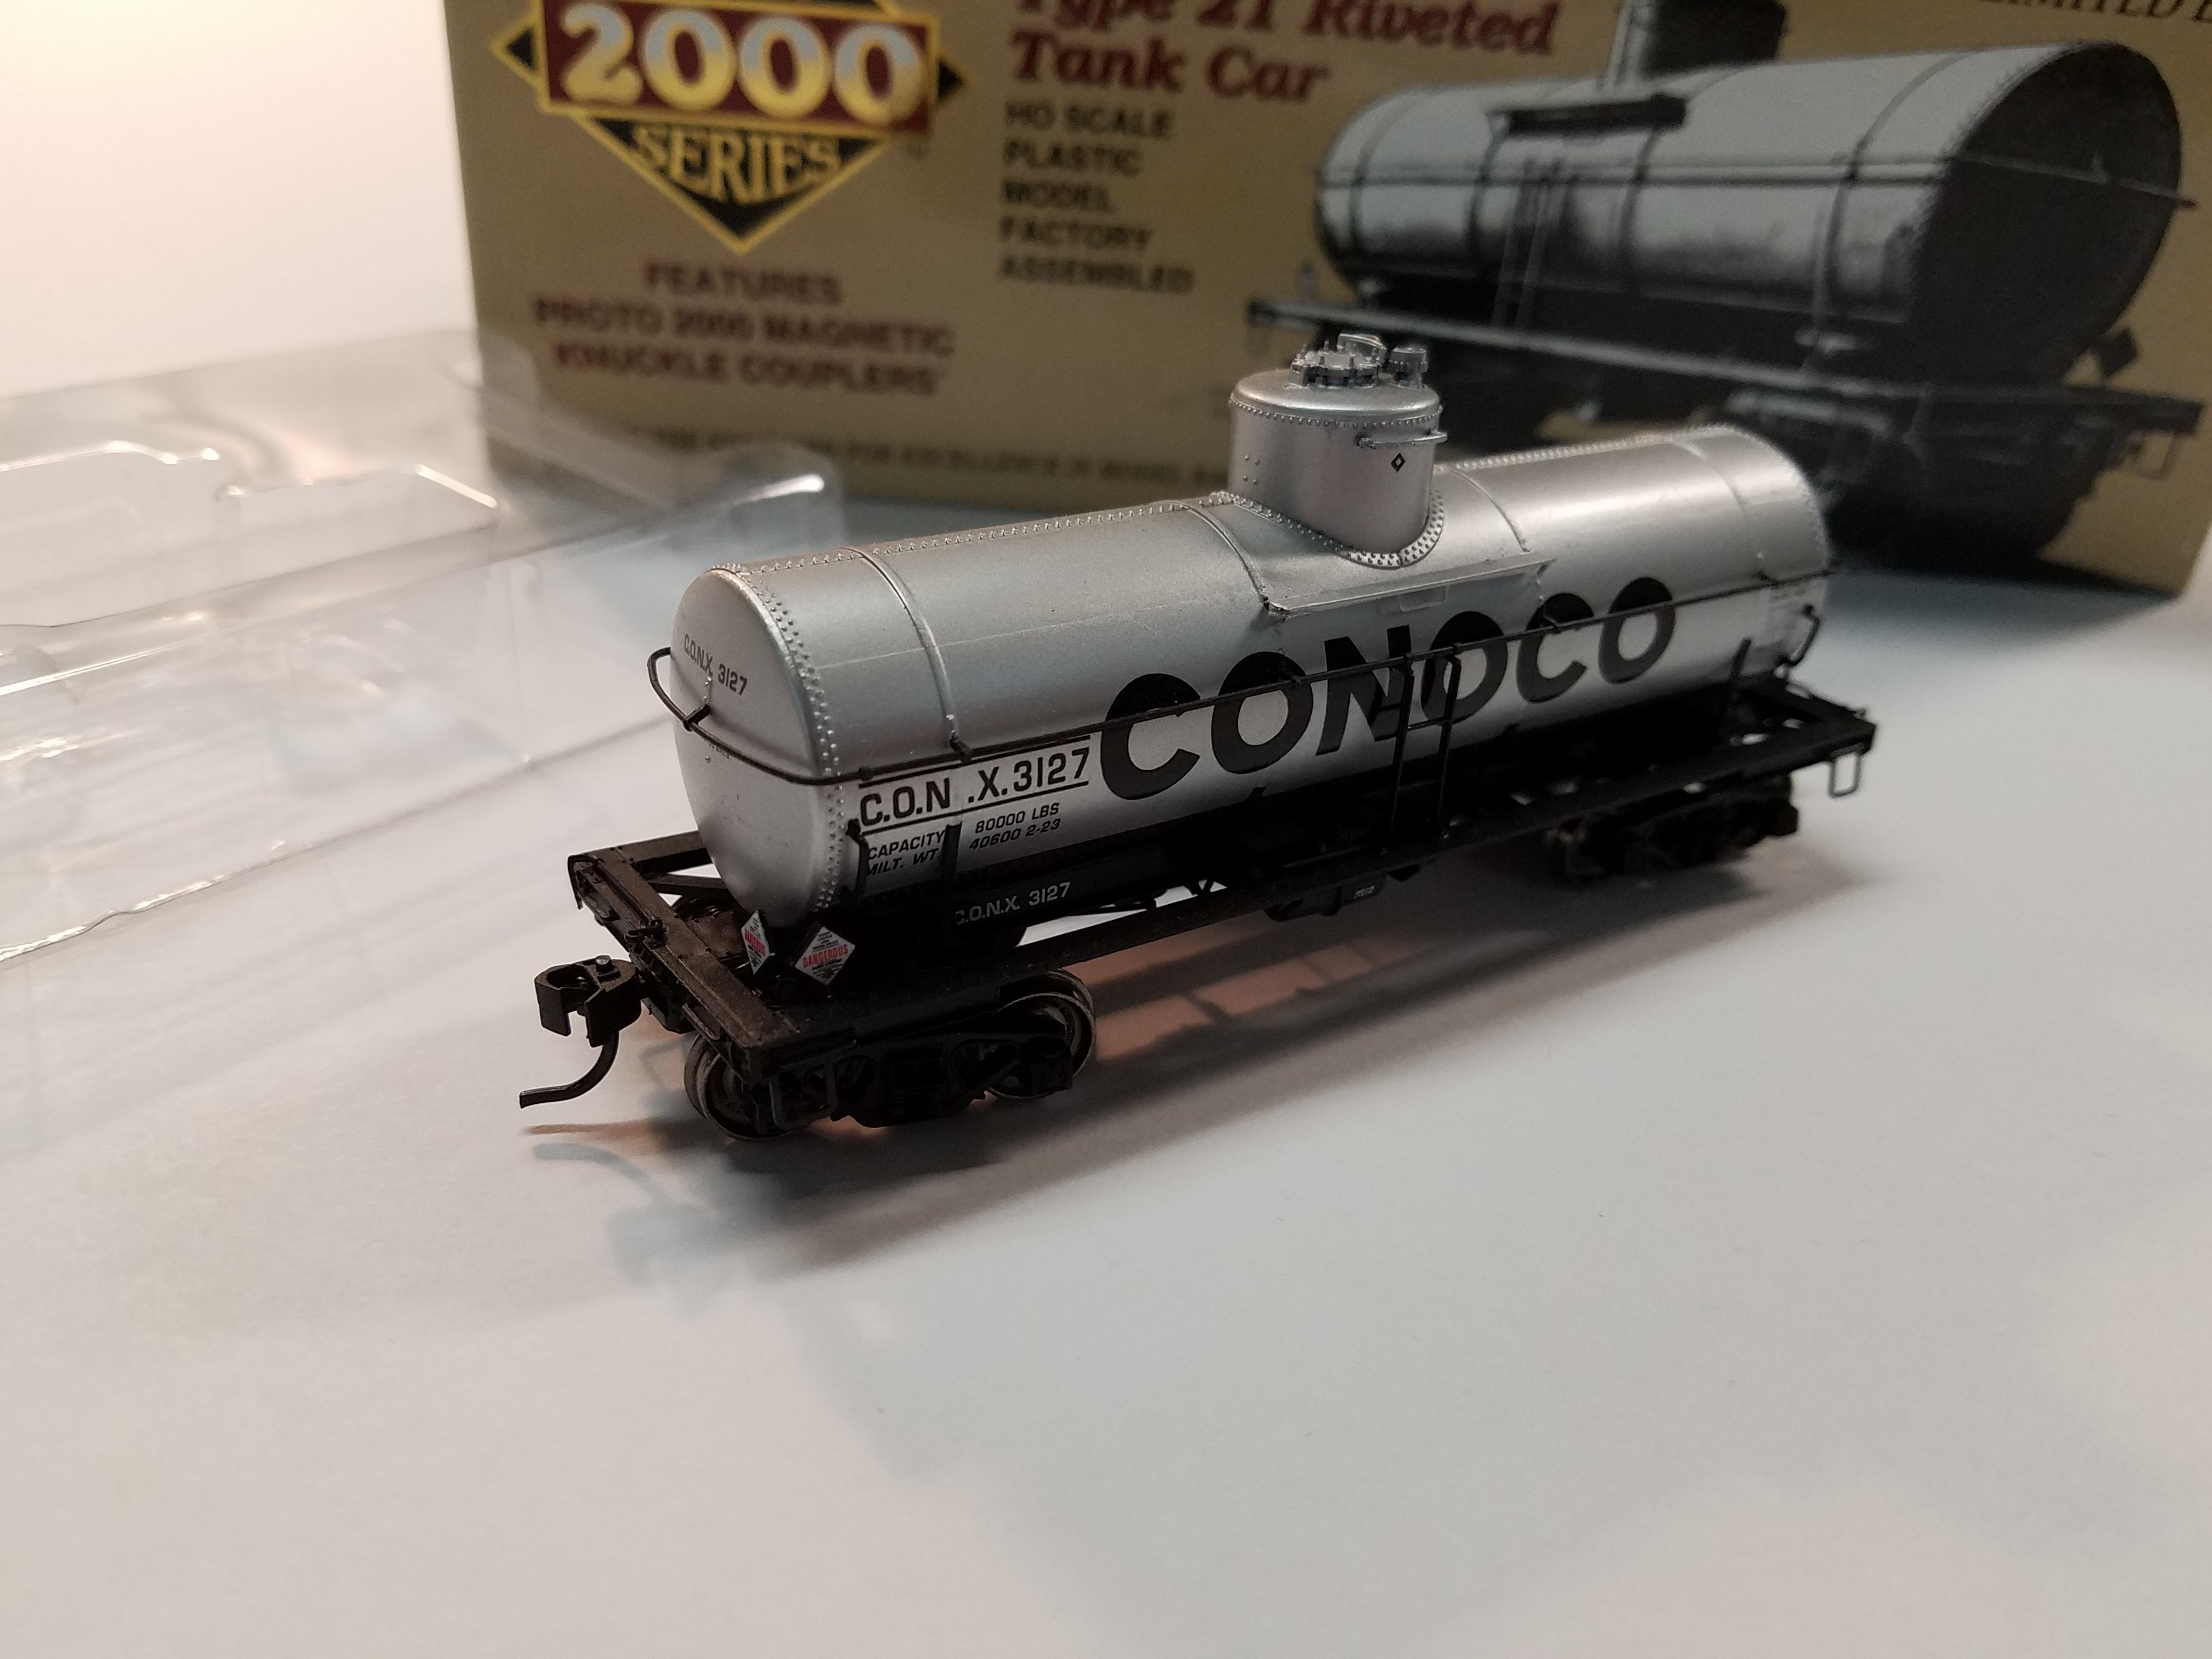
I just finished a tank car too --- see attached! Went to Ebay, made a few mouse clicks, opened a box that came in the mail, opened the box the car came in, and set it down on my table. Whew, I beat. I need a nap!
Regards guys and keep on modeling
Wednesday June 10th - Gents, hope you are all doing well. My projects have slowed down a bit with warm weather, house projects, and work schedules. But here’s the next installment on the Milw. Rd Ft ABBA saga. I finished #47B booster unit. The first picture shows the nice close coupling between A and B units using American Standard diaphragms especially made for Stewart Fts. They can negotiate 22 inch radius. The second pic is a close up of the B unit showing newly installed grabs, lift rings, etc.
This B unit is not powered. And that brings me to my DCC strategy. Four sound decoders for an ABBA set would cost ~$400. Since model railroaders are cheap (especially me), I am going with the following strategy:
Unit 47A – Powered - Sound decoder w/ speaker
Unit 47B – Dummy (but extra speaker wired thru diaphragms to 47A unit)
Unit 47C – Powered - Non-sound mobile decoder (but extra speaker wired thru diaphragms to 47D unit)
Unit 47D - Powered - Sound decoder w/ speaker
This saves me the cost of 2 sound decoders (mobile decoder was only $20) and one powered loco. Three powered locos are more than enough power to pull my longest trains and then some. I can also run an AB set with either one powered loco or two powered locos, so lots of flexibility.
One thing that has always bothered me about lash-ups of multiple sound locos is the sound emanates exactly the same from each engine. My solution? The Tsumani’s have two EMD 567 16 cylinder prime mover sound chips available. This gives variability between 47AB and 47CD. If you don’t have different sound chips (most common) the Tsumani has another nice feature called “pitch shift”. This lets you change the pitch (higher or lower frequency) of each decoder. When we train watch, we all notice each engine has a different pitch. I will use this two.
Next installment I will talk about speed matching multiple locos with usage wear & tear and with different decoders! That’s all for now guys! Best, Rich

Sunday June 27th - I took a little break from my Ft ABBA saga … great thing about our hobby, always another shiny new object to work on!
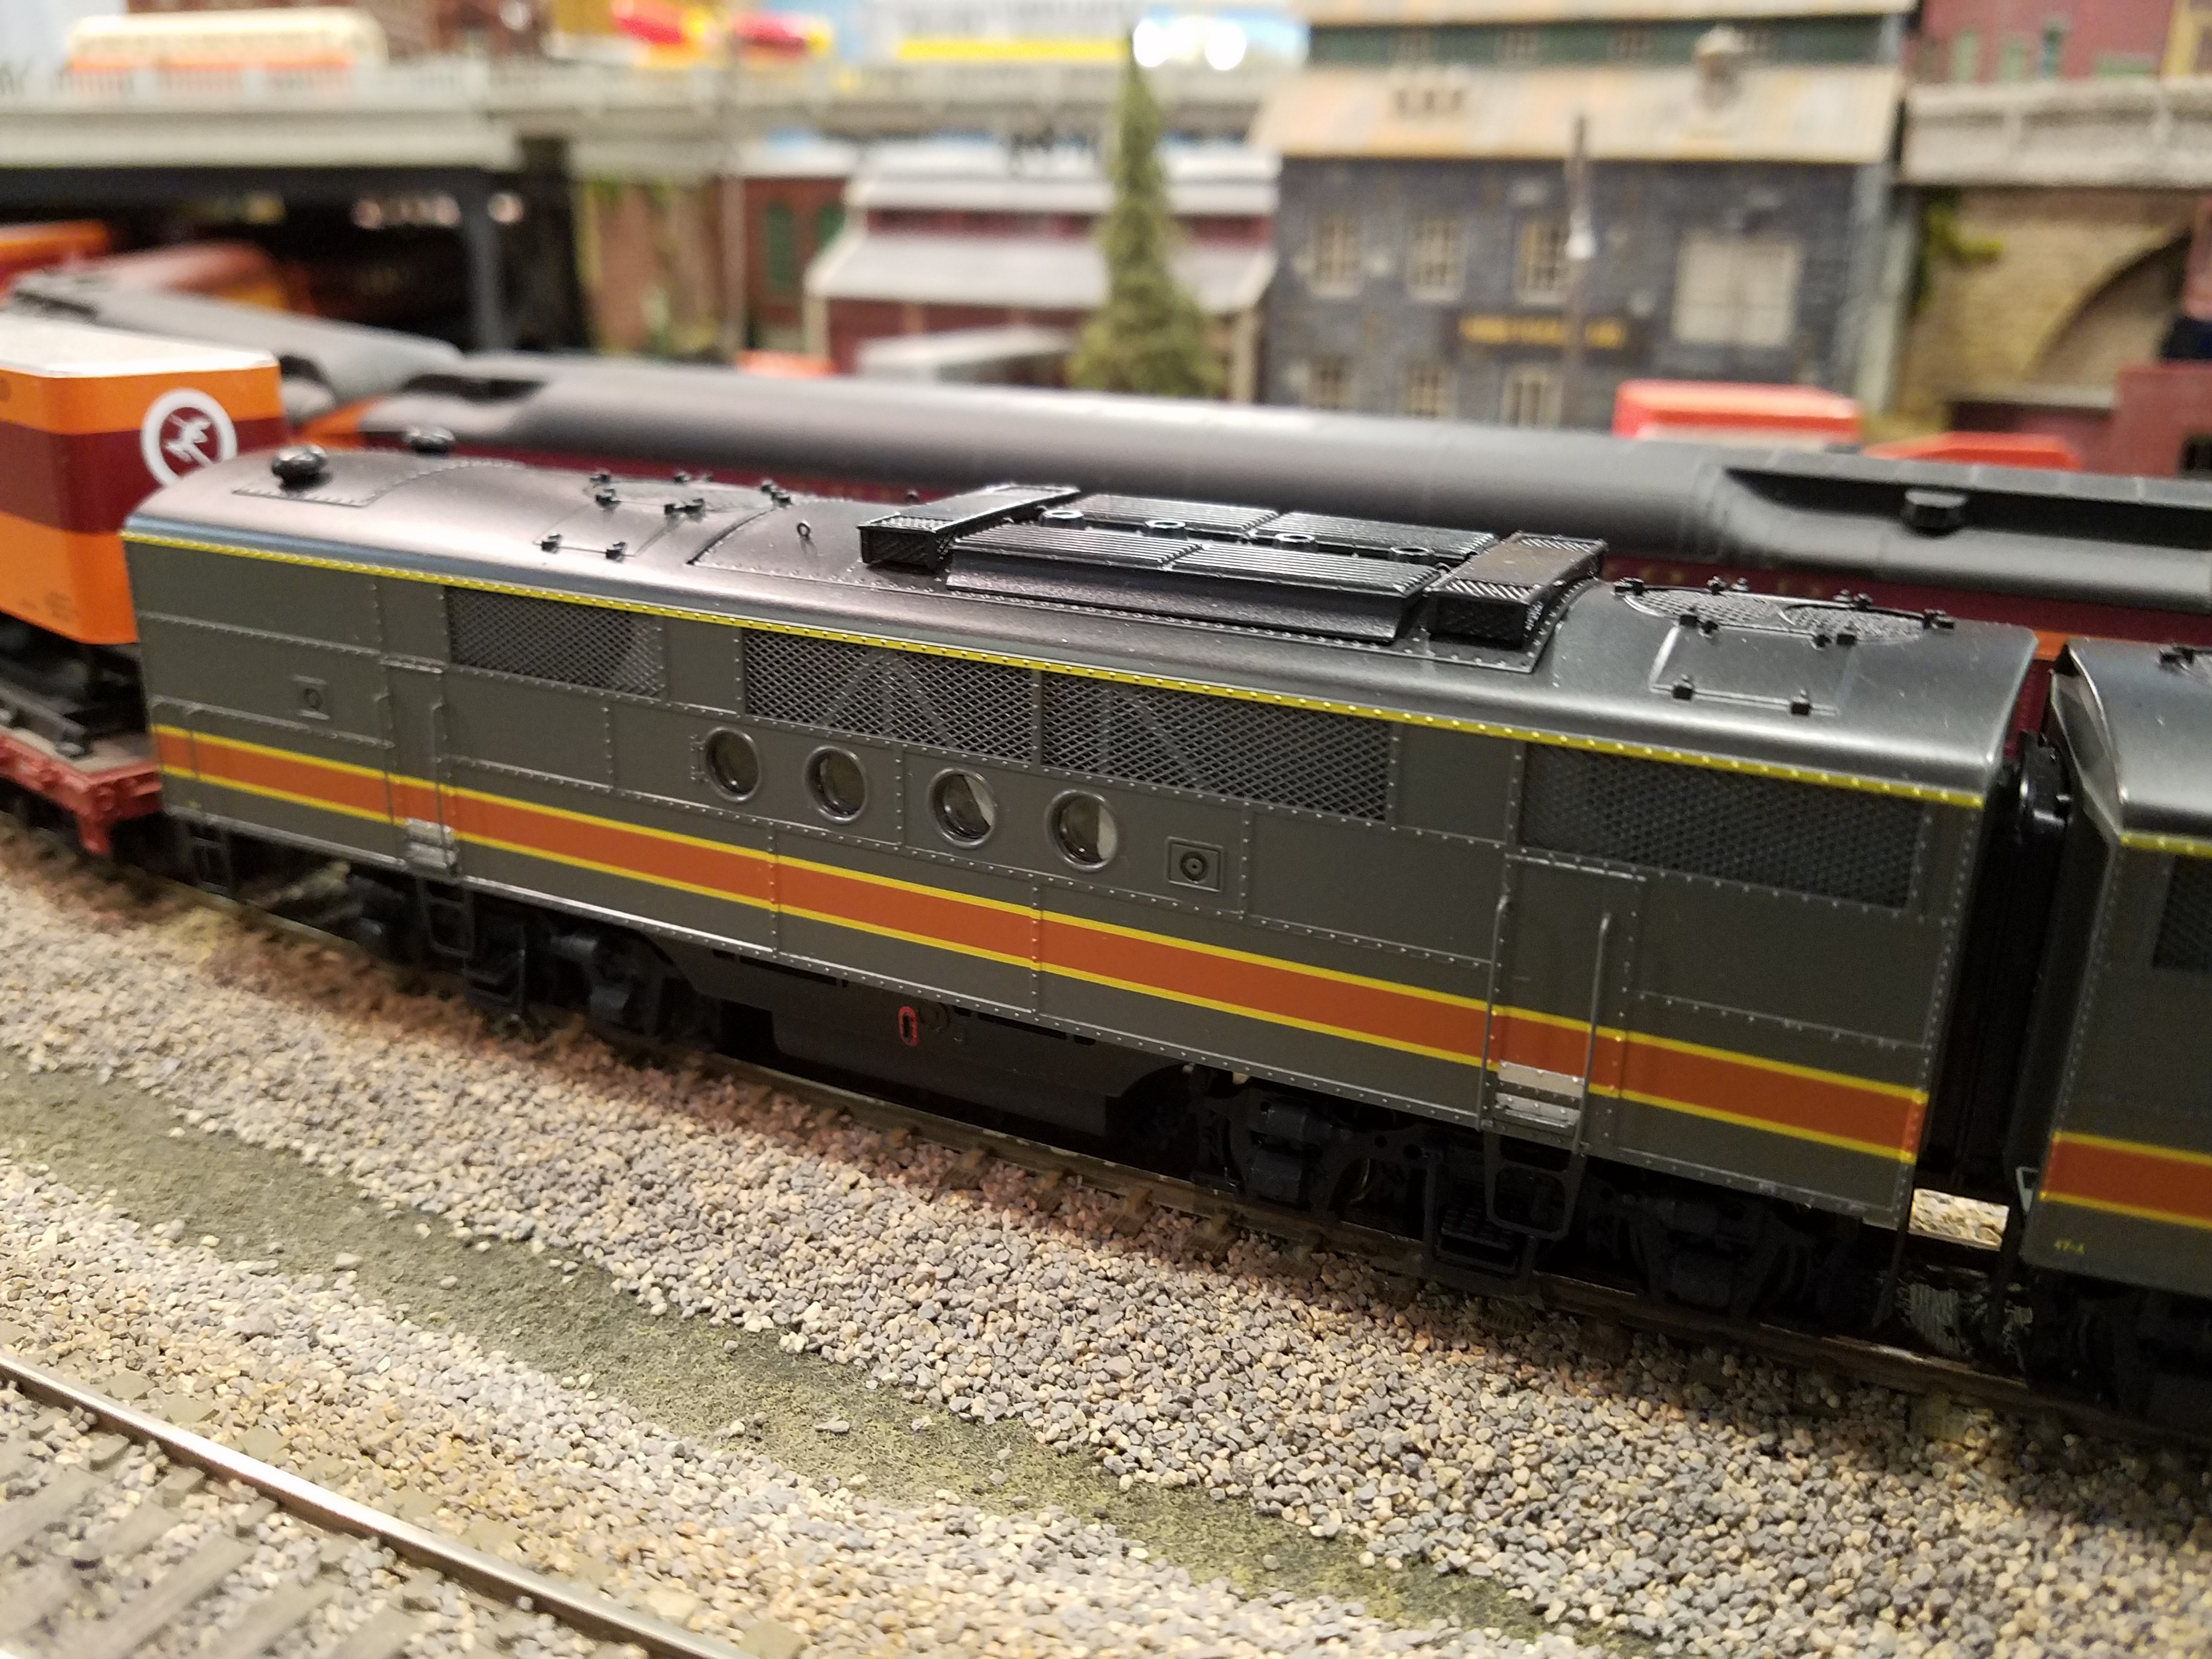
Now I have had an AB set of Milw Rd C-Liners for quite some time, made by Lifelike Proto 1000 and DC. These are solid runners, well weighted, and they come with grab irons (delrin) that you apply. Not quite Proto2000 quality, but more like Proto 1500! Using spare parts from my CalScale Ft ABBA parts, I decided to have some fun and super detail the C-Liners and install Tsunami2 DCC and sound.
The real Consolidated line, or C-line locomotives were not that successful, but Milwaukee ranked right up there with NYC and Pensy with 12 A units and 6 Bs. Originally they were the classic orange and marron stripe color scheme, but my AB pair is the more utilitarian orange and black.
My additions can be seen in the first two photos (033 and 035) and include additional nose grabs, front and side grabs above A unit windows, end ladders, lift rings, diaphragms, windshield wipers, mu hoses, brake lines, window visors, and cab interior with engineer and fireman.
Now for the really run part, Tsunami2 lighting and sound. I used the following decoders
A unit - SoundTraxx Tsunami2, TSU-PNP, Baldwin and Others, Diesel 885016 Digital Sound Decoder
B-unit - Soundtraxx MC2H104AT HO Scale, 4 Function Decoder, 852002
One of the sound files for the 885016 chip is the C-Liner, which is an interesting and unique sound, especially when using the Milwaukee-ordered Leslie A300 horn. Again, since I am cheap, one sound decoder paired with a non-sound mobile decoder is the cost effective way to go. I installed an additional speaker, however, in the B-unit for richer sound with one wire running thru the diaphragm, and the other installed to look like the brake line (see photo 037). Now, I got worried that the units could accidentally uncouple, and the wires (and there are two more yet that I’ll talk about below) might snap. Solution? Use a draw bar. But that would not be prototypical, so I made my own “drawbar” from short shank Kadees, epoxied together and glad hands clipped. Do you like the effect?
These locomotives have the most lighting effects I have ever installed. They are as follows:
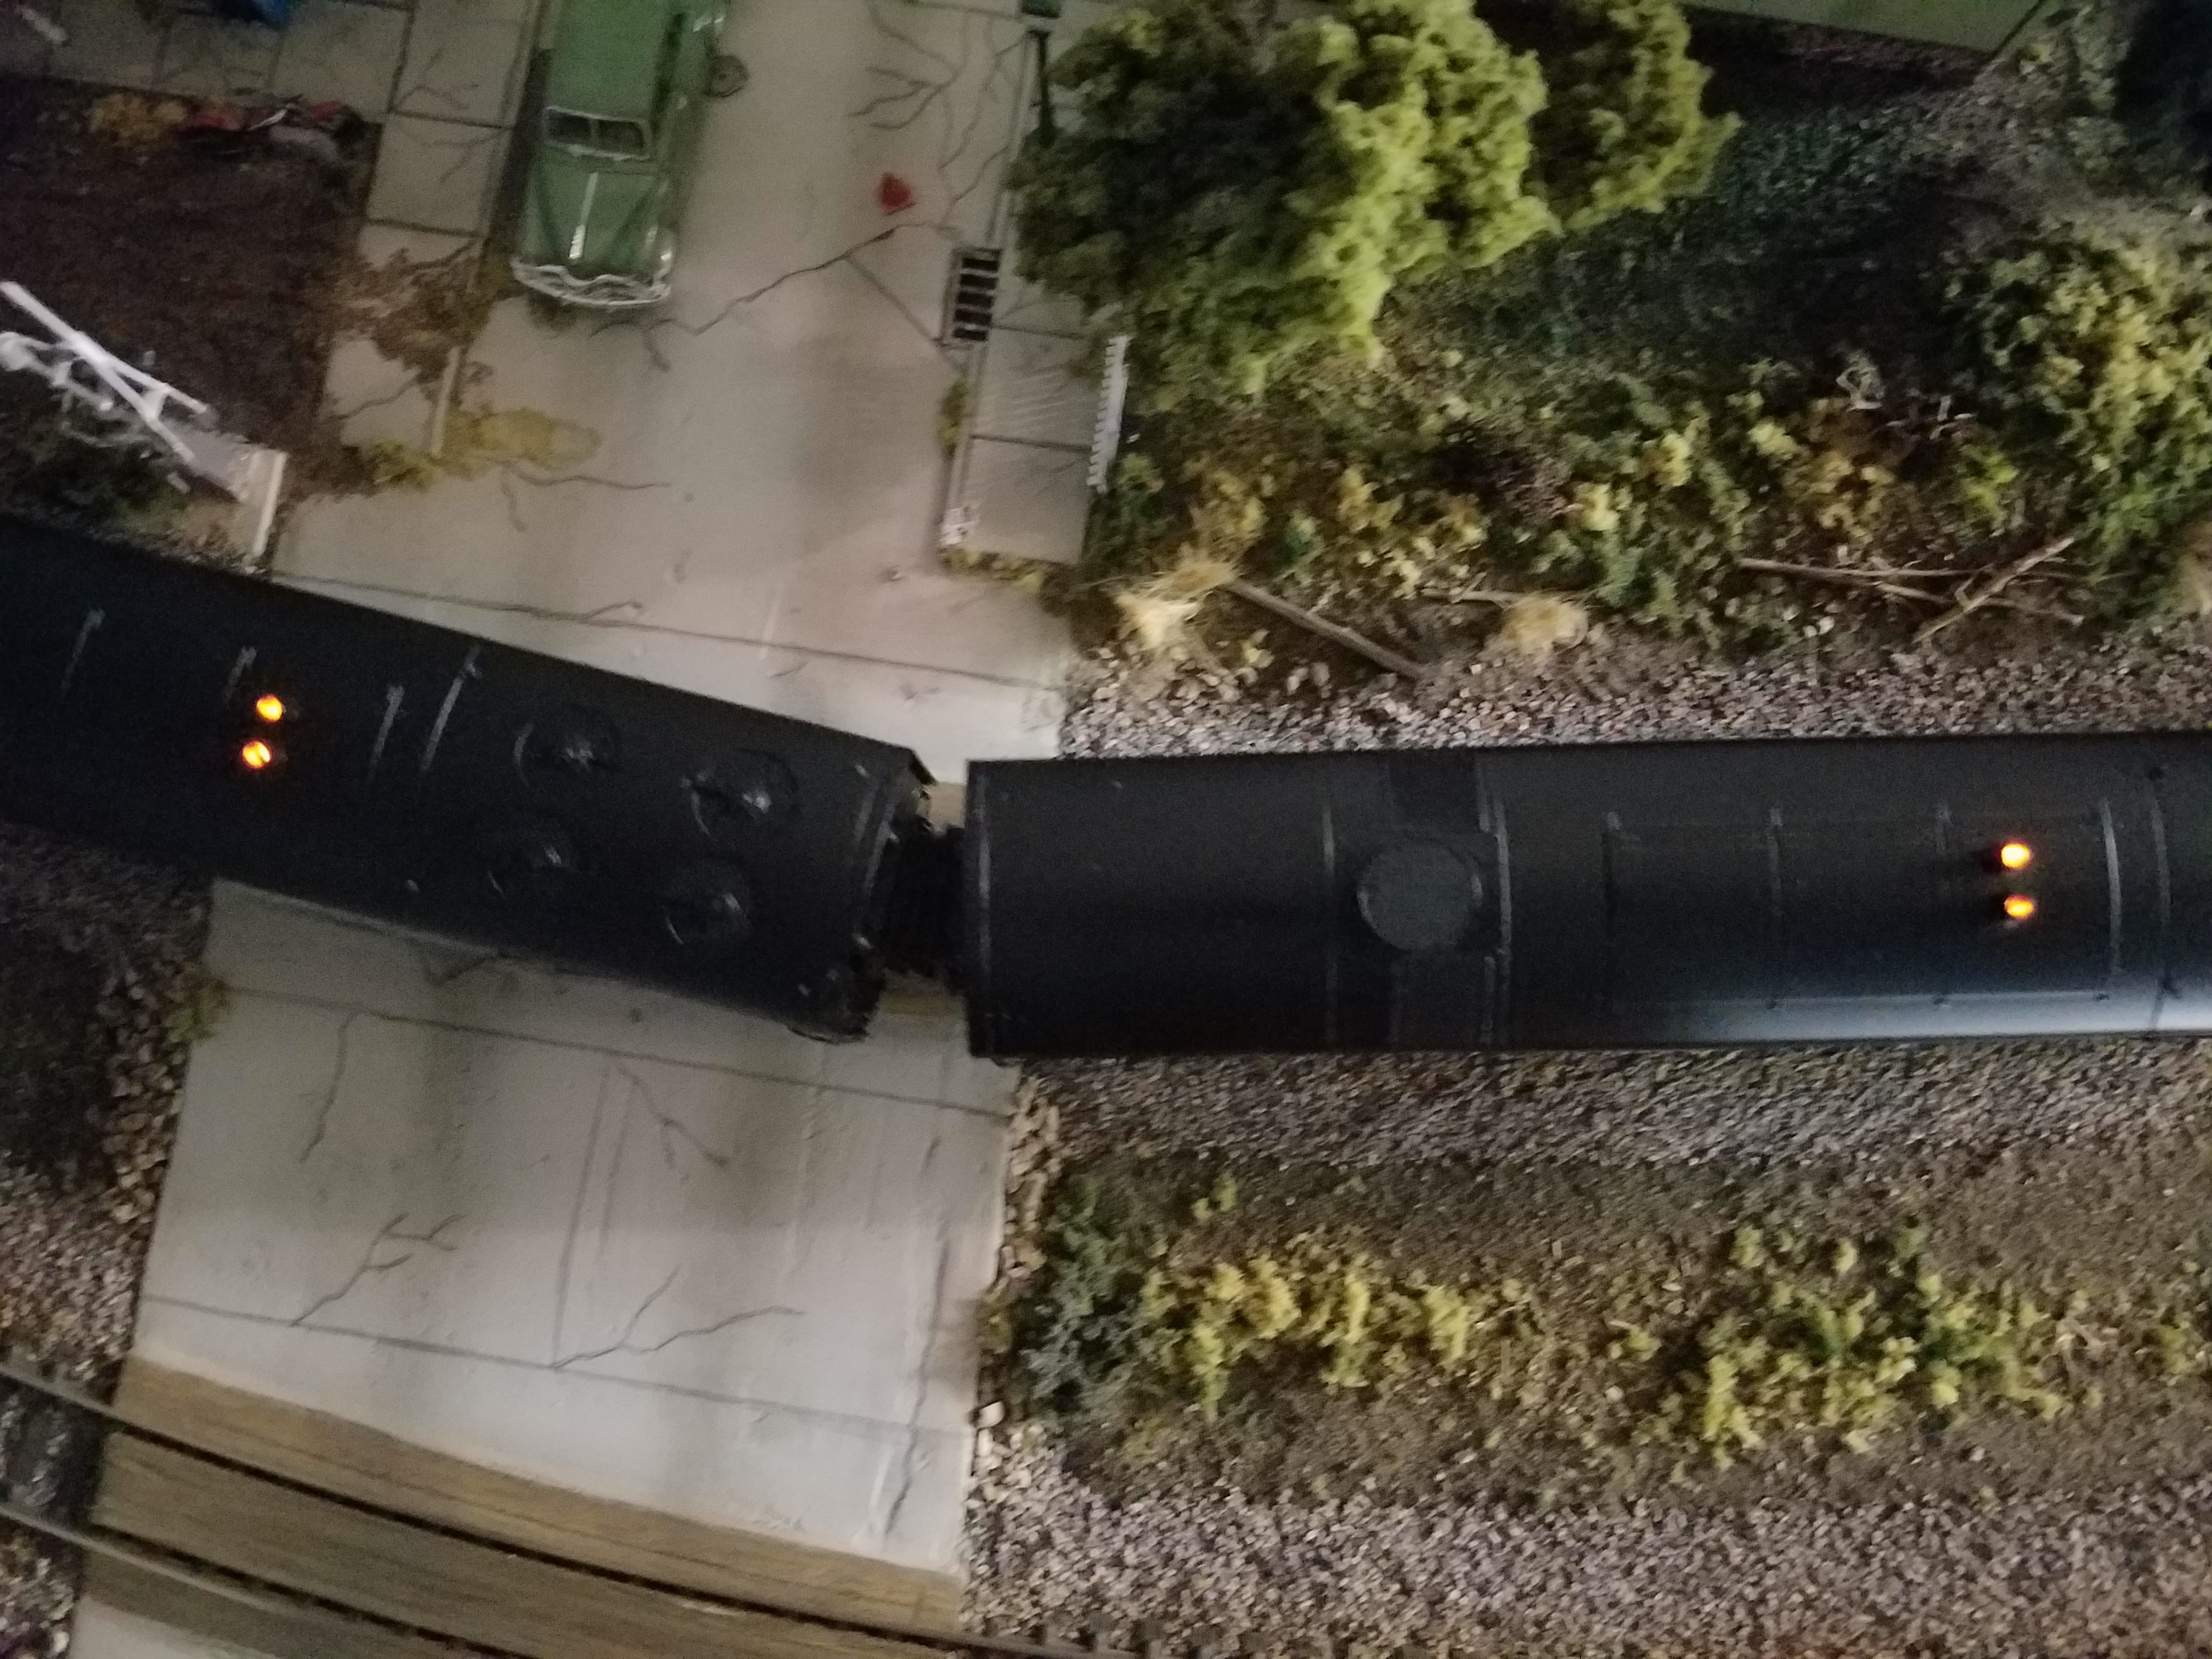
1. Lower headlight is normal running light using yellow glow LED. (photo 025)
2. Upper is a red LED and programmed as a rotary beacon. (photo 025 – note, red in photo does not look as good as in person)
3. Exhaust stacks have orange LED exhaust flicker that come on when engine moves - room lights turned off to show better, in normal lighting, the effect is more subtle (photo 029)
4. Interior cab light comes on when engine stops - used an incandescent bulb for a nicer effect. (photo 023)
The B-unit exhaust flicker is also driven from the A-unit decoder, with two more wires running thru the diaphragm. Had to speed match these two locos because while they are both the same loco/same brand, they ran differently, and different decoders have slightly different motor control characteristics too. I have a nice and simple procedure for doing this. Curious? I will talk about that after I get hot and finish my Ft ABBA set!
Best Regards and Happy Modeling!


+ + + + + Back to top + + + + +